


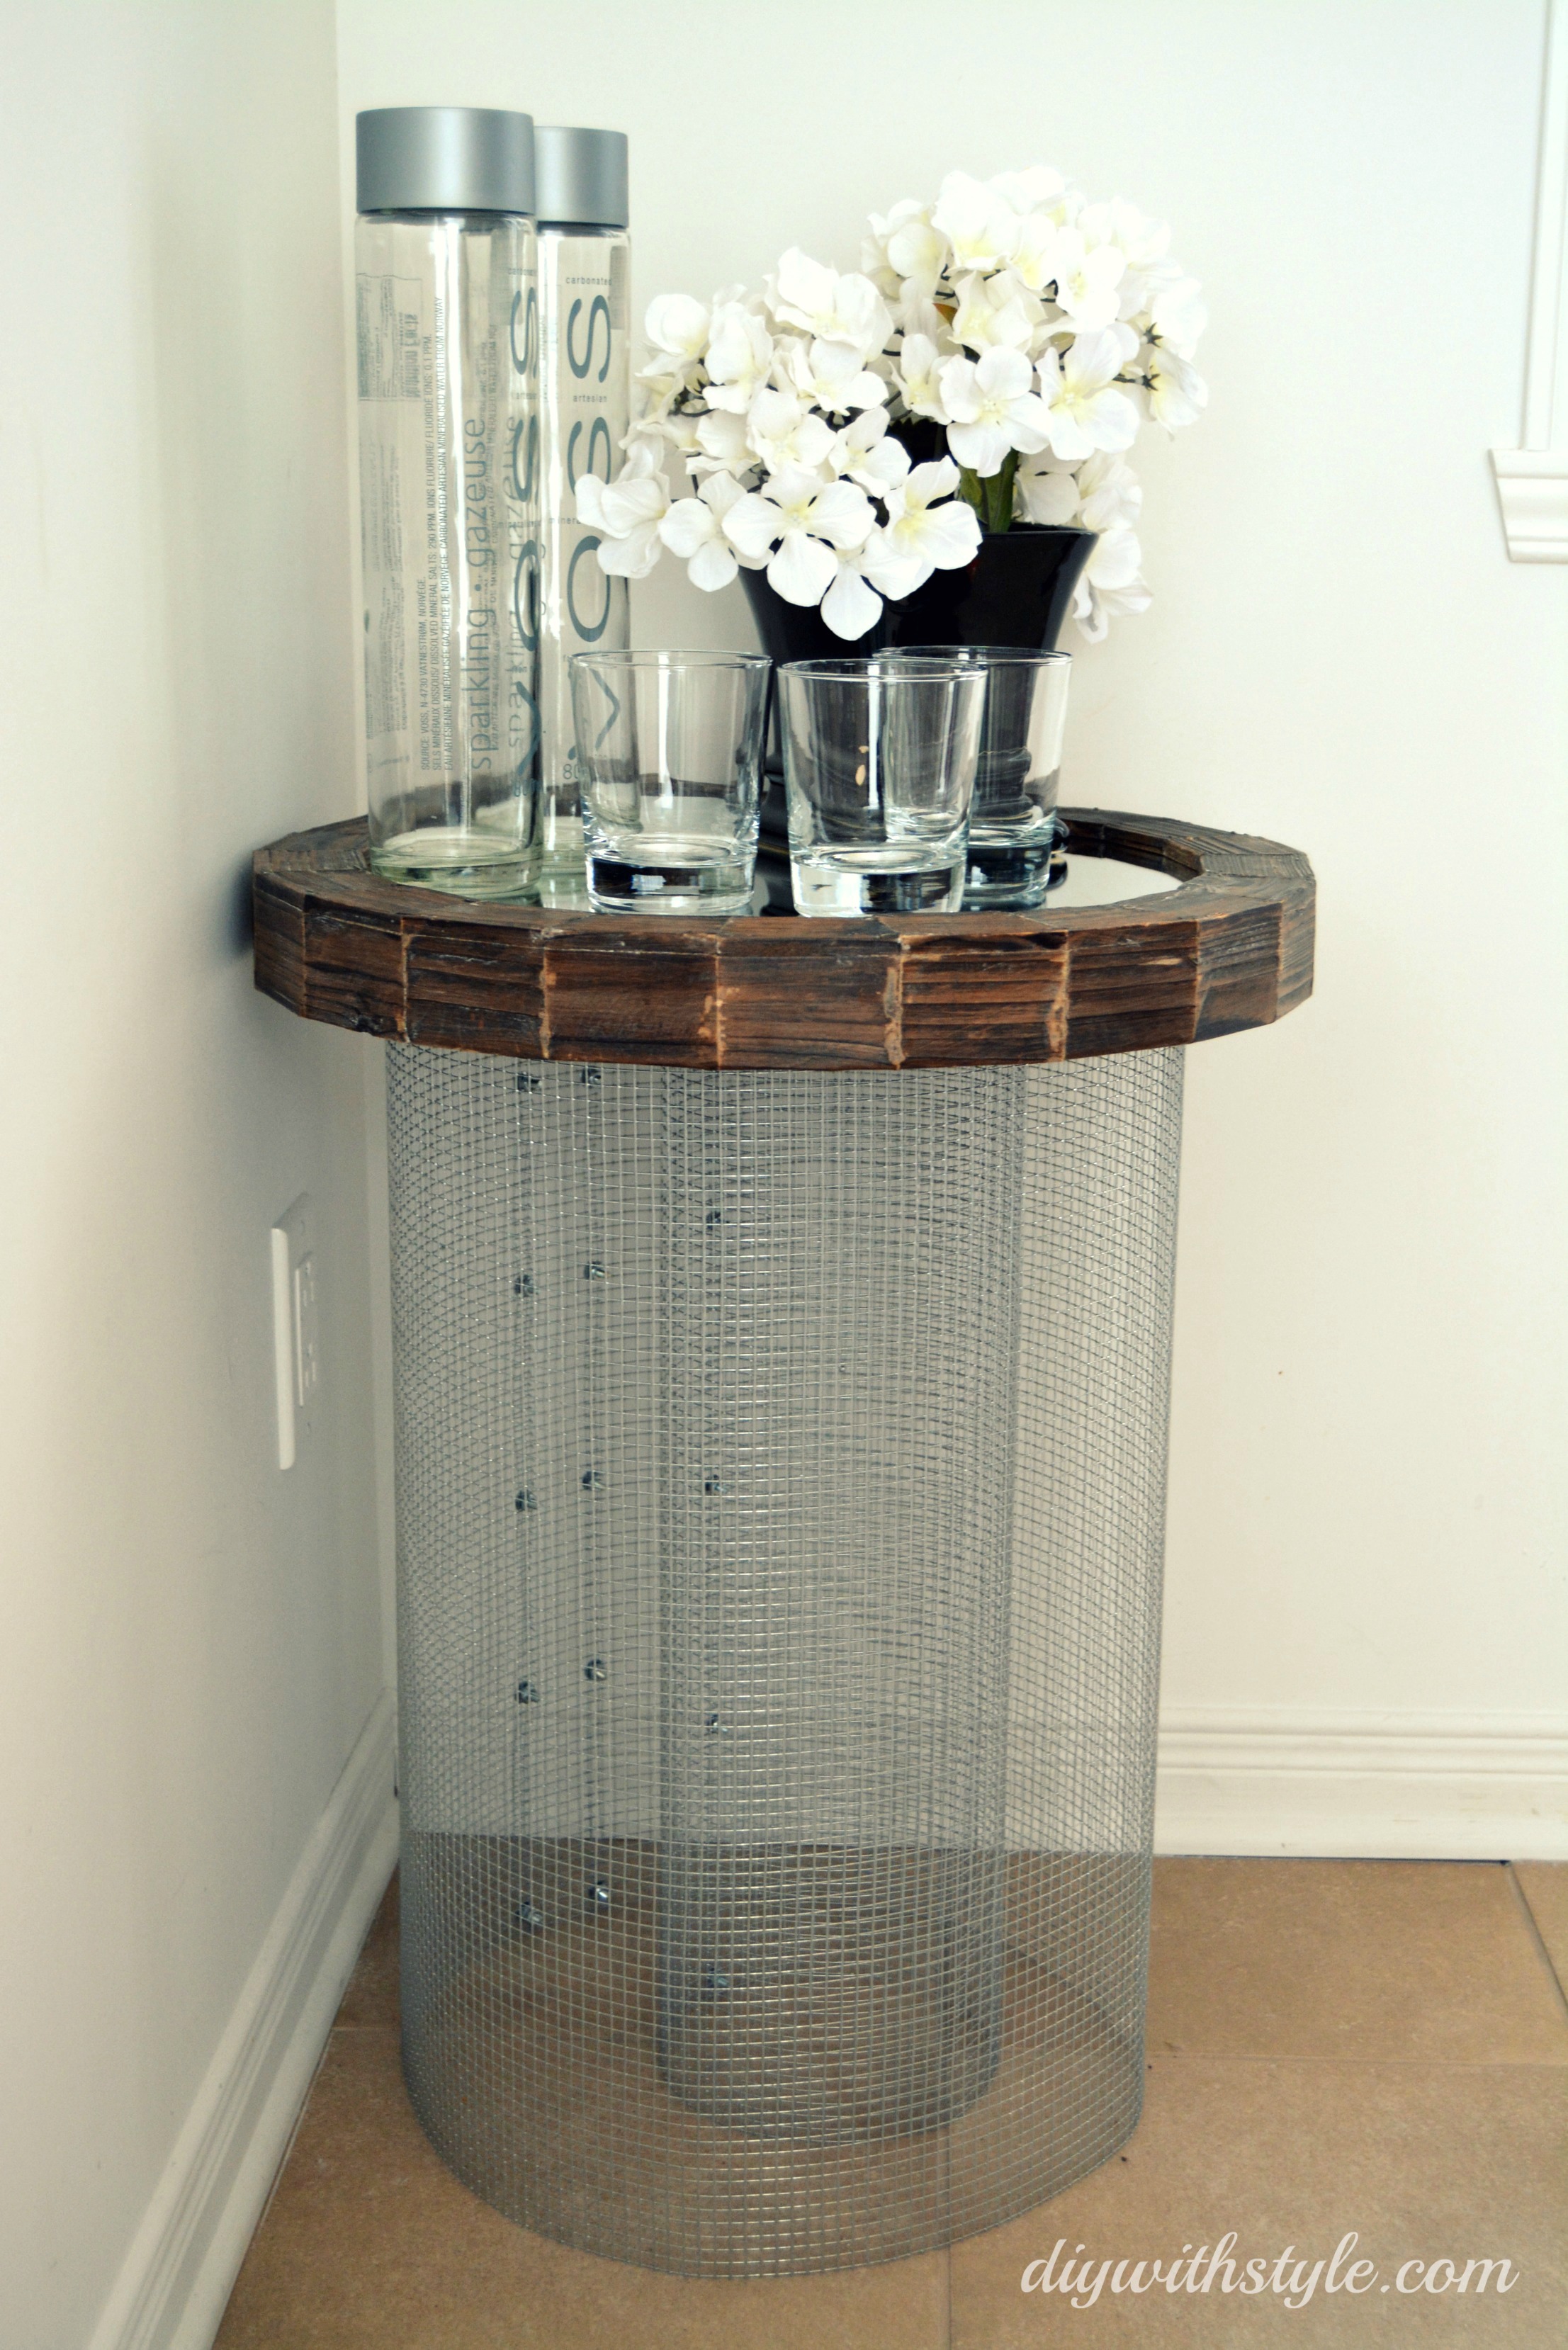
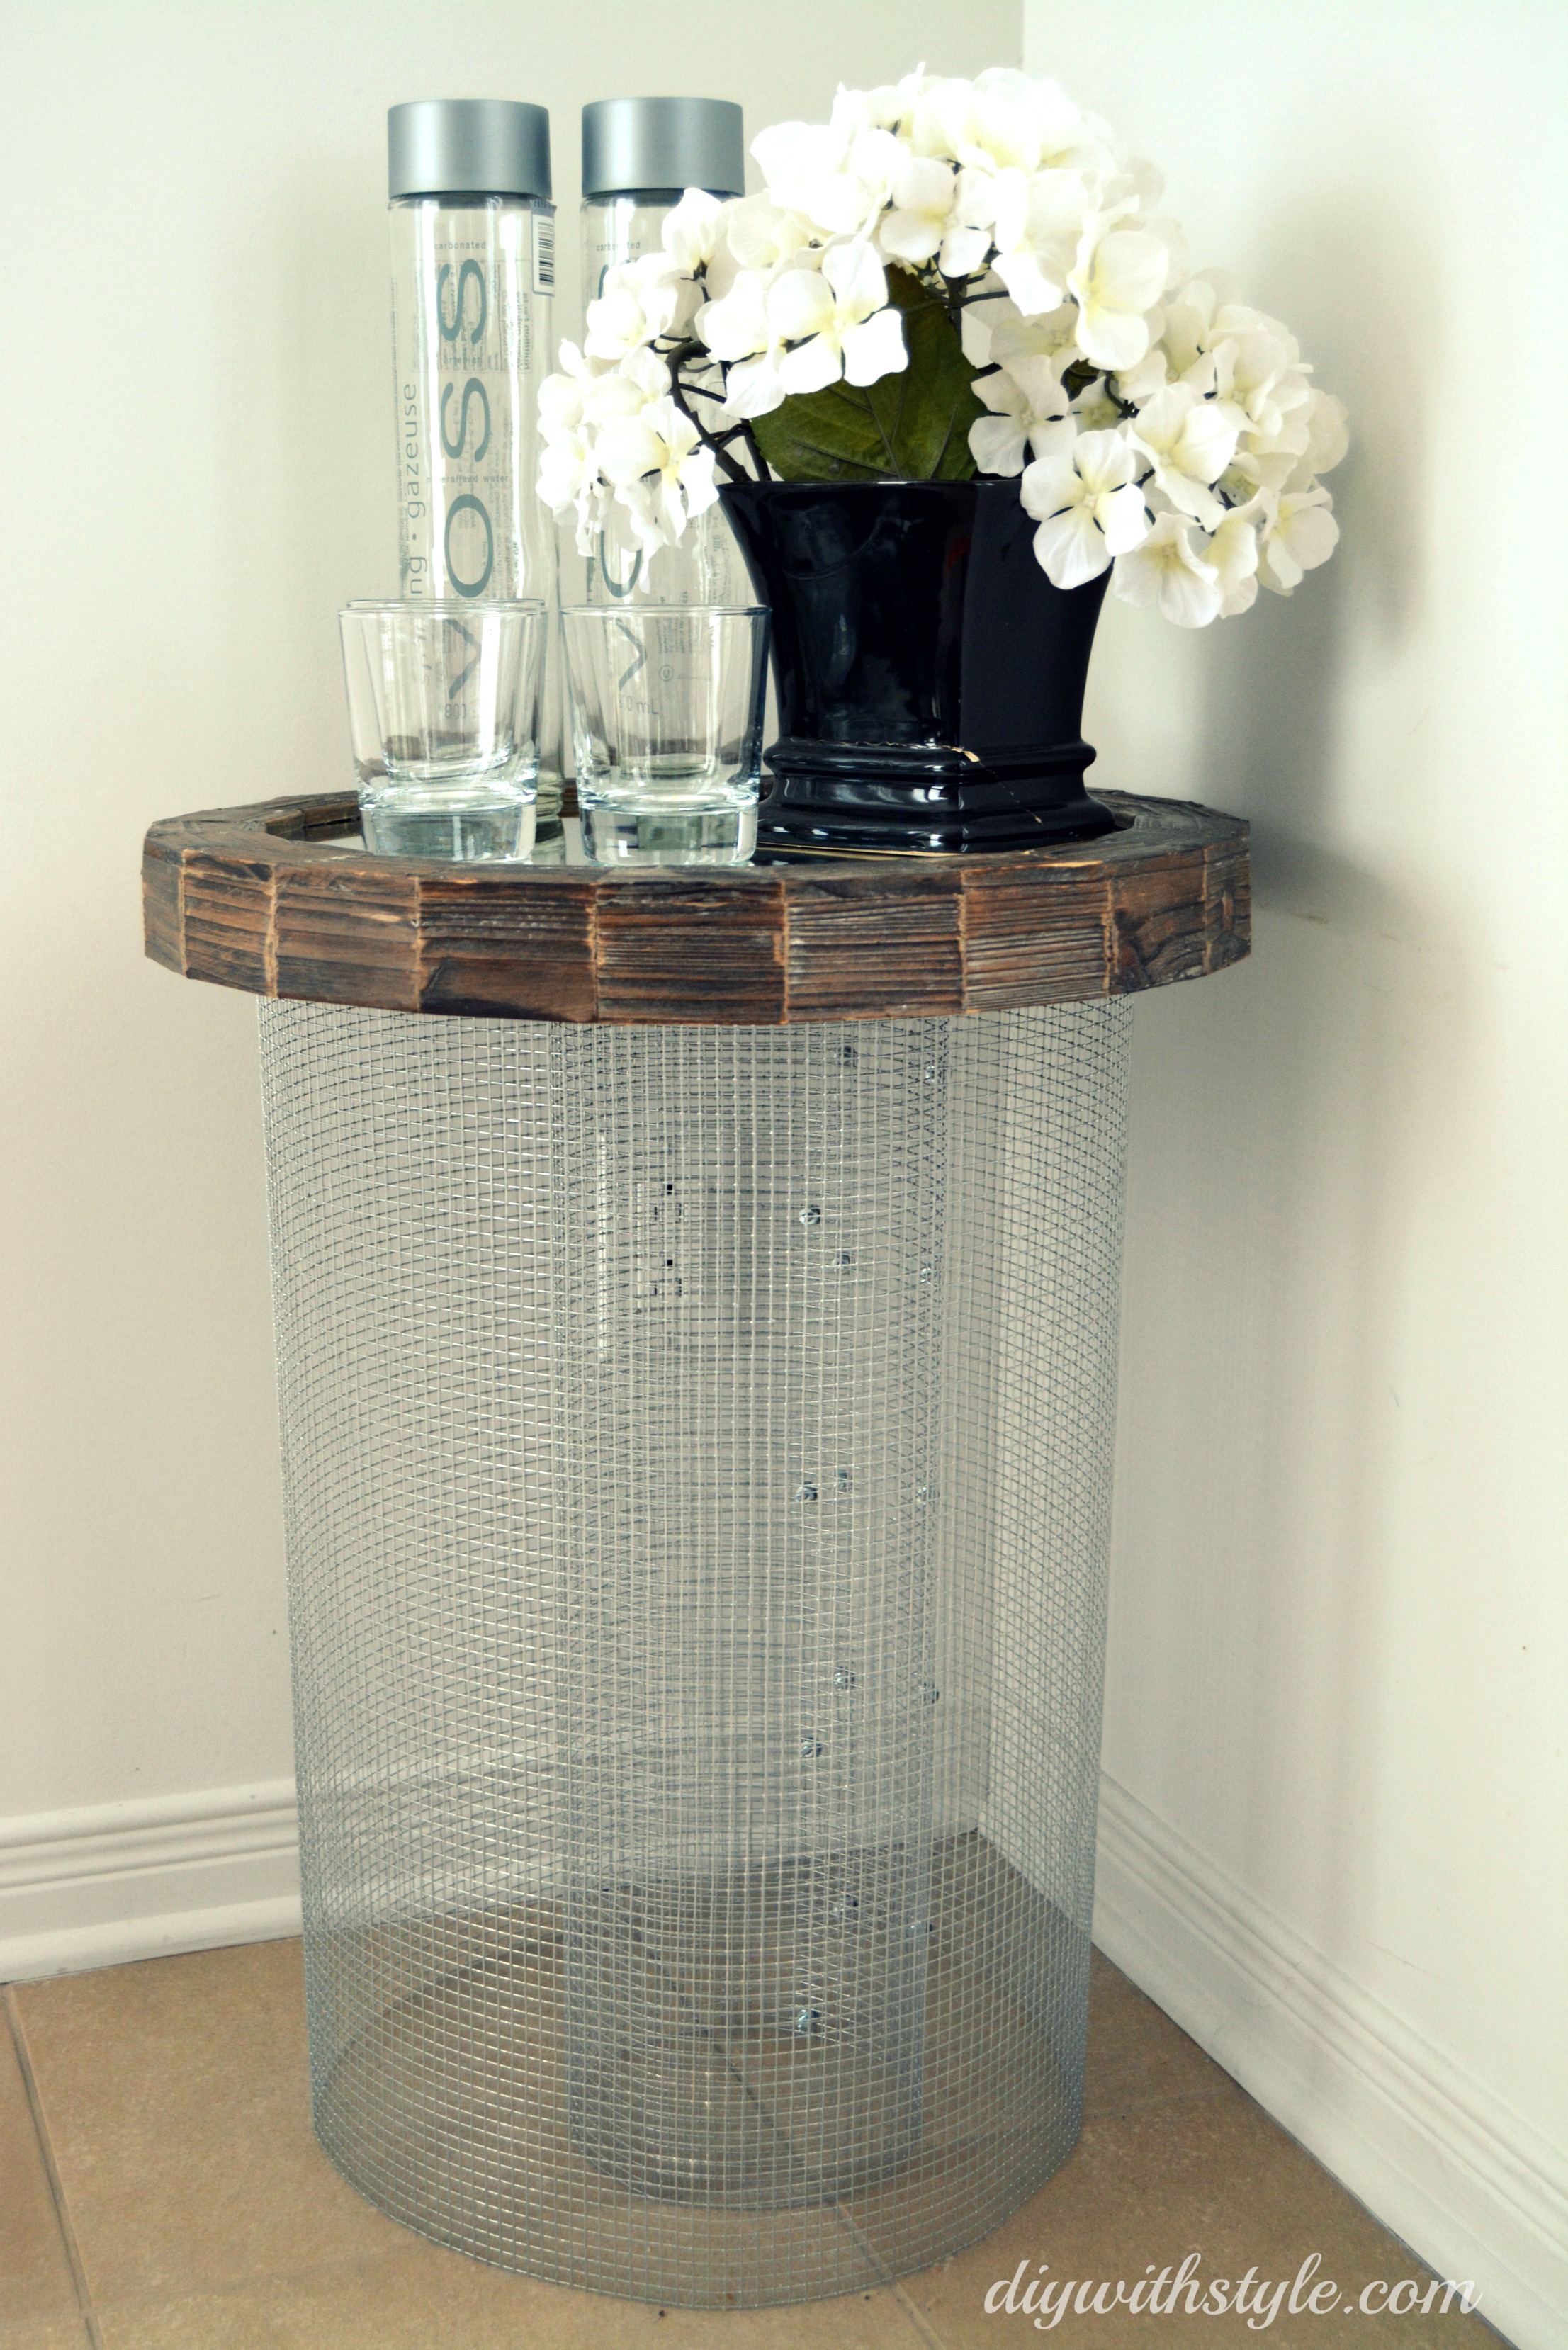
Here’s a side table that I put together not too long ago. It was quite easy to make! And now it’s found a home in the corner of our dinette room.
Supplies:
 Hardware mesh. I purchased a roll 24” x 5′, holes 1/4” x 1/4” from The Home Depot for $15
- 17-18 nuts, bolts and washers. The bolts: 1” long, 1/8” diameter. Make sure the nuts and washers have an outer diameter bigger than the size of the mesh holes.
- Wire cutter
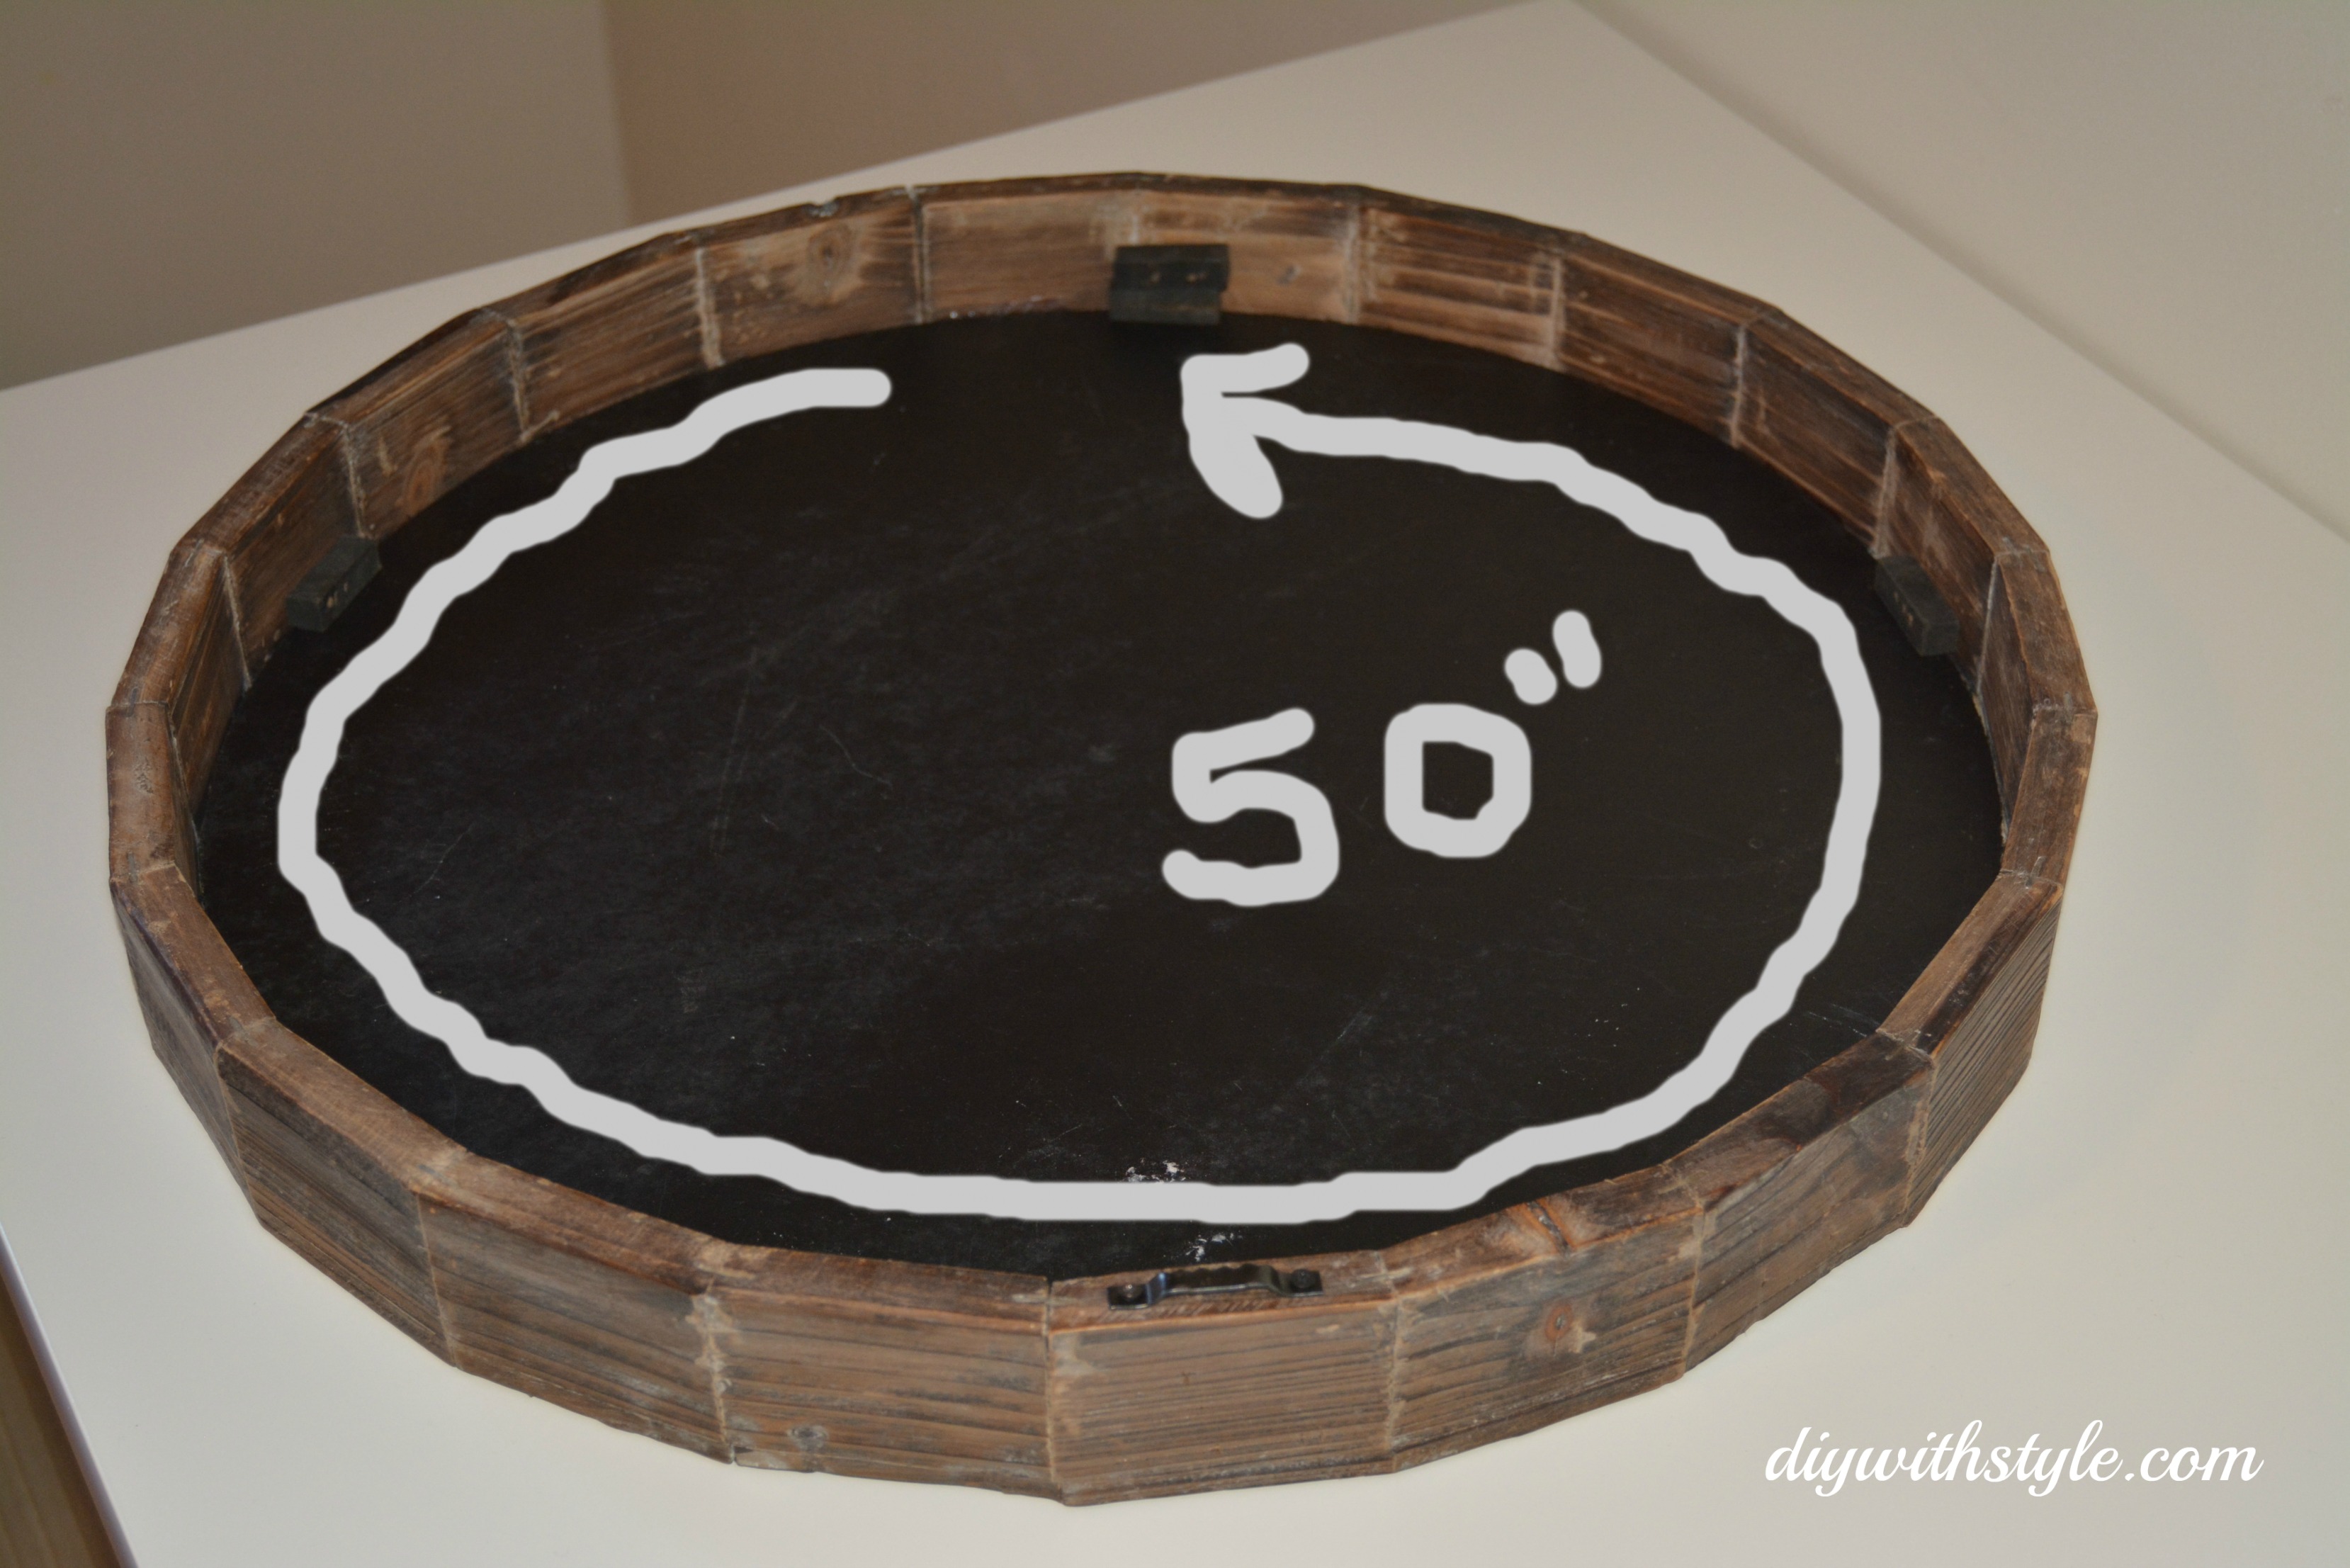
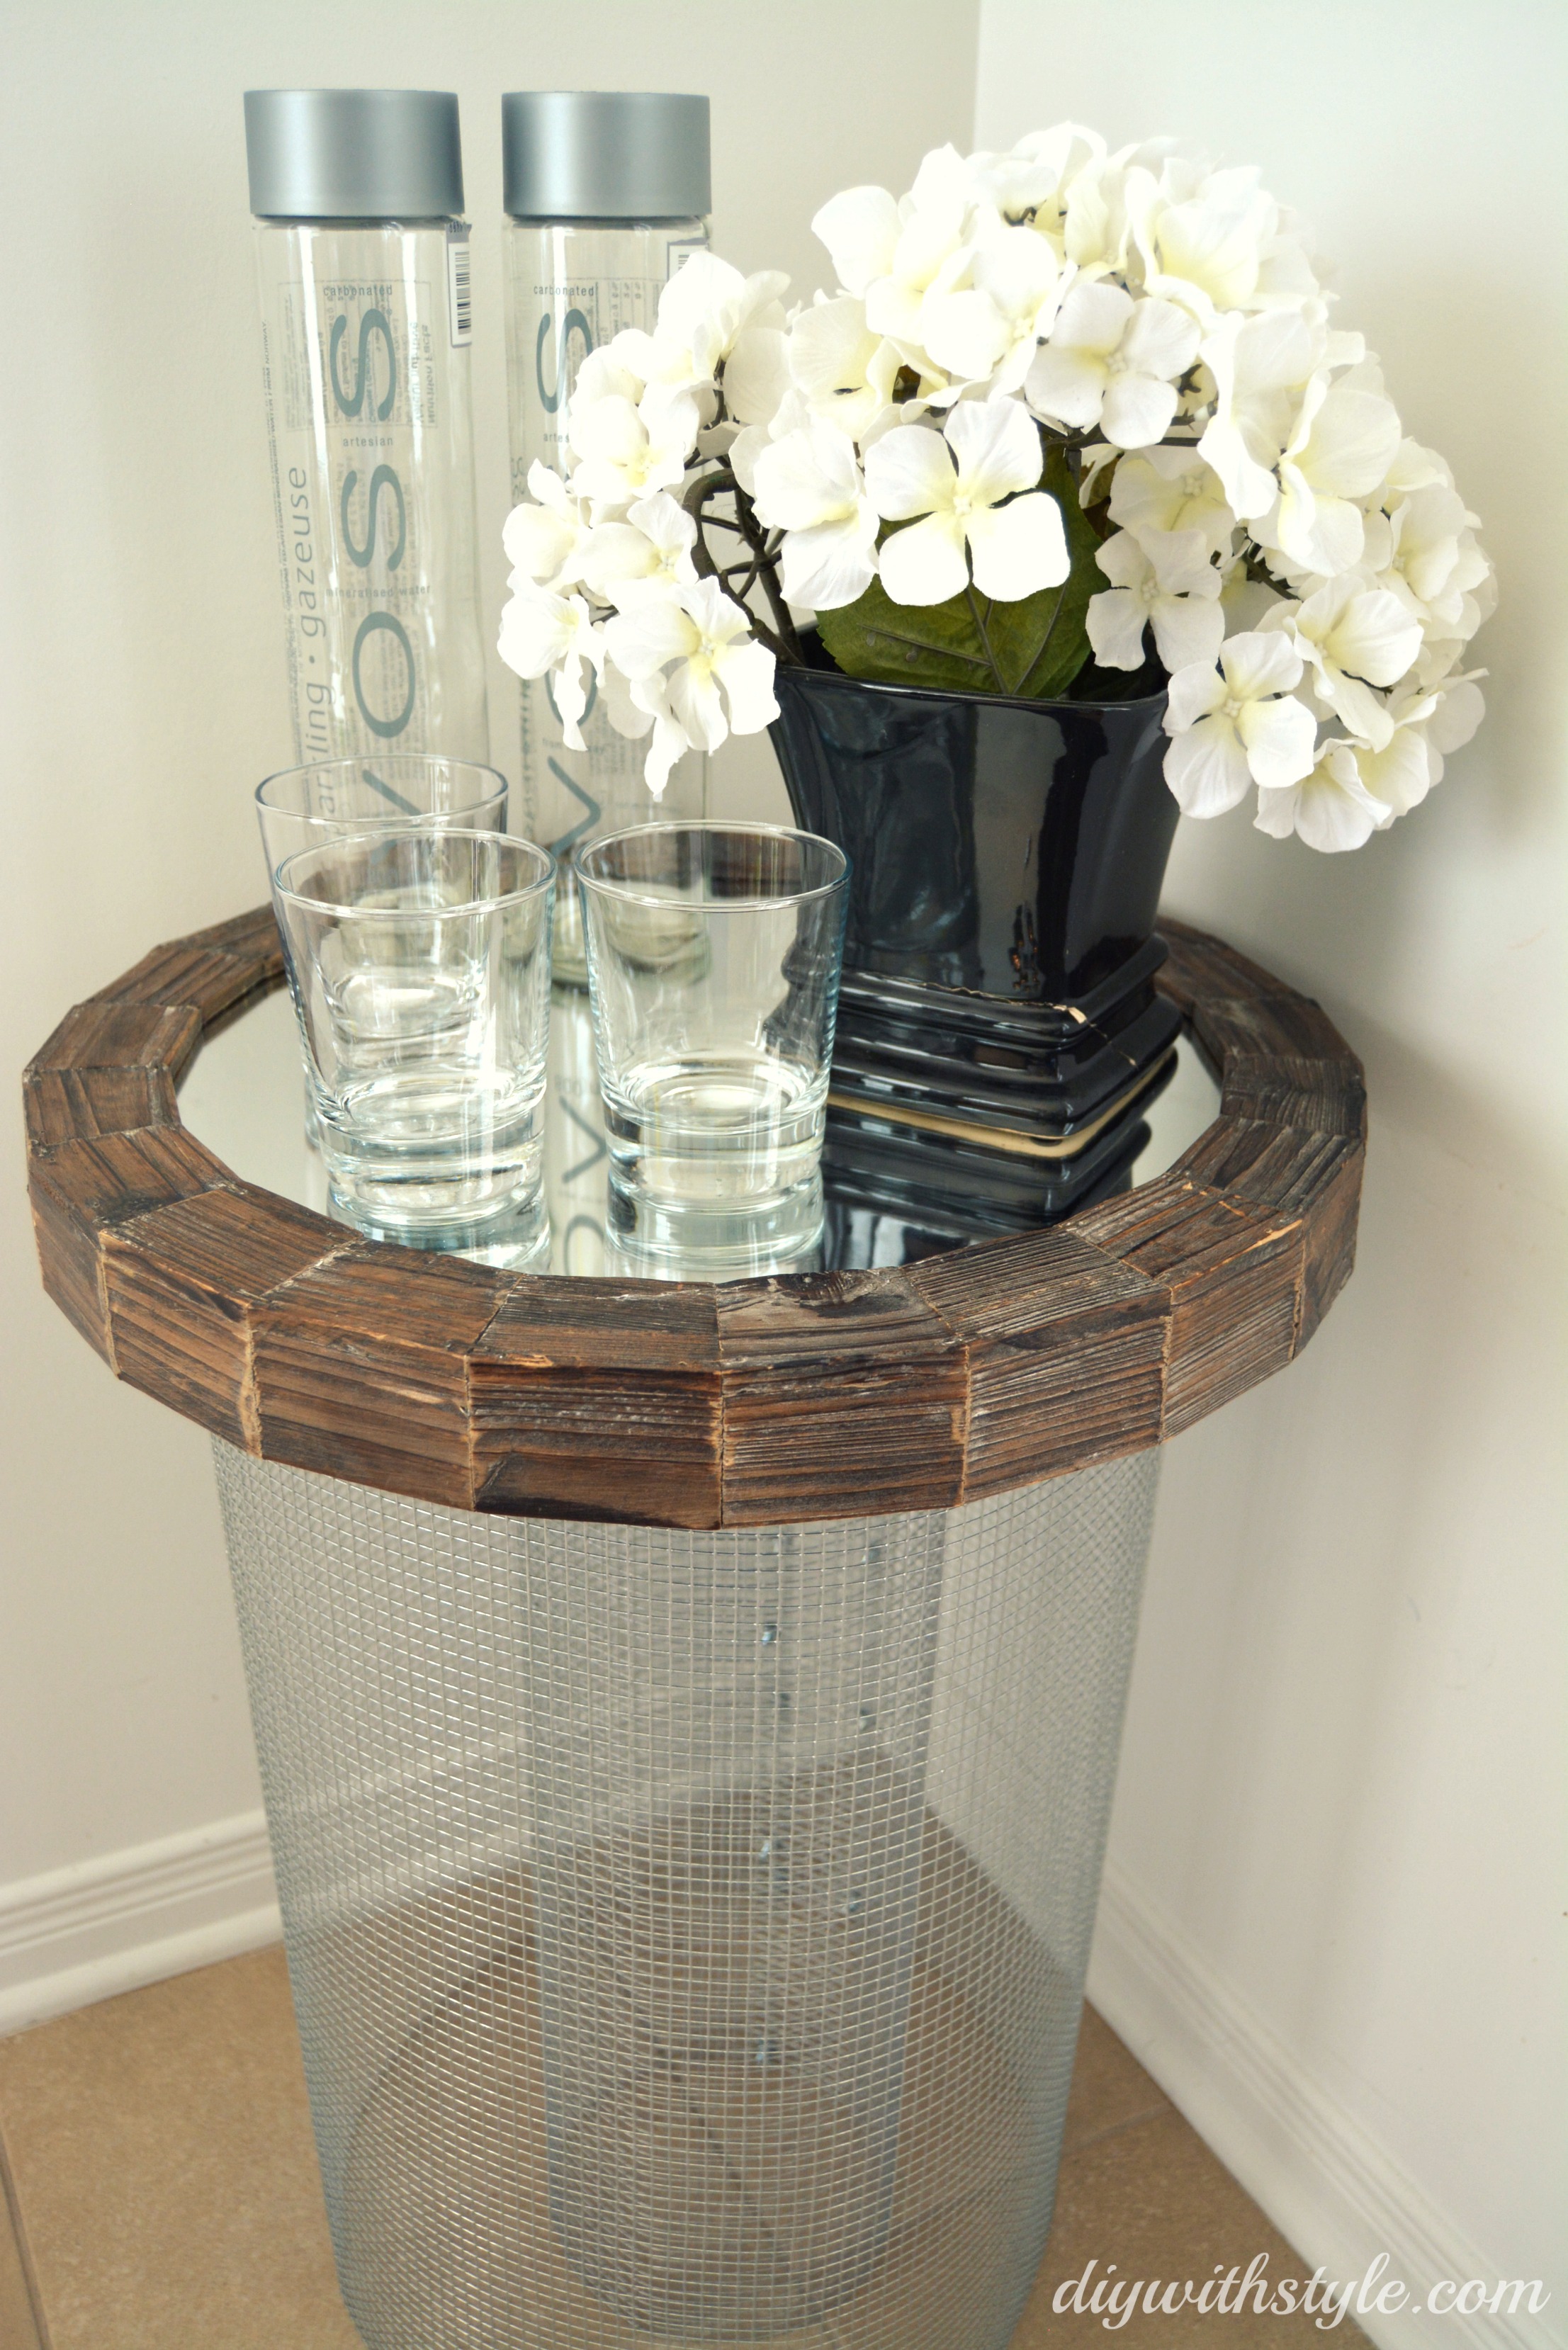
- A Round mirror or tray with a frame that has a lip/overhang. I purchased mine from Home Sense for $39 (because I absolutely loved the mirror and wanted it in my home!) but mirrors and trays can definitely be found for less.
- Masking tape
- Safety gloves!

Steps:
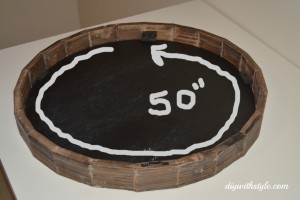
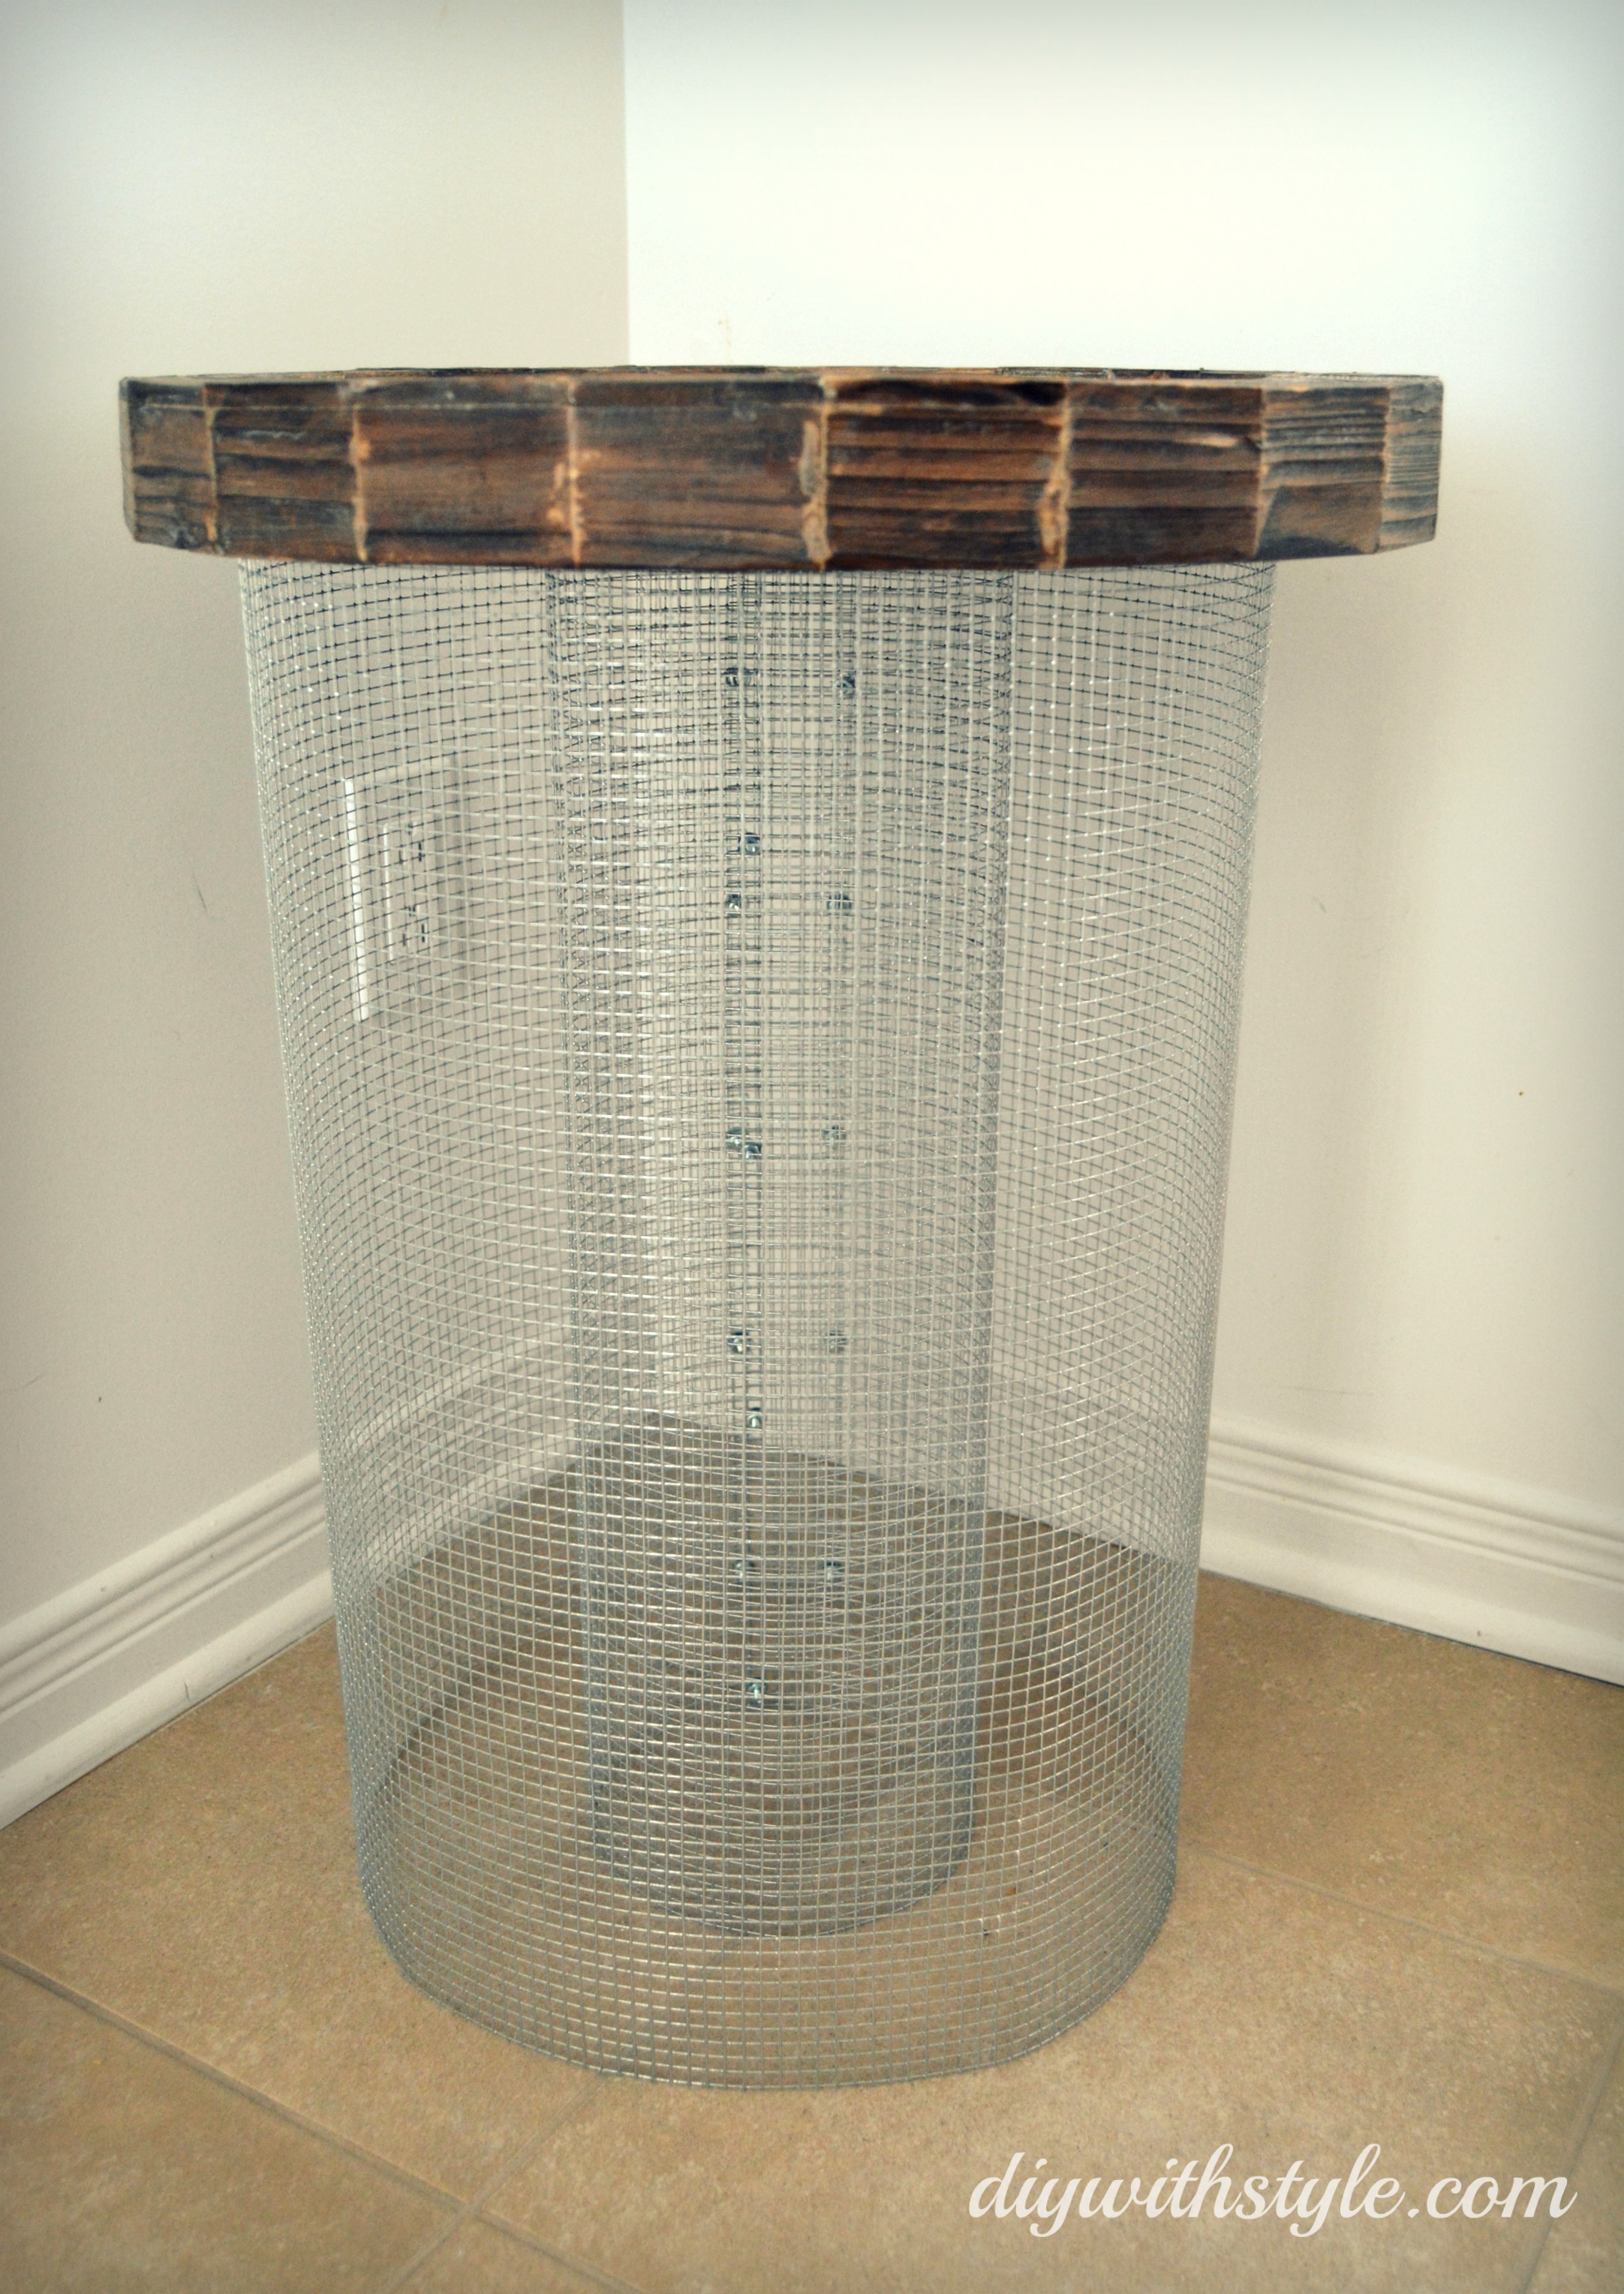
- Measure the circumference of the back of the mirror or tray within the frame. The circumference of the table base should be made slightly smaller than this for a nice fit. The circumference of my mirror back inside the frame was about 50”.
- The base of my table was made of 2 mesh cylinders, one placed inside the other. I used 2 cylinders because I liked the look and it provides good support for the table top, but you could choose to make more concentric cylinders if you prefer.
- For the inner cylinder, I cut out a sheet of mesh to a height of 22”, and a width of approximately 21” (so the cylinder circumference = approx. 21”)
- For the outer cylinder, I cut out two pieces of mesh (you could make the cylinder with 1 continuous sheet of mesh, but I just chose to do it this way for the look). The big sheet was cut to a height of 22”, and approximately 46” in width. The smaller strip of mesh was cut to 22” height and a little over 2” in width.
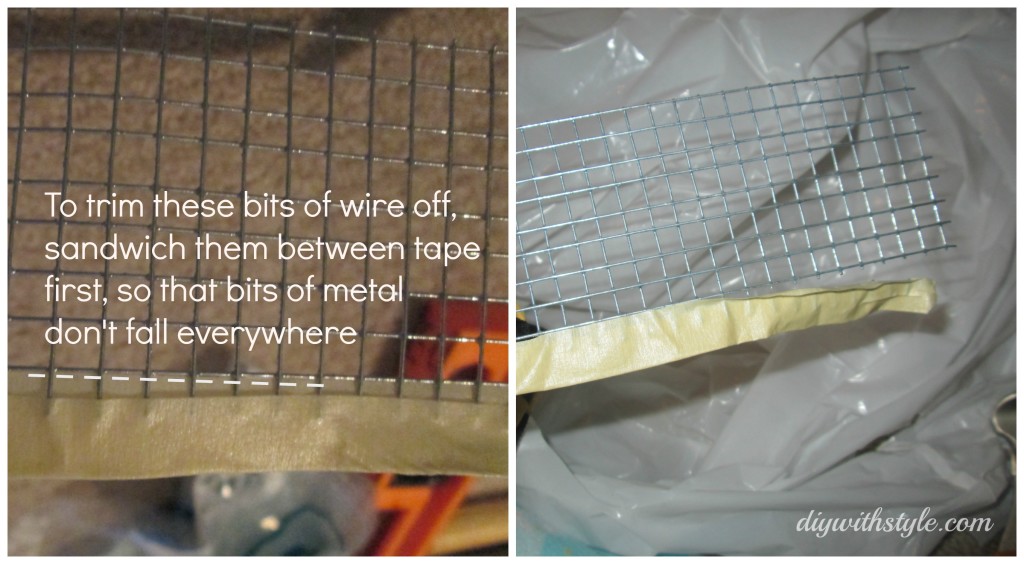
- TIP: Make sure you wear gloves when handling the wire mesh, otherwise you will cut yourself! When trimming off small bits of the wire mesh, stick masking tape along the edge first. That way you won’t end up with small, sharp, dangerous pieces of metal everywhere. They will all be stuck inside the tape, ready to throw out.
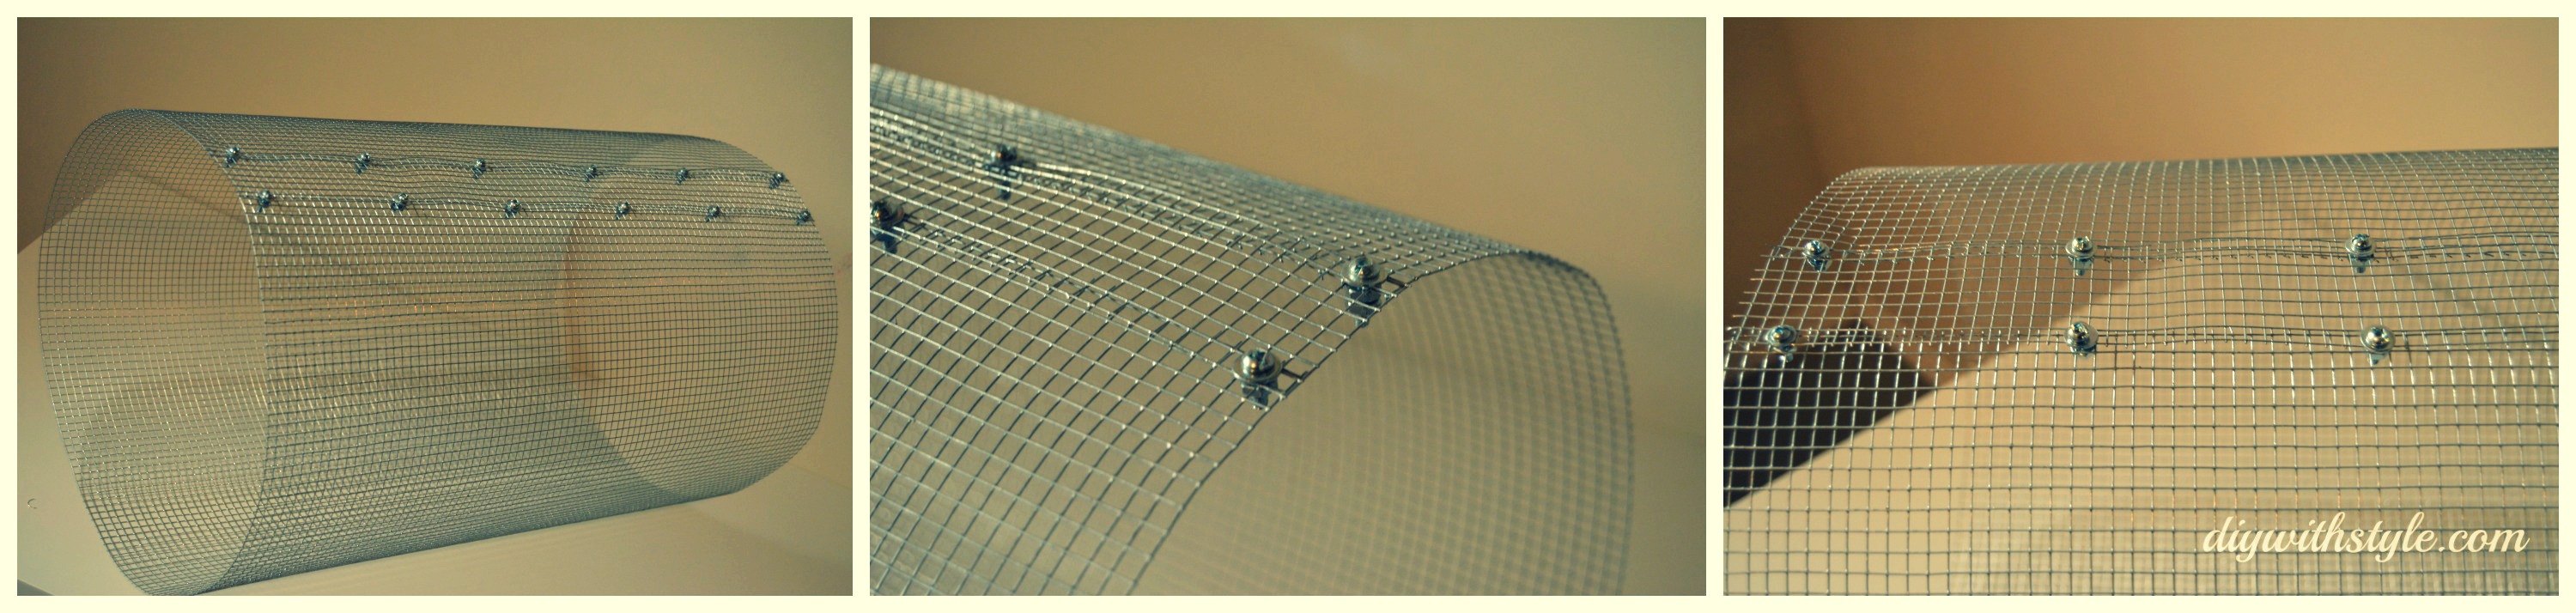
- To make the inner cylinder, I rolled the 22” x 21” mesh, 22” being the height, and used 5 sets of nuts, bolts and washers to secure a one-square overlap.
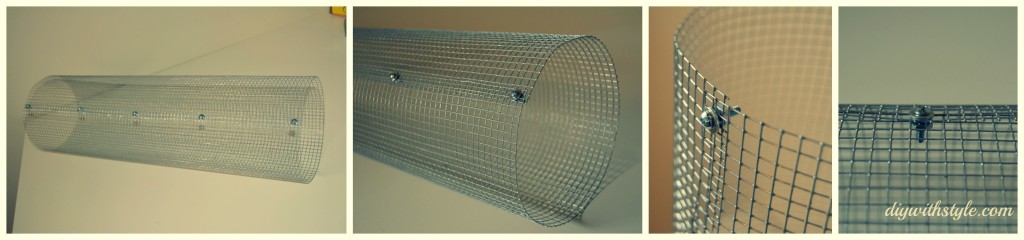
- To make the outer cylinder, I rolled the 22” x 46” mesh (22” being the height) and added the 22”x2” mesh in between to join the two ends. Each edge was secured with 6 sets of nuts, washers and bolts.
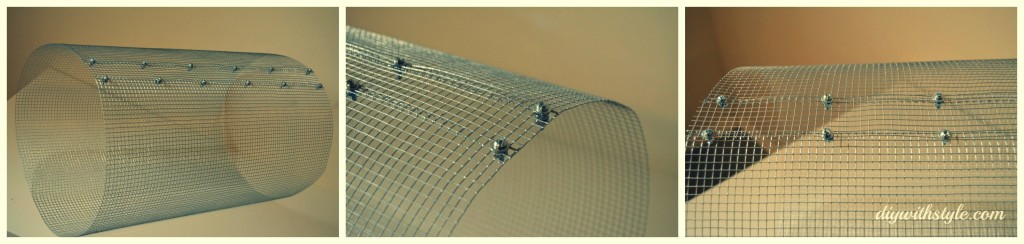
- Finally, I placed the smaller cylinder inside the larger one, and then just placed the mirror on top, and done! Note: I placed this table on tiles. If placing it on carpet or wood, you should put a rubber seal around the bottom of the table or anything to protect your flooring from being scratched.


Pingback: Creative DIY Side Table Ideas for Outdoors and Indoors