


Hi everyone! Let’s start talking headboards. We all know that they can really change the look of a bed and an entire room (and are comfortable to lean on when reading in bed!). Contemporary-style ones that can be customized to suite any room can actually be the easiest things to make. I’ll be sharing a number of posts, each about different types of headboards that I’ve made, both in my home and in others’ homes. All were made for $60-$120, none of them required me to use power tools. I hope you find these posts helpful!
MAKING A HEADBOARD: WOODEN PLANKS
I made this headboard for a double bed in someone else’s home and it was by far the easiest and quickest one to make. It was made in less than an hour and it looked gorgeous when put up behind the bed, completely changing the look of the room.
Supplies
- Pre-painted (white) MDF planks – I purchased 6in. wide x 1in. thick planks
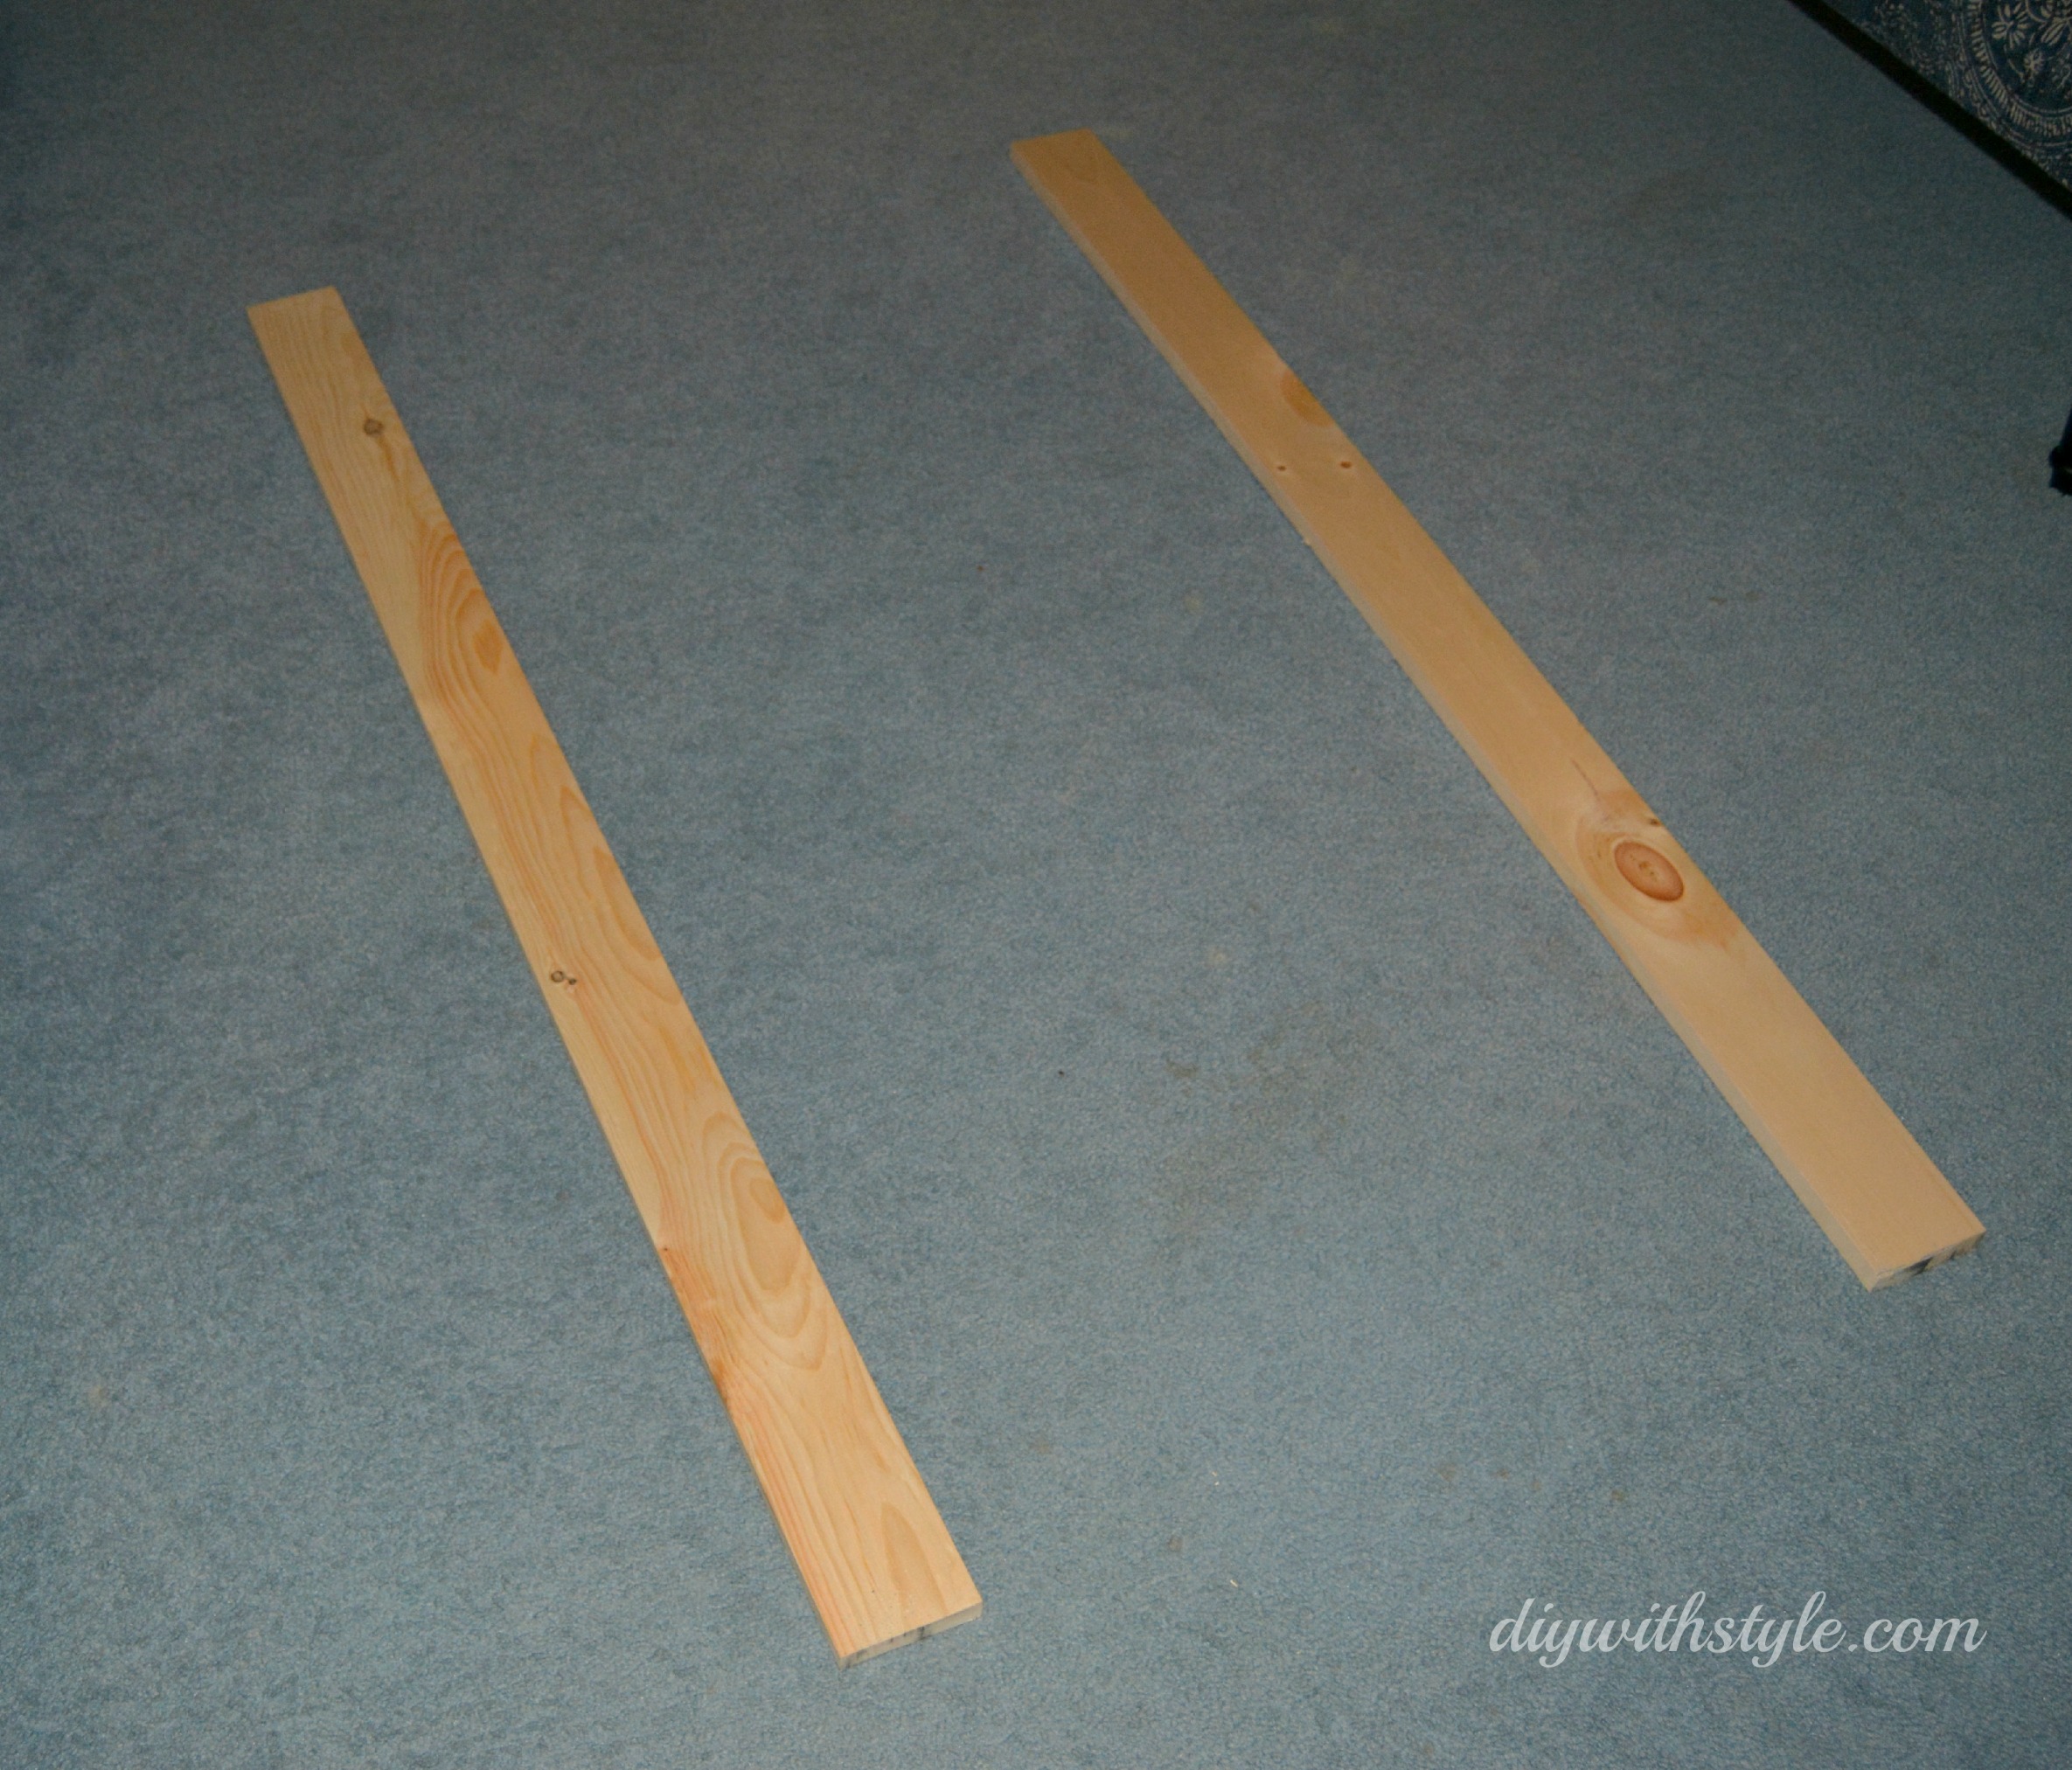
- 2 wooden planks (plain or coloured) to be used as stilts – I purchased 6in. wide x 1in. thick planks.
- 1 1/2 in. long wood screws & screw driver
Steps
1) After measuring the width of the bed (including any bedding on it), I decided to make the headboard the same width as the mattress + comforter (56in.). A little wider would probably have looked better but hey, maybe next time ;). I chose to make the headboard extend up from the top of the mattress by about 2.75ft.
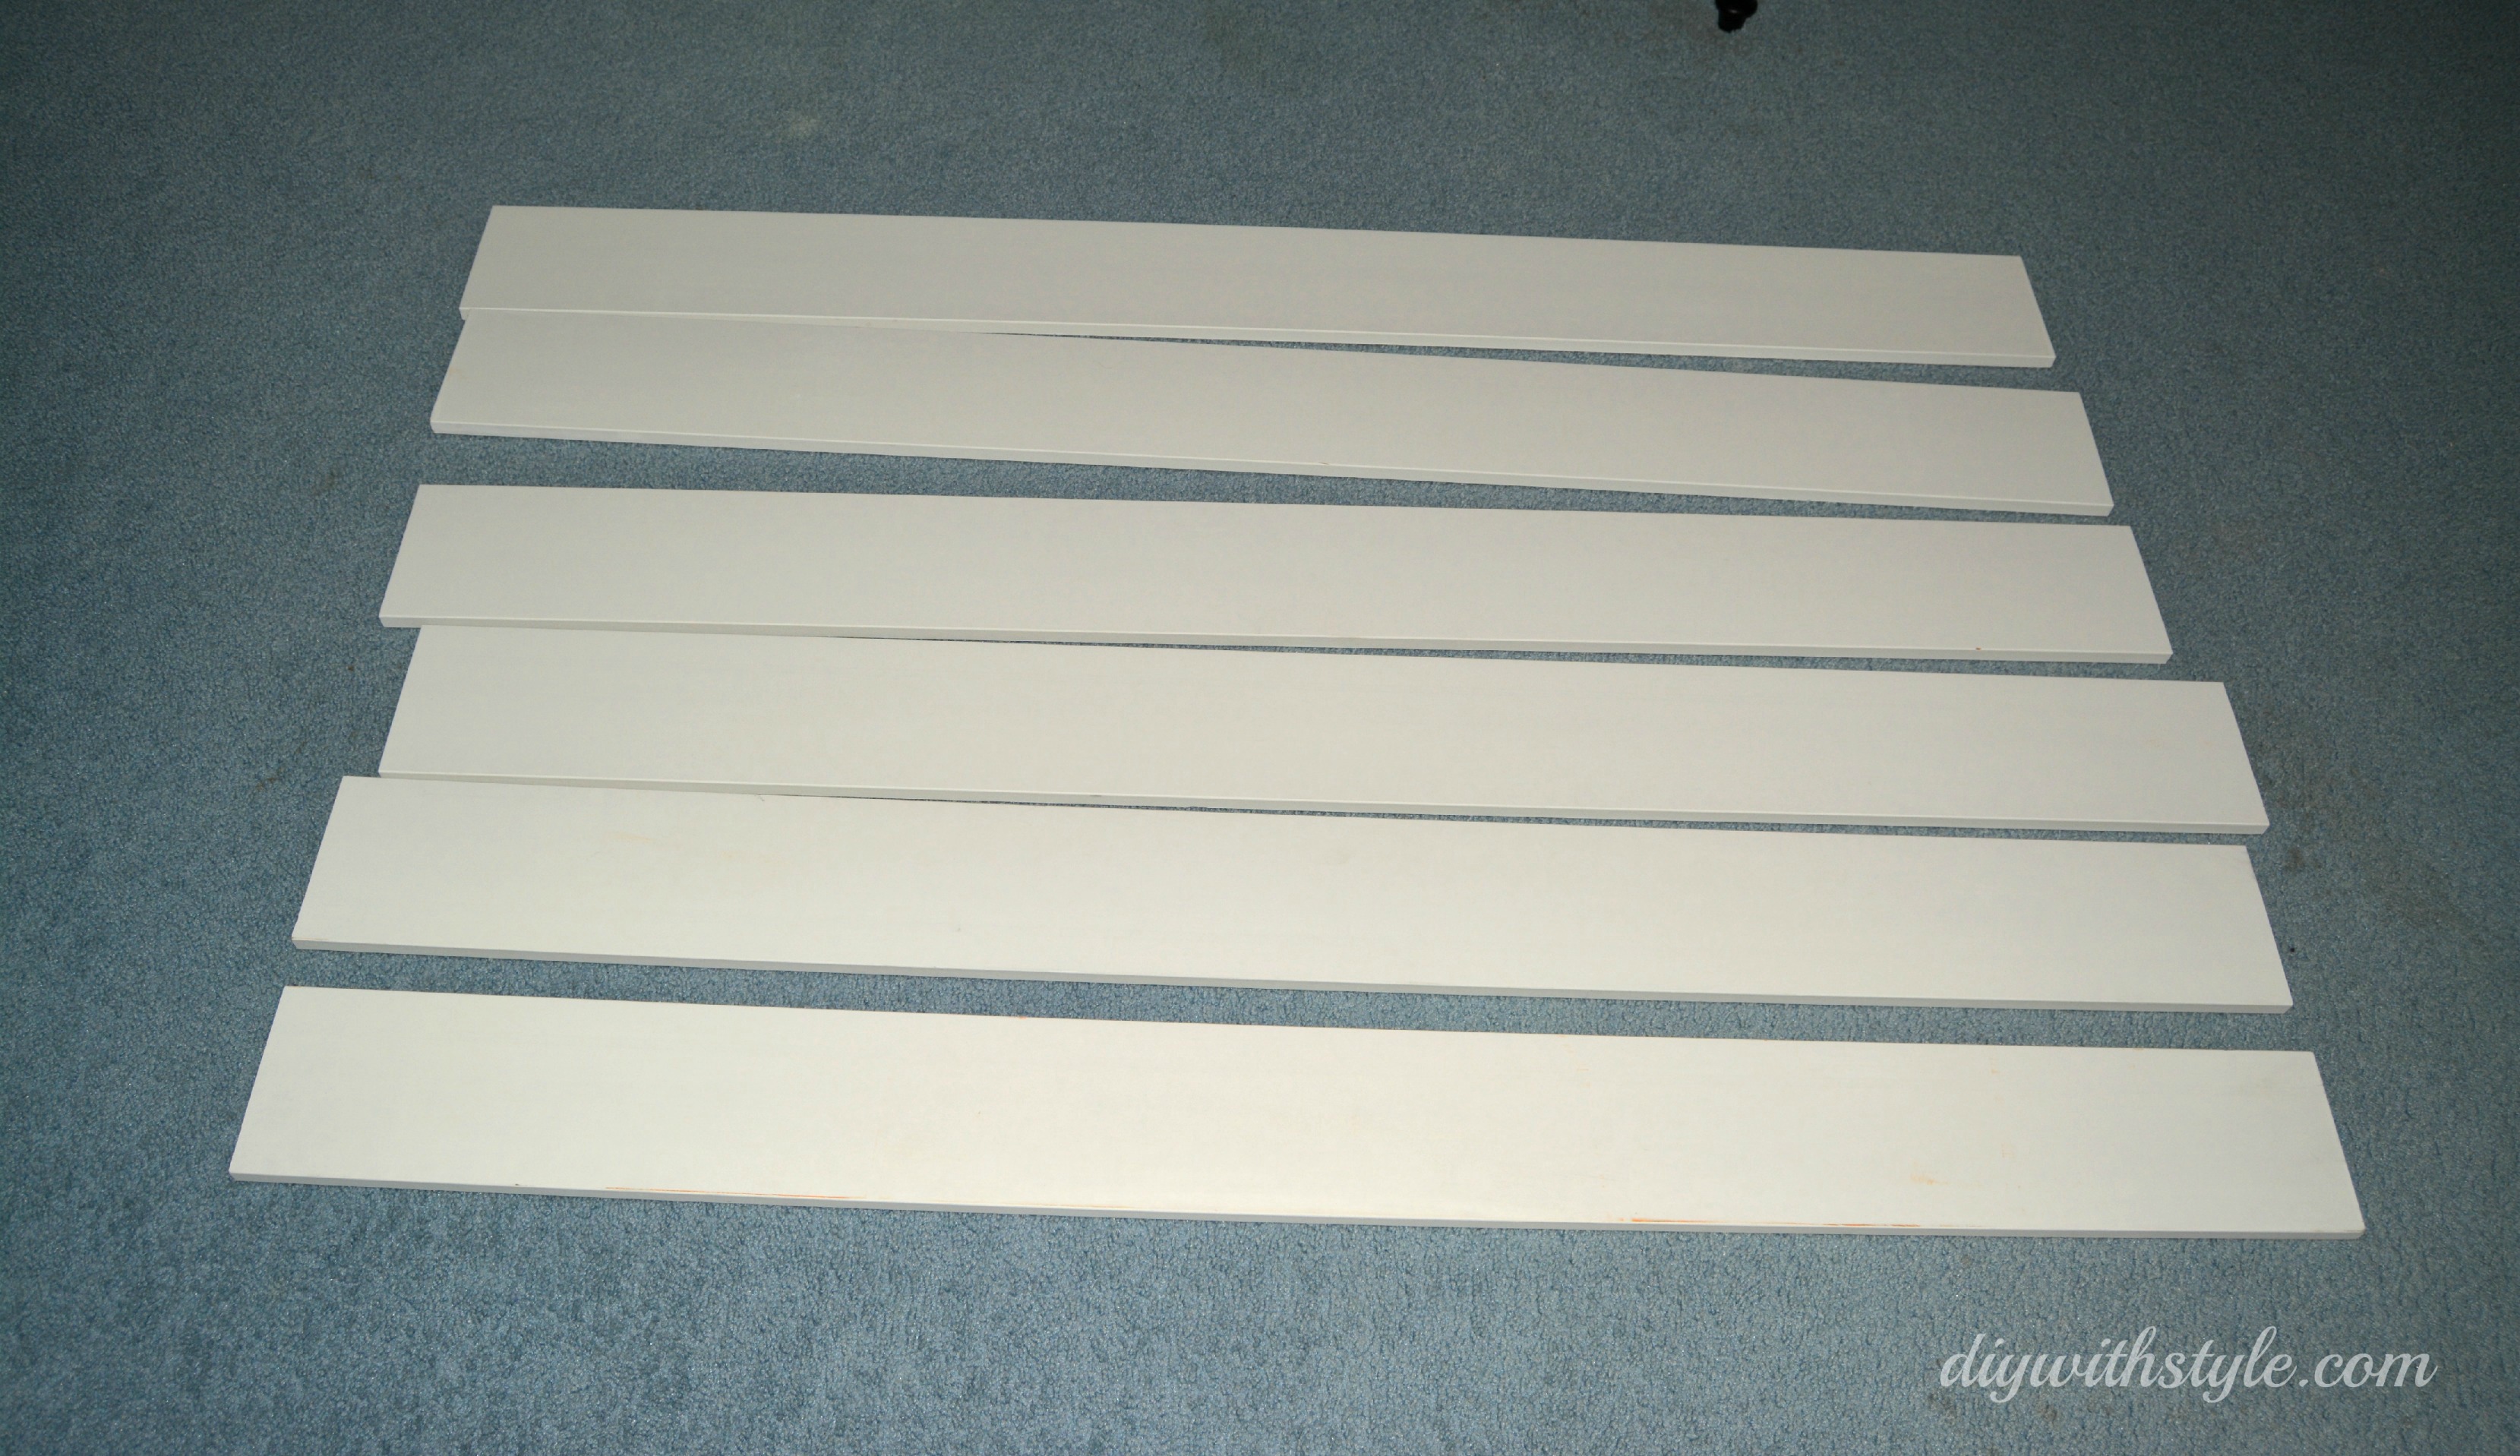
2) I headed over to the Home Depot and purchased pre-painted (white) MDF wood planks. For the bed I was working on, three 10ft planks were enough for the whole project since each 10ft plank gave me two full (56in) smaller pieces when cut. I needed 6 pieces in total to get the height I wanted for the headboard. I got the 10ft planks cut to size (six 56in pieces) in a matter of seconds and for free at The Home Depot.
I also purchased two plain cedar planks (6ft l x 6in. w x 1in.t) which would be used as the stilts to hold up the headboard. I cut these down to size at home with a hand saw because I wanted to double check the height needed one last time (but seriously, I should have just had these cut at Home Depot as well). The height of these stilt planks was the height from the floor to the top of the mattress + the height of the headboard minus 1-2 inches (the stilts purposely did not extend to the top of the headboard because otherwise they would be visible from the top). I only used two stilts because I was working on a double bed. Had it been a Queen or King sized bed, I probably would have used three or four stilts (respectively).
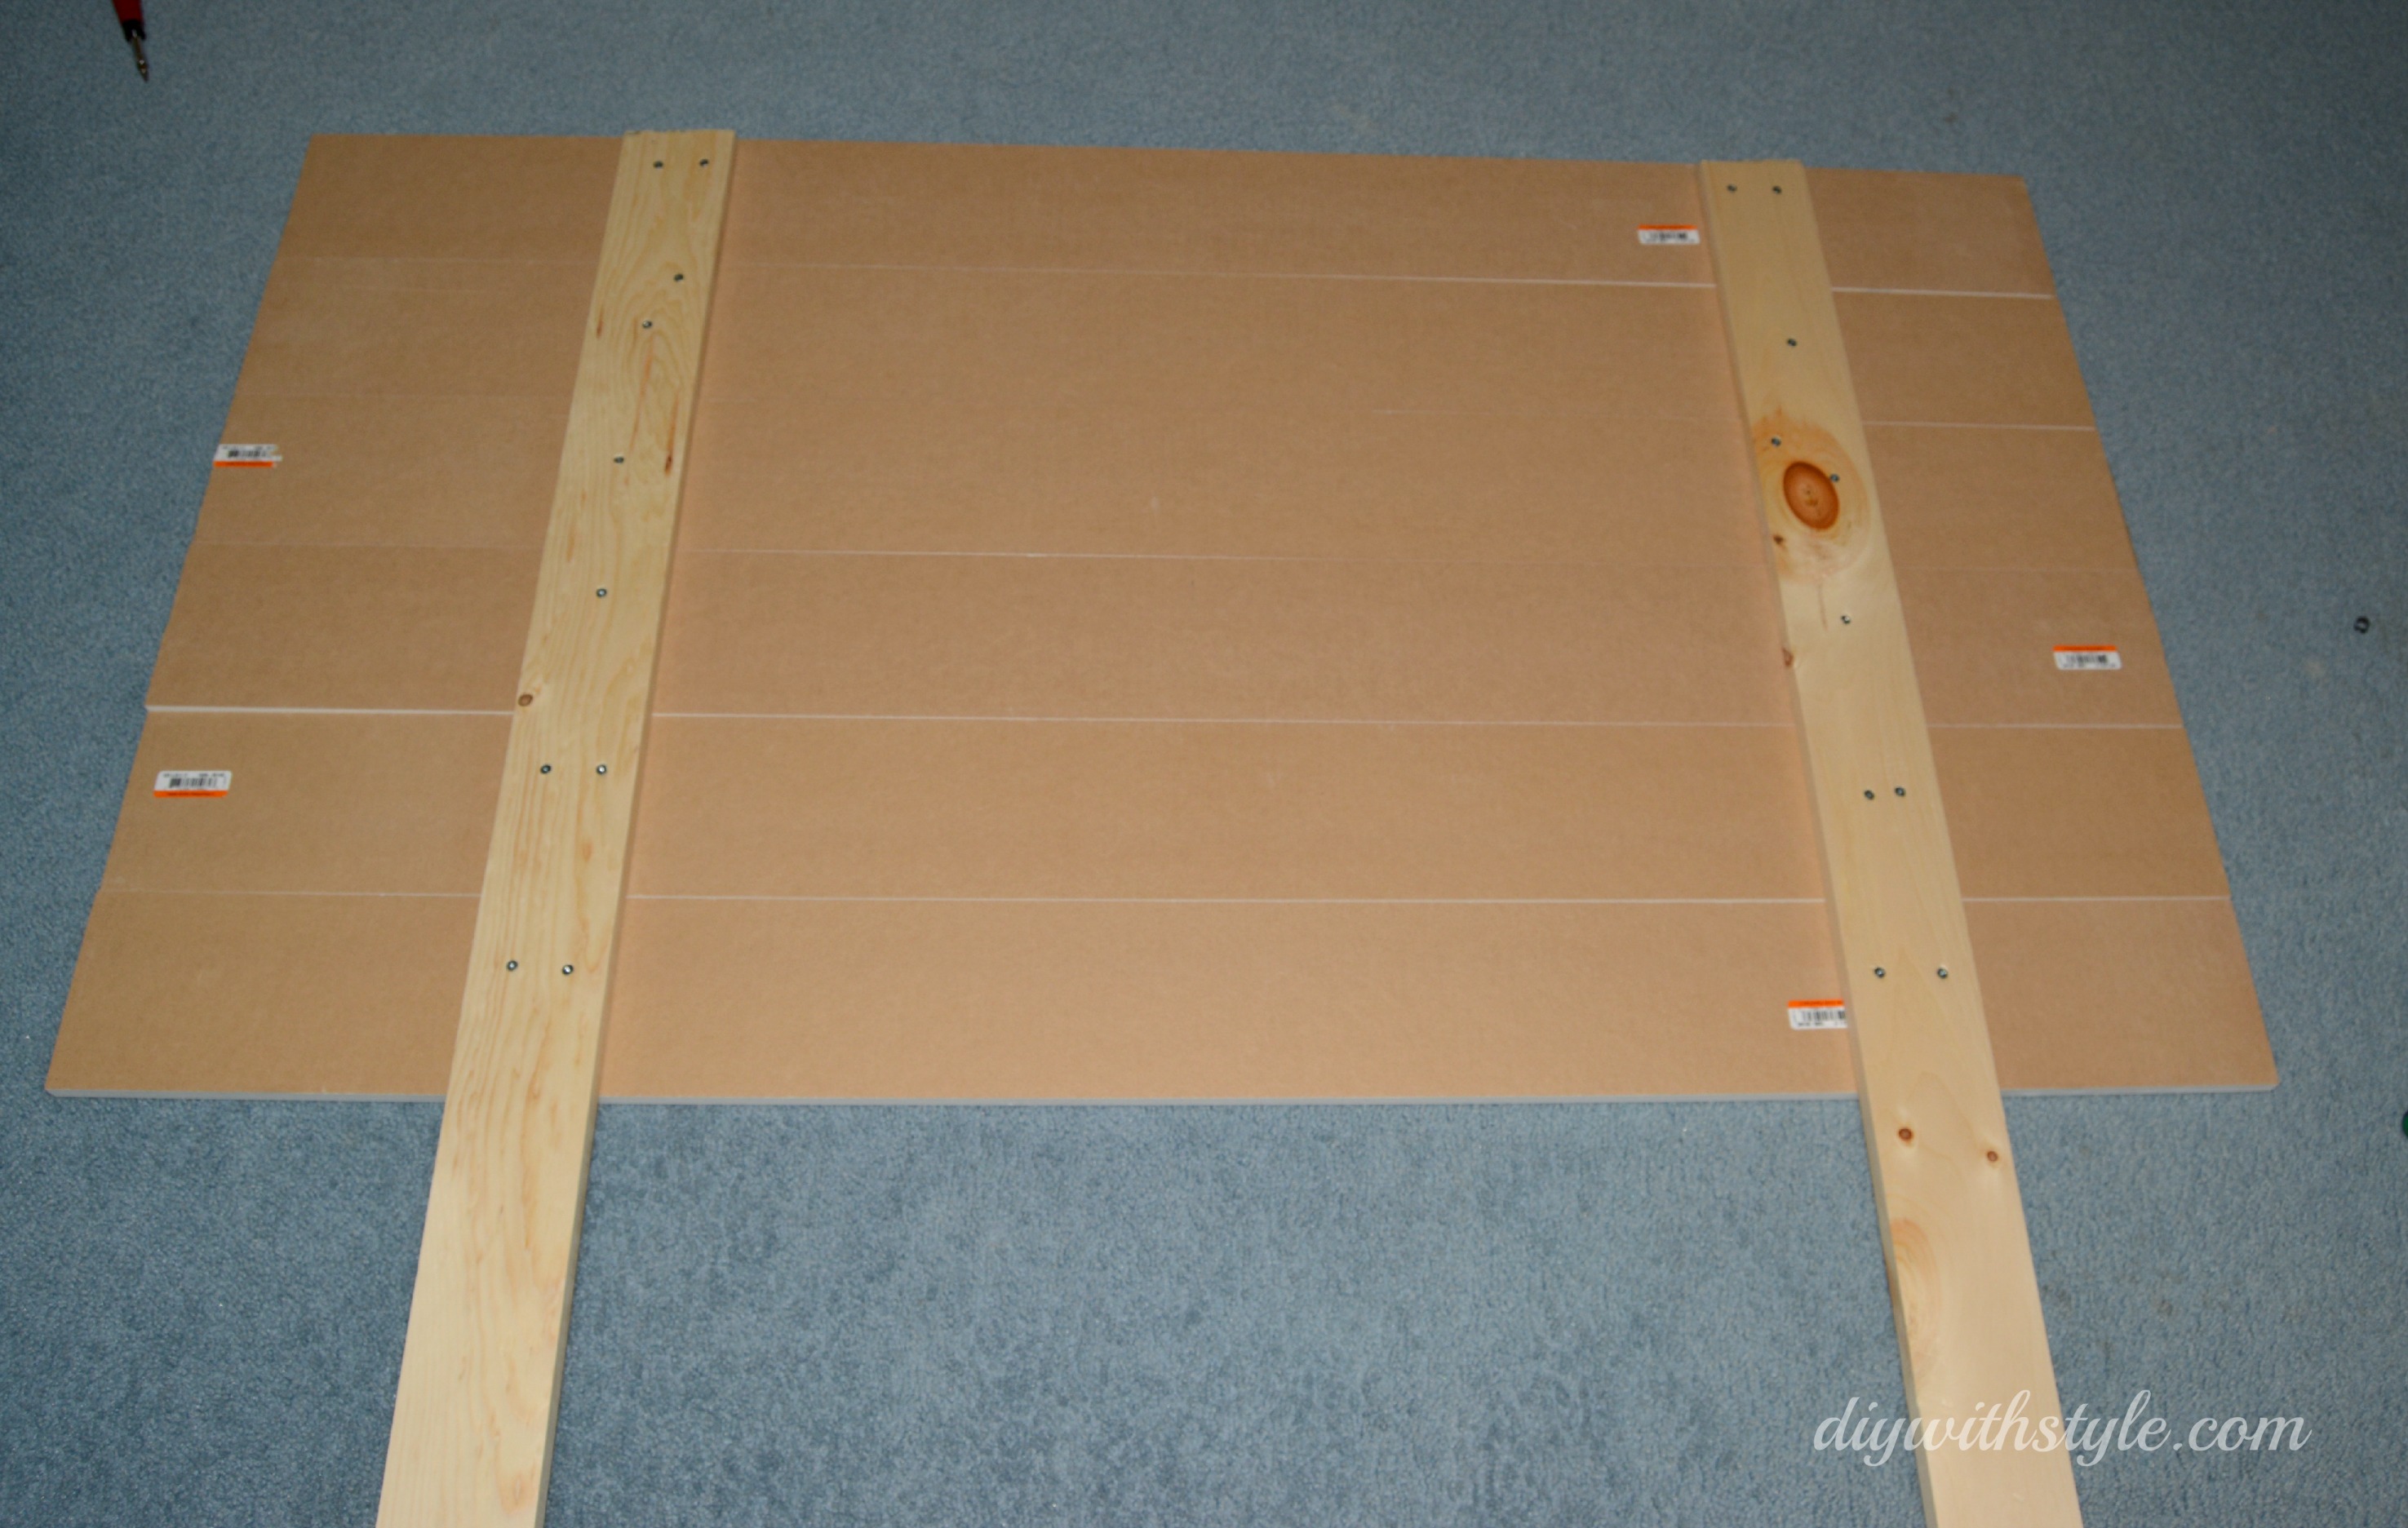
3) Once all the peices were cut to their proper dimensions, I simply placed the white MDF boards face down in a row on the ground and aligned them, ensuring there were no gaps between them. Then I positioned the two other wood planks (the stilts) onto the MDF, at least an inch lower than what would be the top of the headboard. I secured the wood stilts onto the MDF by screwing each stilt into each plank of MDF, using 1 1/2in. wood screws and a good old fashion screw driver.
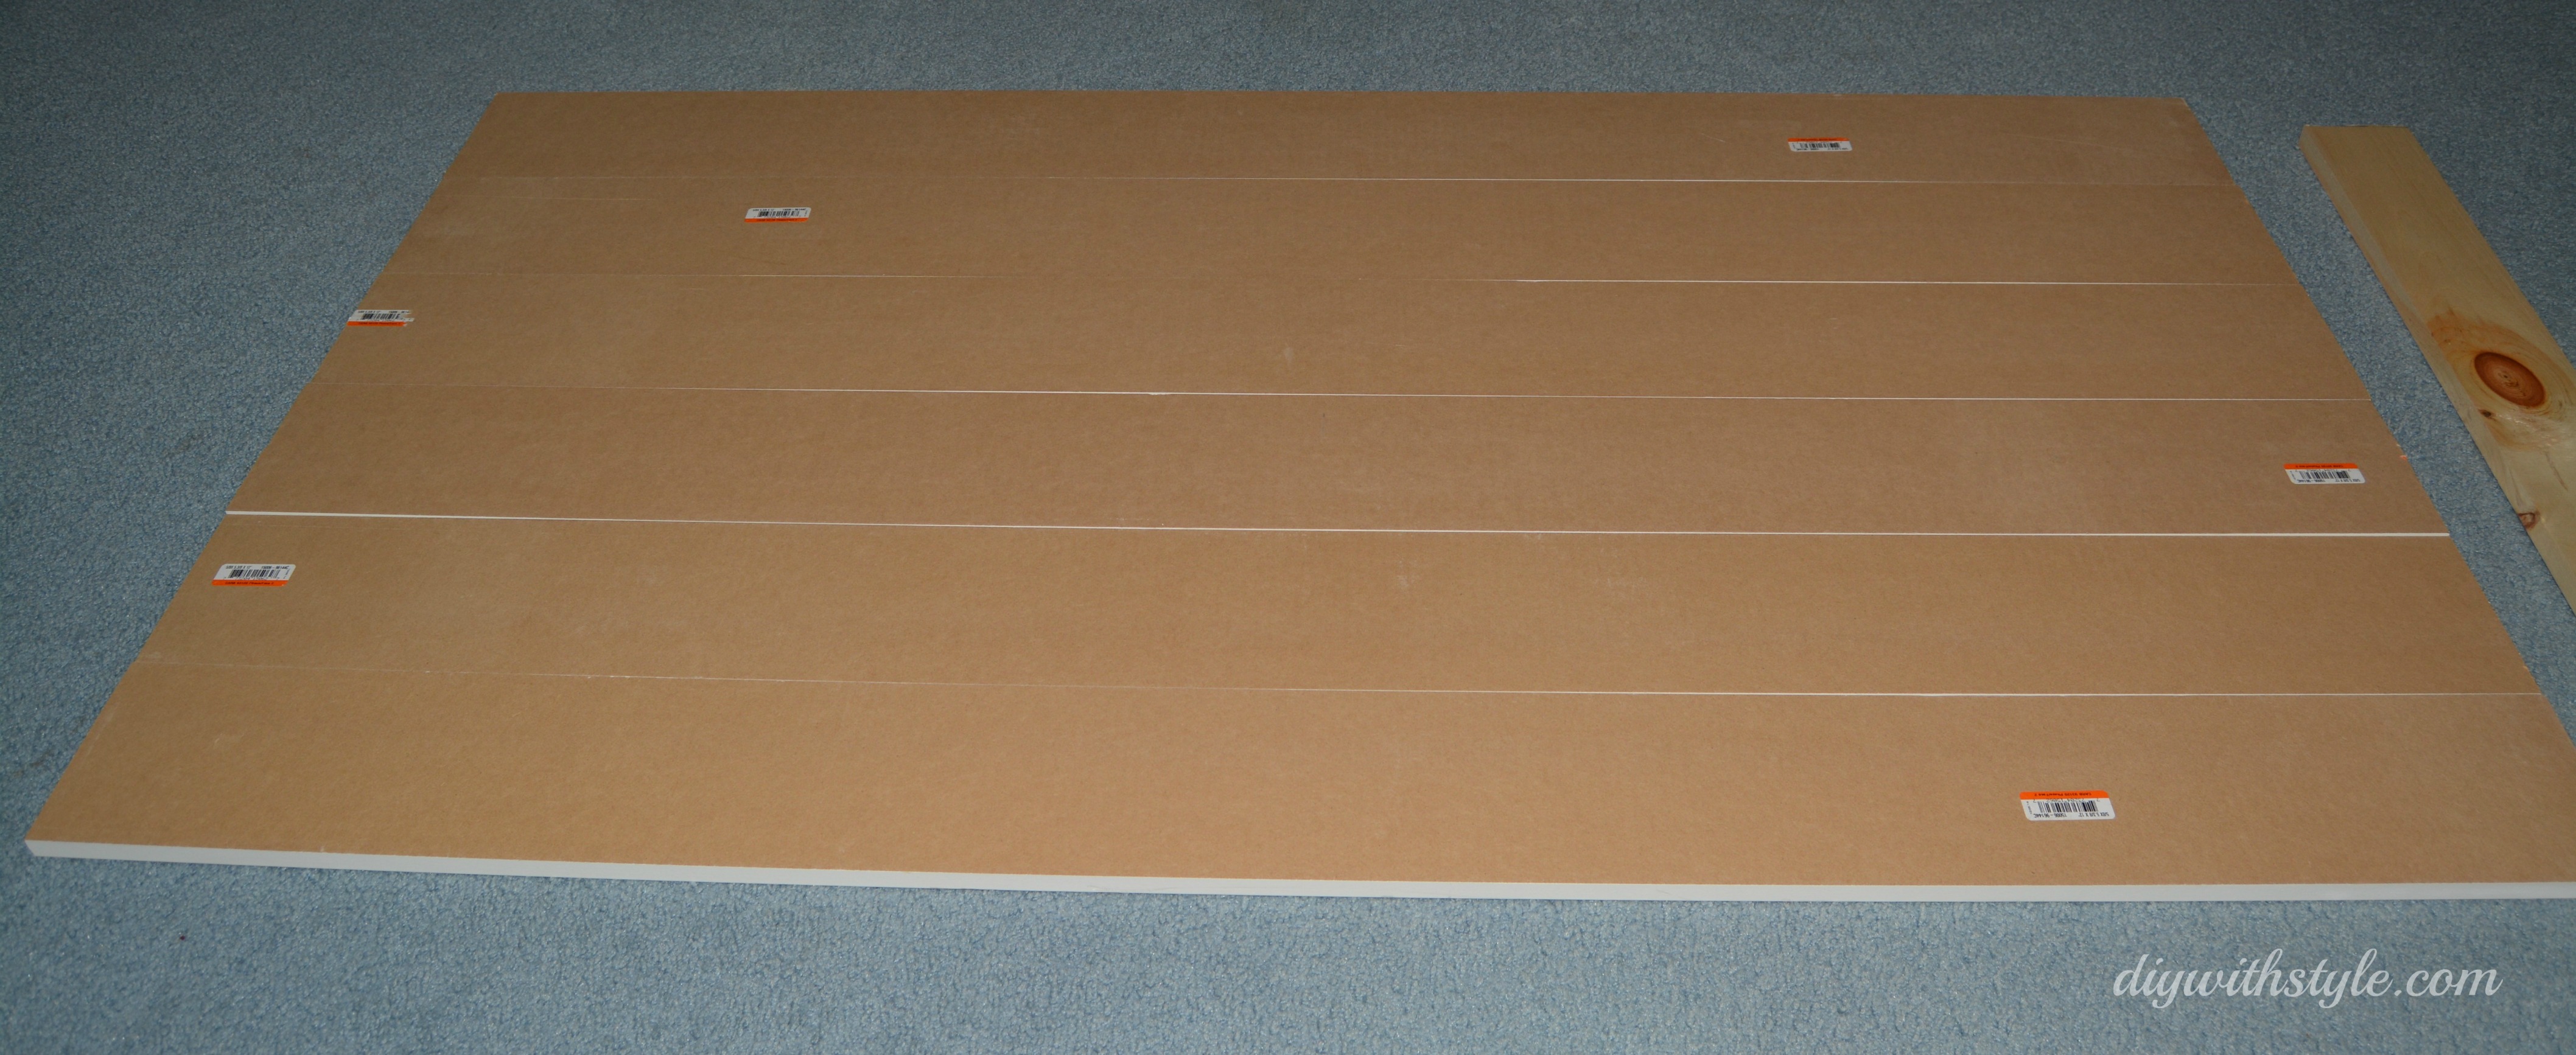
Planks aligned
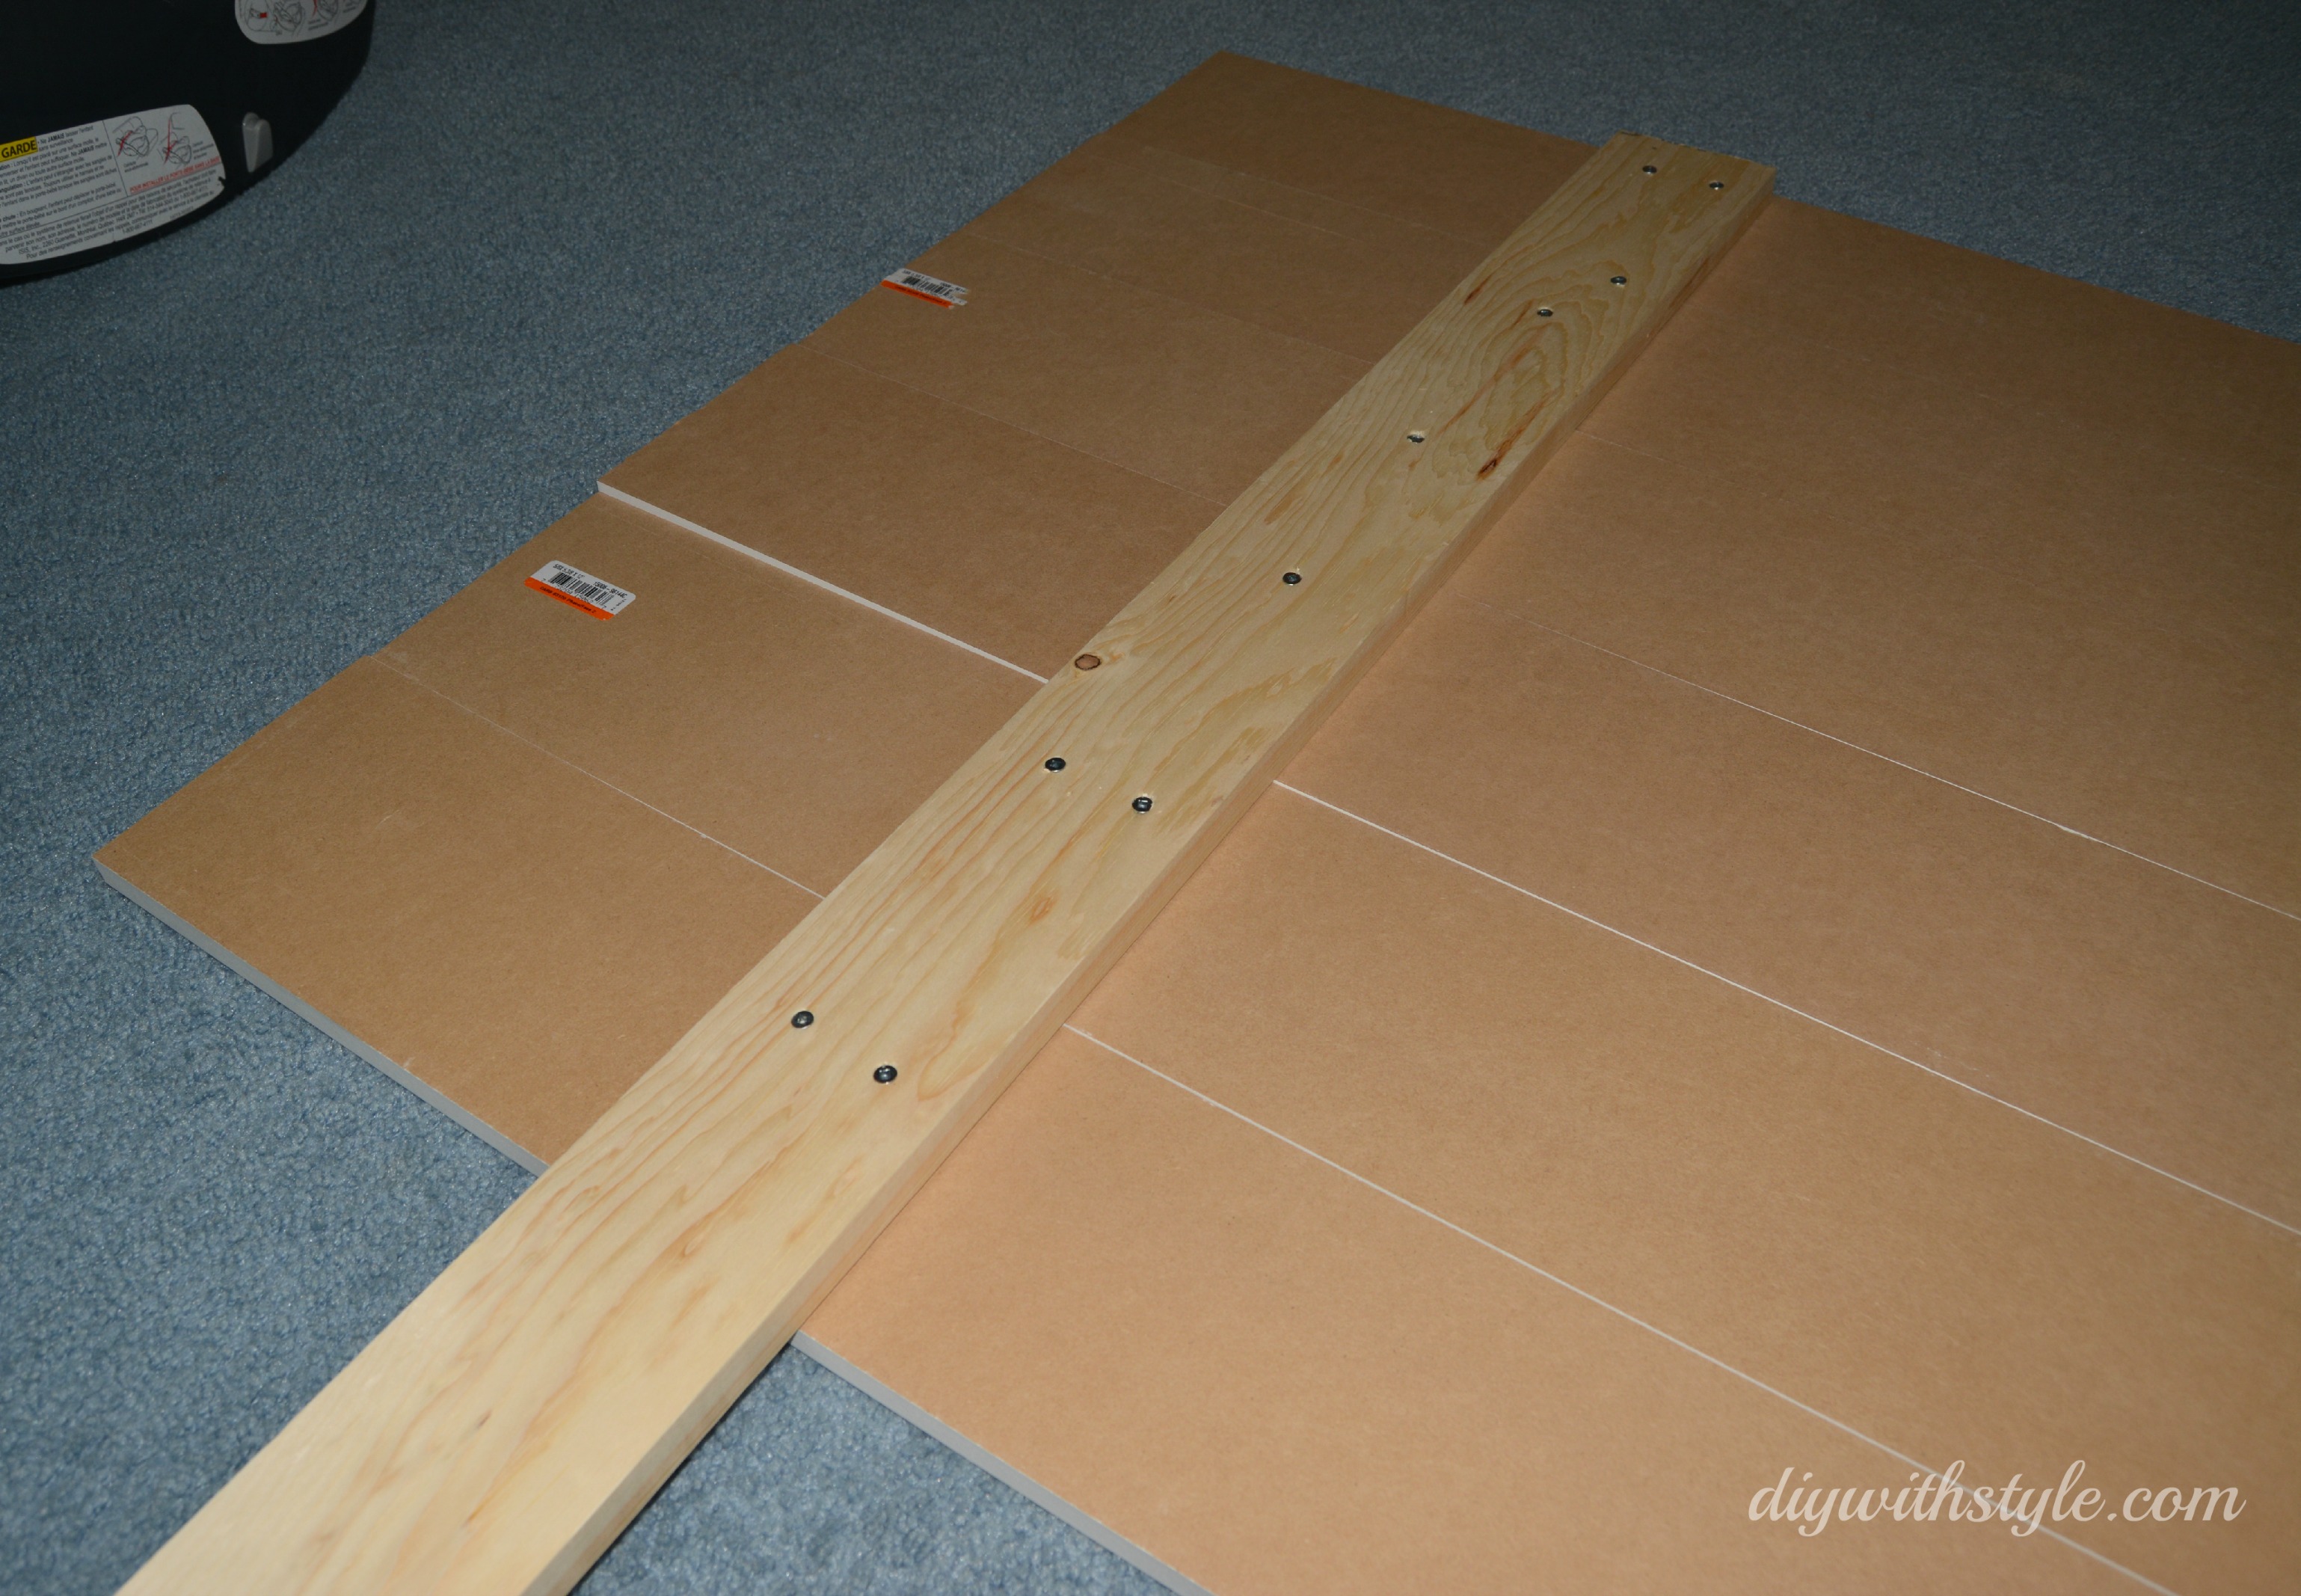
Fastening the stilts onto the MDF boards
4) To help straighten the boards on one end, I fastened a spare piece of MDF to the back where it was needed. This can be done anywhere that needs straightening.
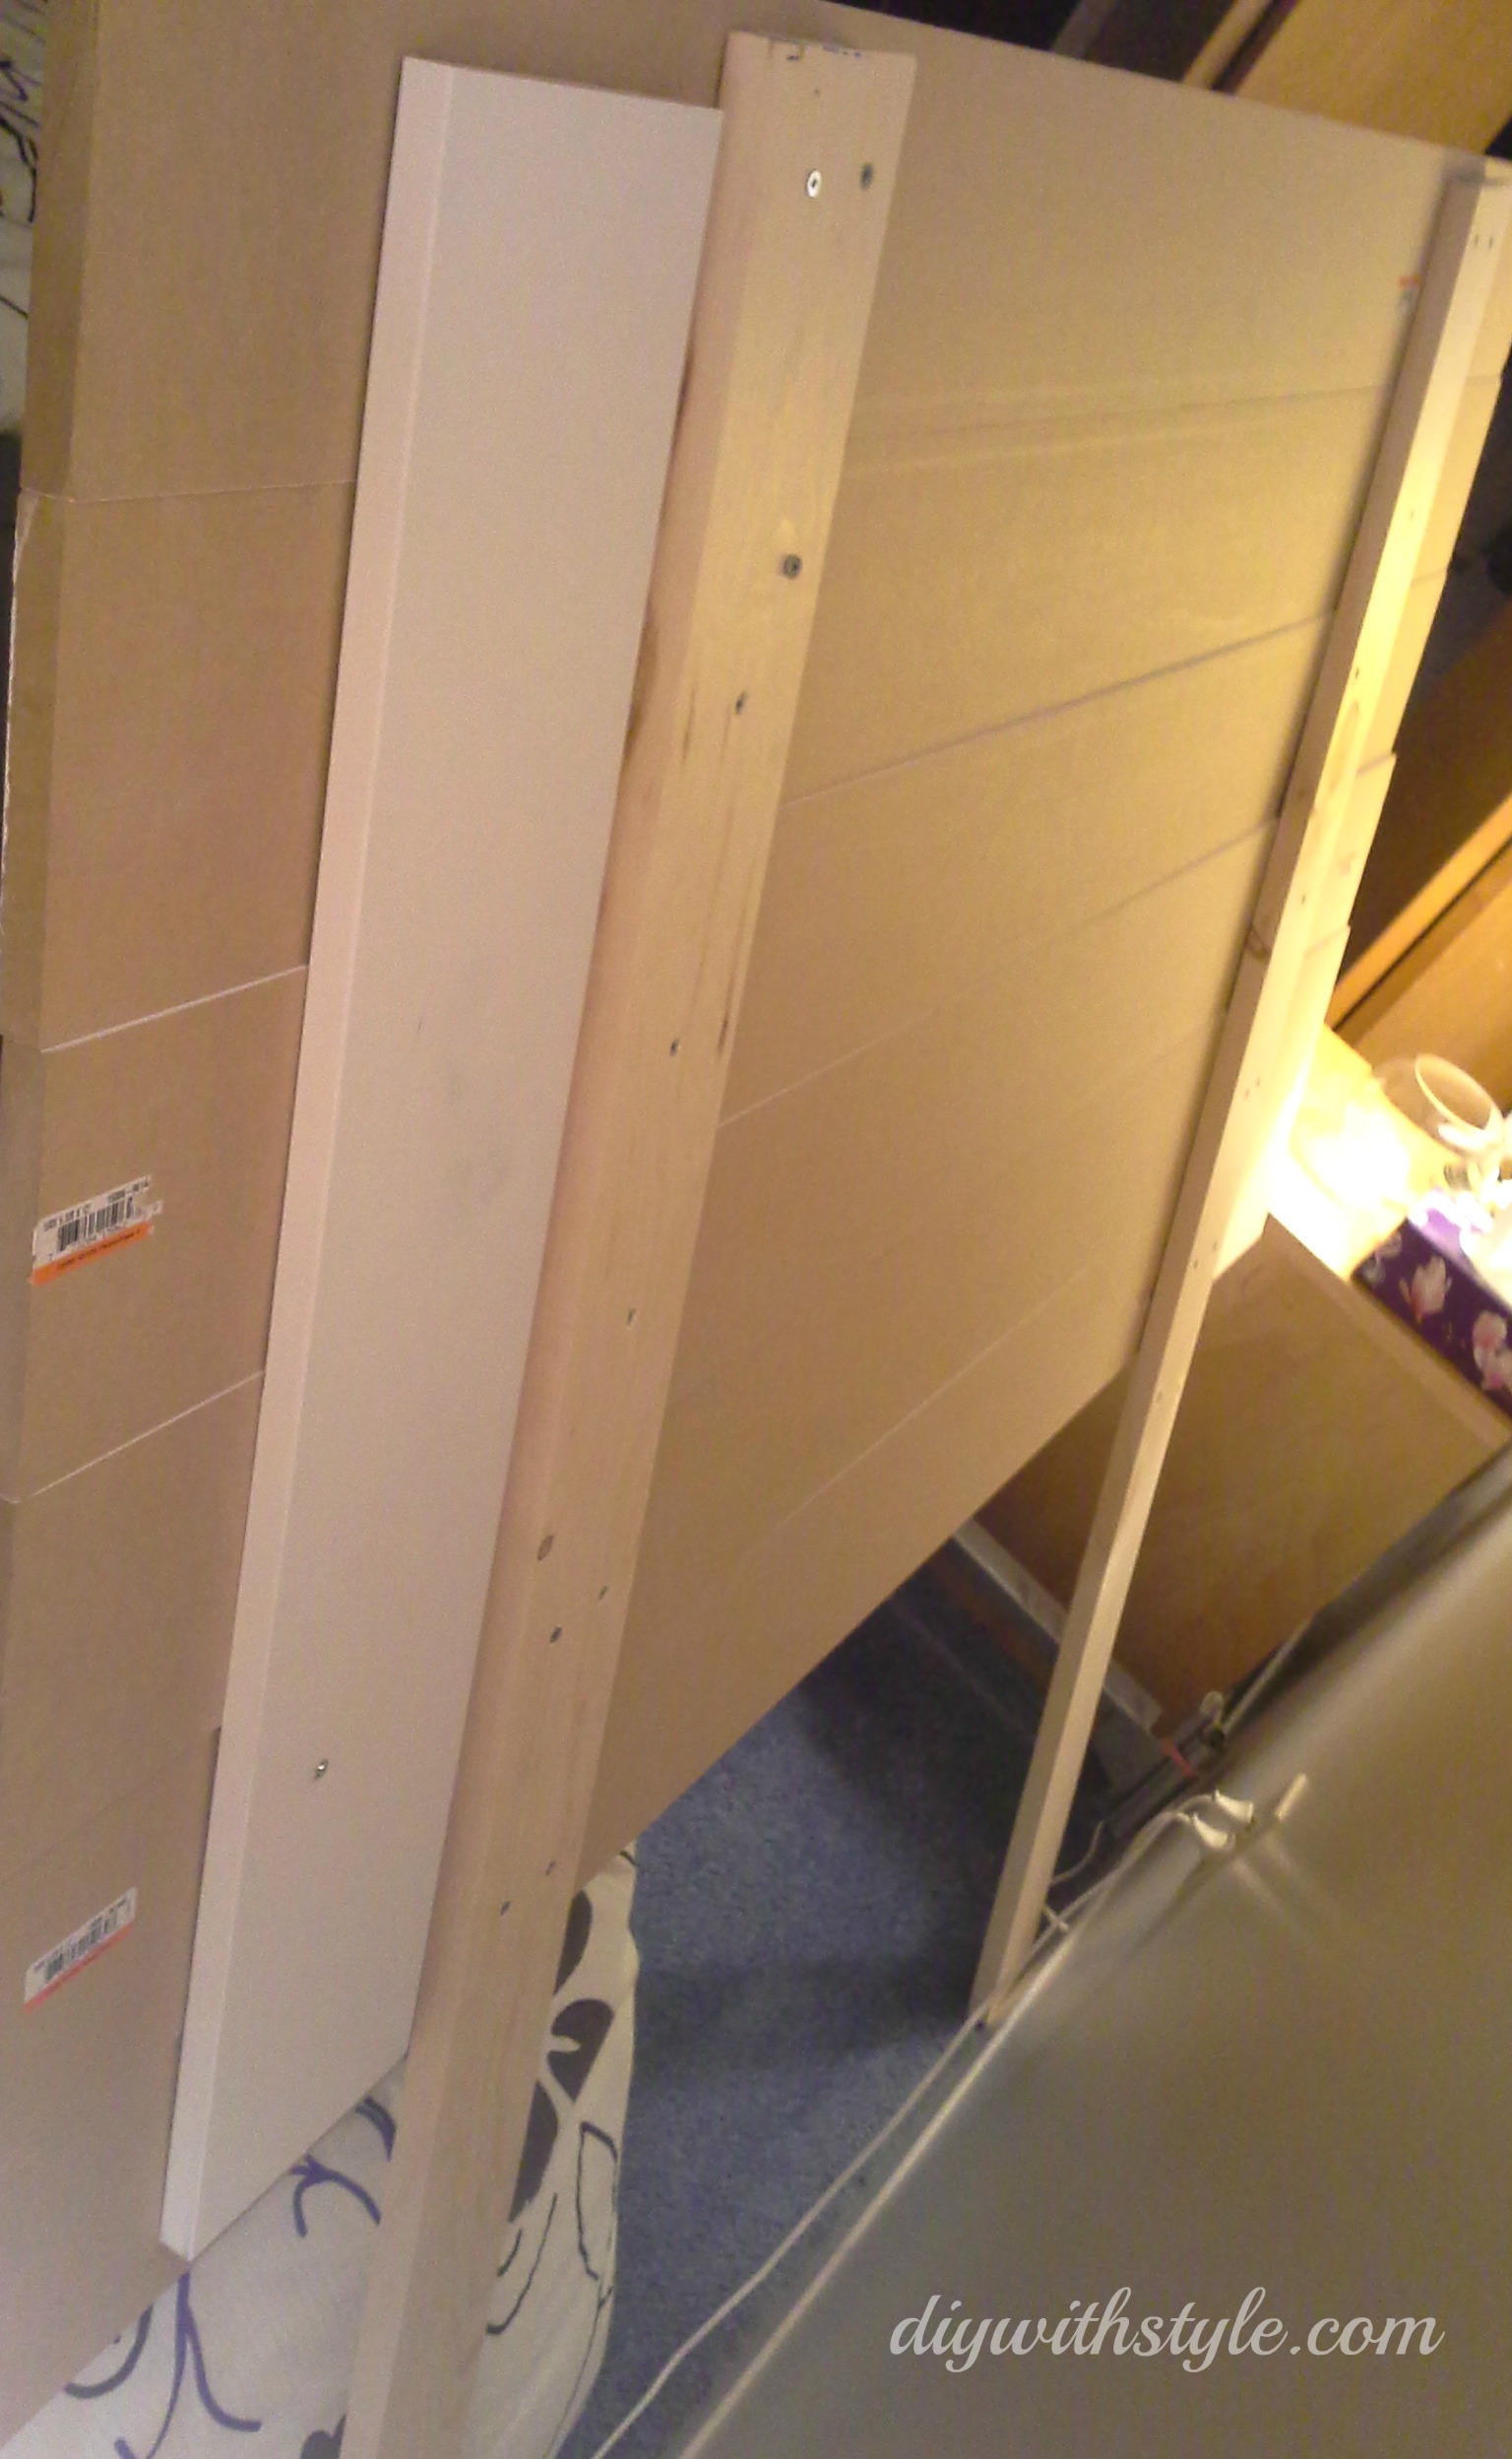
Extra board on back to straighten MDF boards
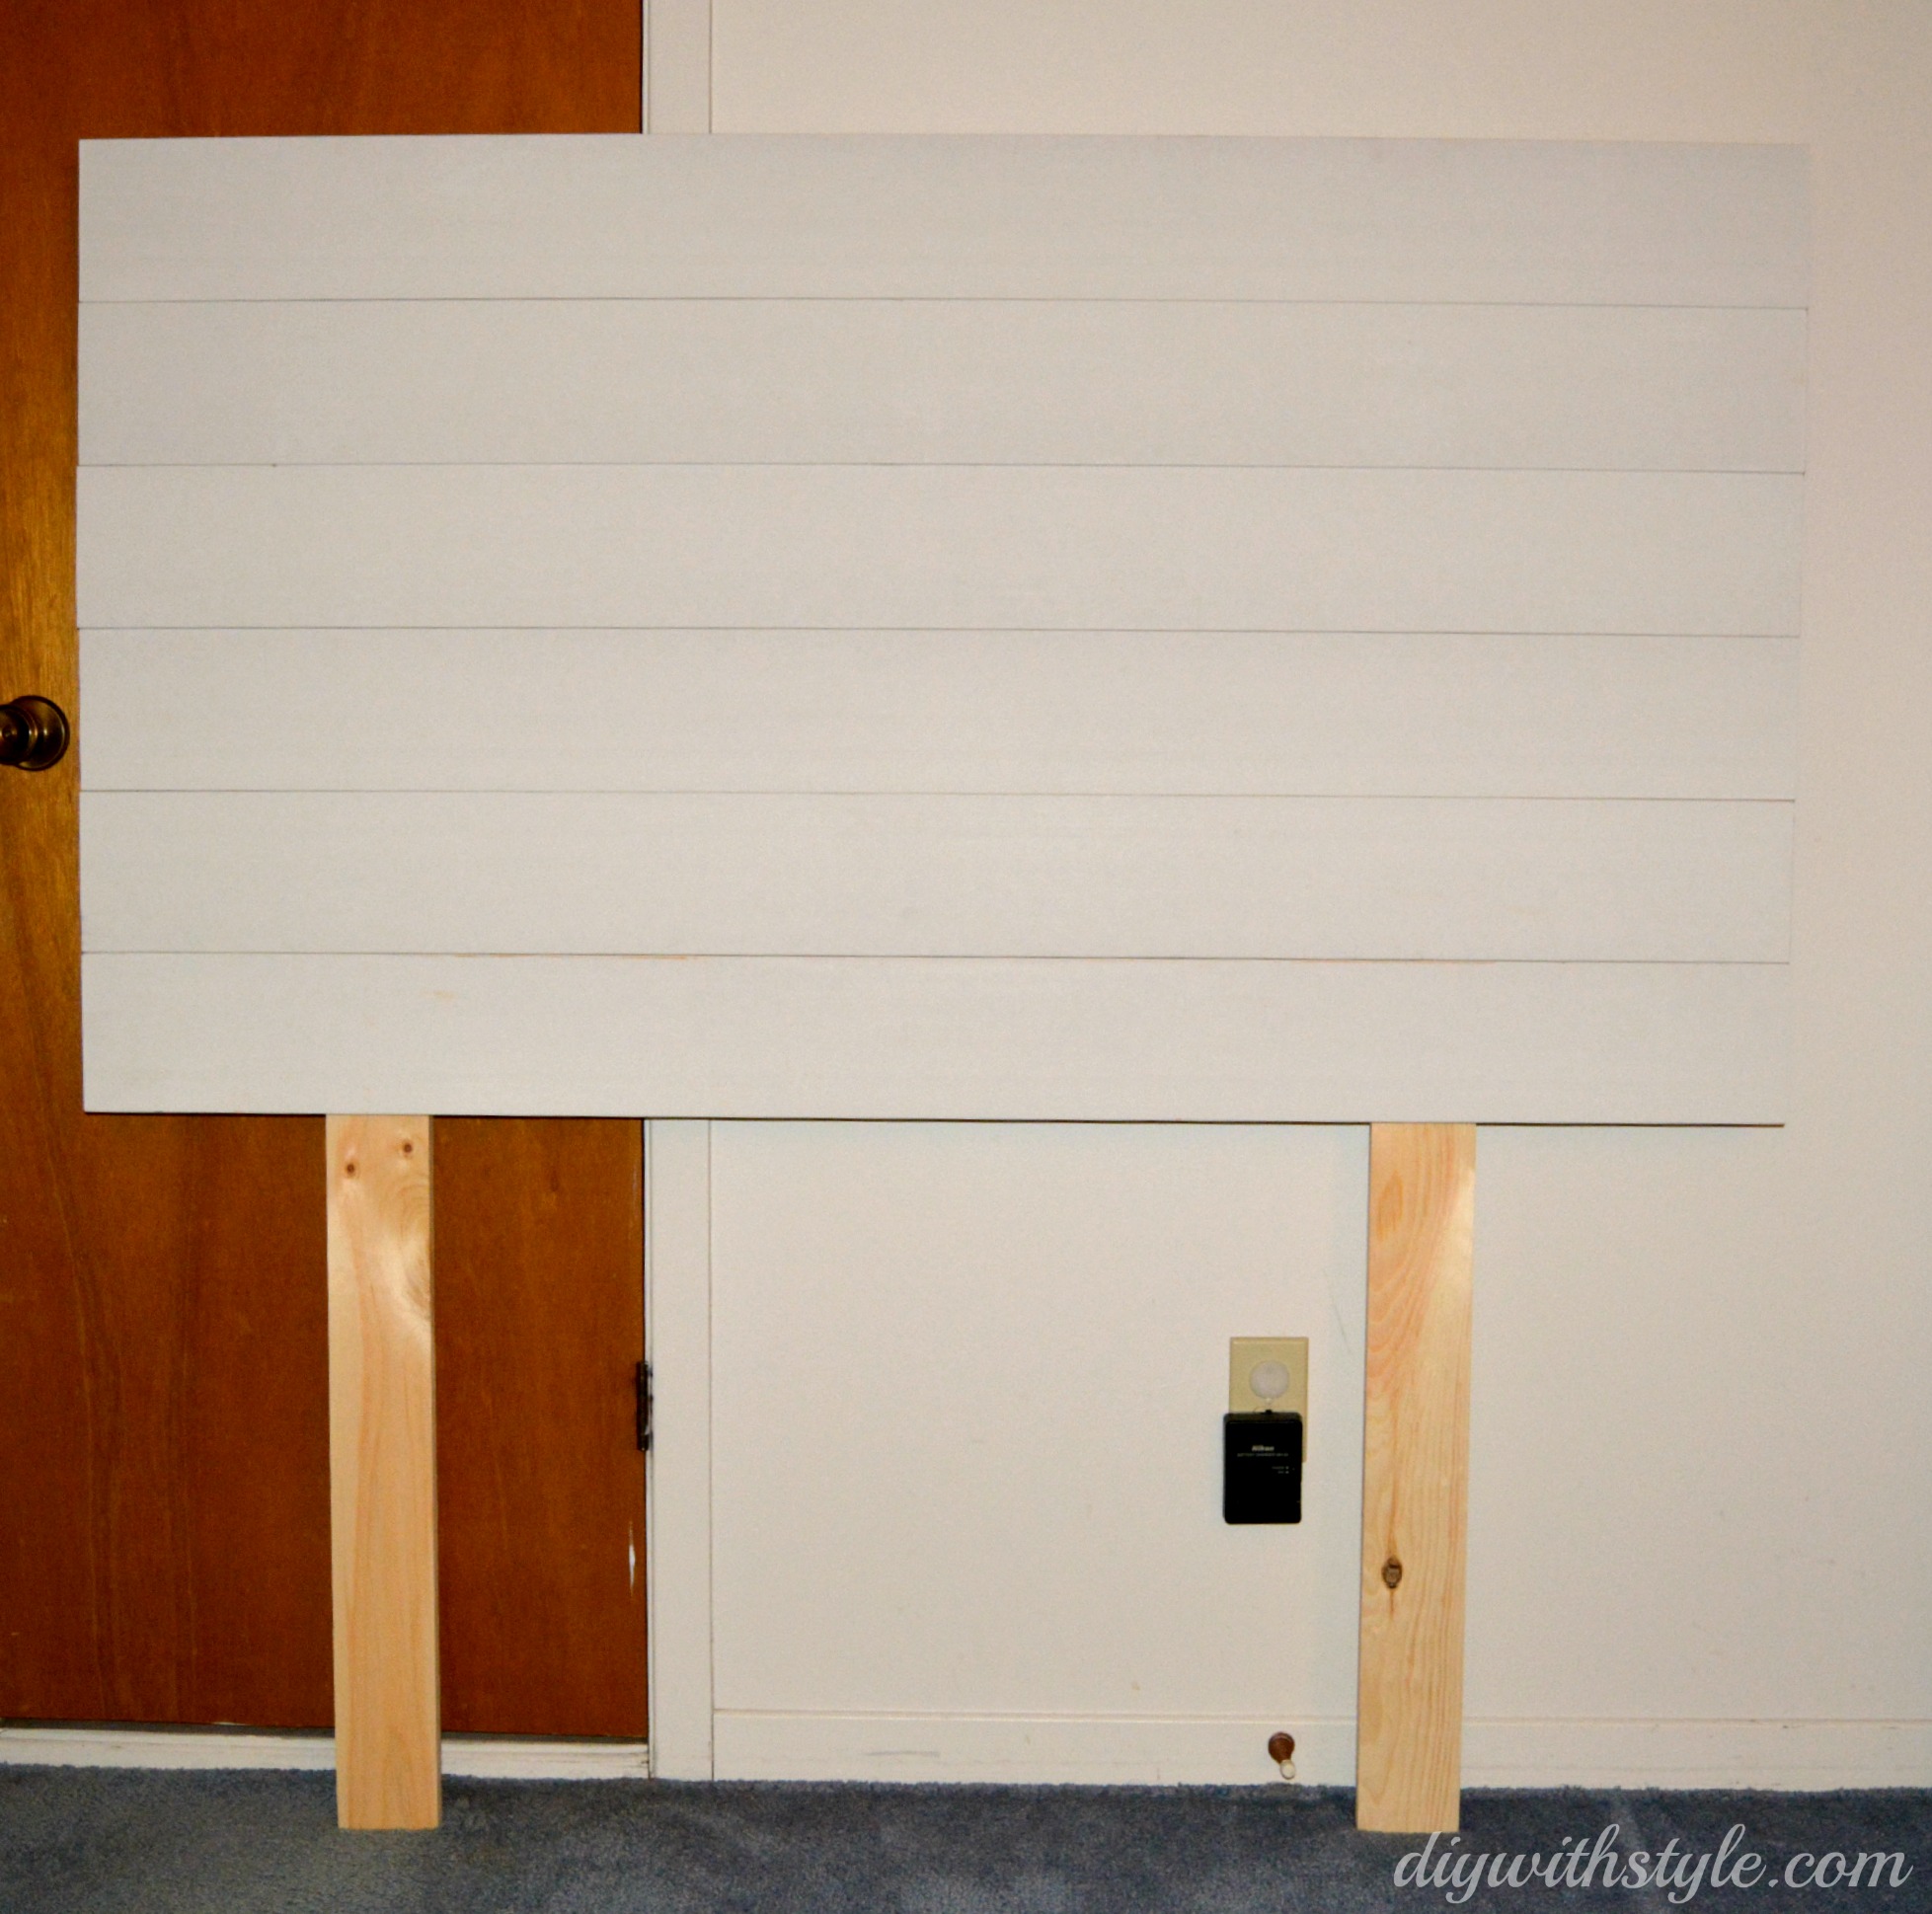
And done! Here’s the final product! Quick and simple! I just placed the headboard behind the bed, and pushed the bed up against it and it held up beautifully. You can of course if you want, fasten the headboard onto the bed frame with screws and nuts, but I didn’t find it necessary.
The great thing about this headboard is that it is so simple and clean, that it naturally fits in with contemporary styled rooms, but it could just as easily fit into a more traditional or rustic – styled rooms.
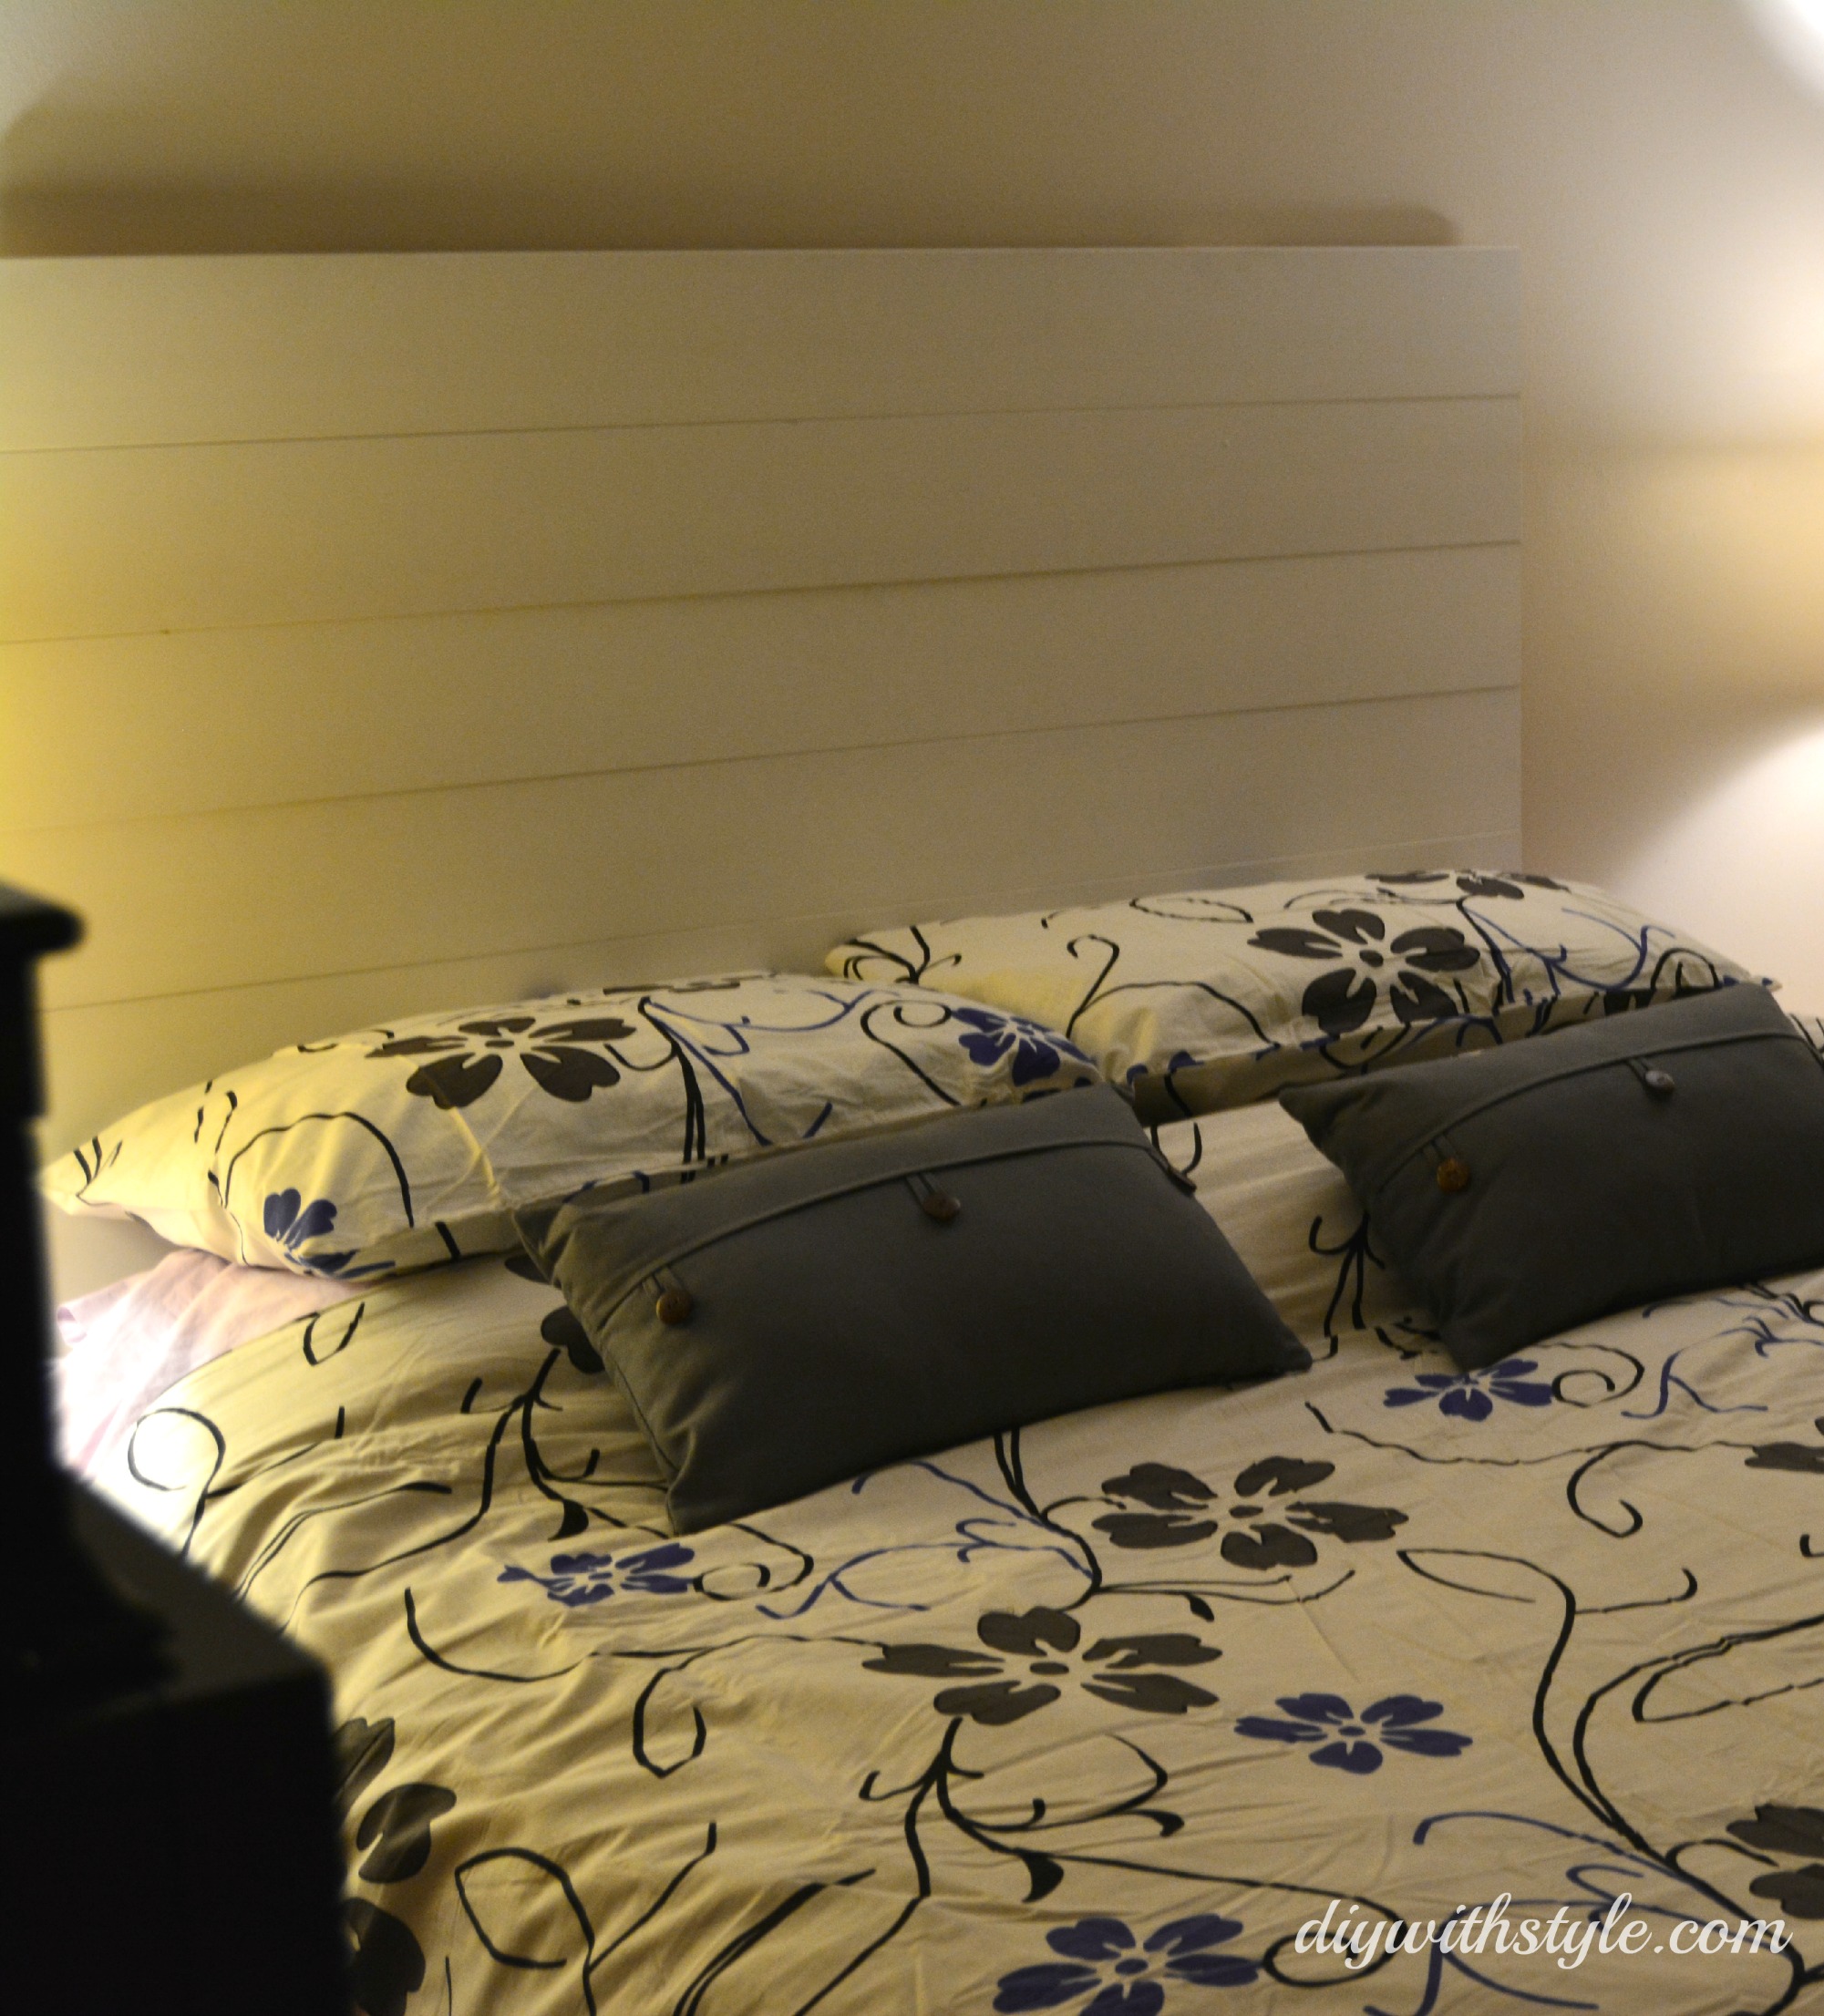
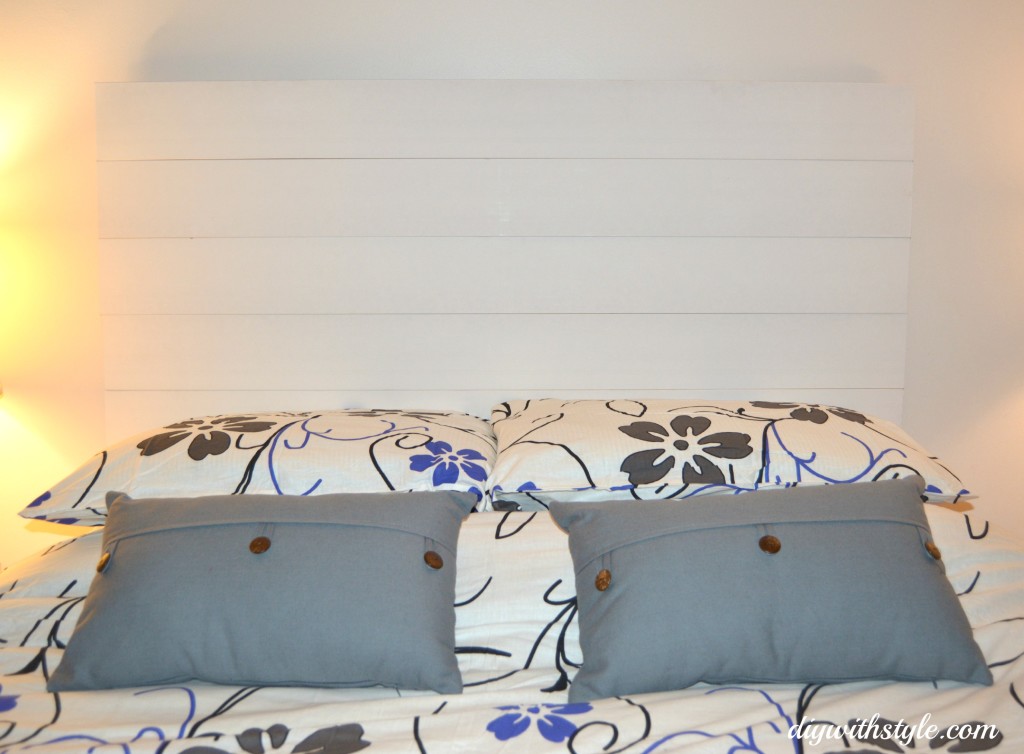
(I apologize for the quality of the pictures, the lighting in the room was so dim!)