
I really love this mirror frame and it was actually quite easy and did not take that much time to make.
Supplies:
- Cardboard (big enough to cut out 2 circles of whatever size you’d like)
- Twine (rope)
- Glue gun
- Spray paint: I chose black
- Mirror: I got this one from Ikea, but you can also get different sized ones at Michael’s
Instructions:
 I cut out 2 cardboard rings and glued them together to make a sturdy frame. I didn’t have a protractor big enough to trace out these circles, so I just looked around my home for something that would do. I actually turned a little bistro table upside down onto the board and traced the outer circumference, and used a place mat to trace the inner circumference. I cut out the circles with an x-acto knife. Note: make sure the outer circumference of the cardboard circle is bigger than that of your mirror, and the inner circumference small enough so that there is a decent overlap between the mirror and cardboard!

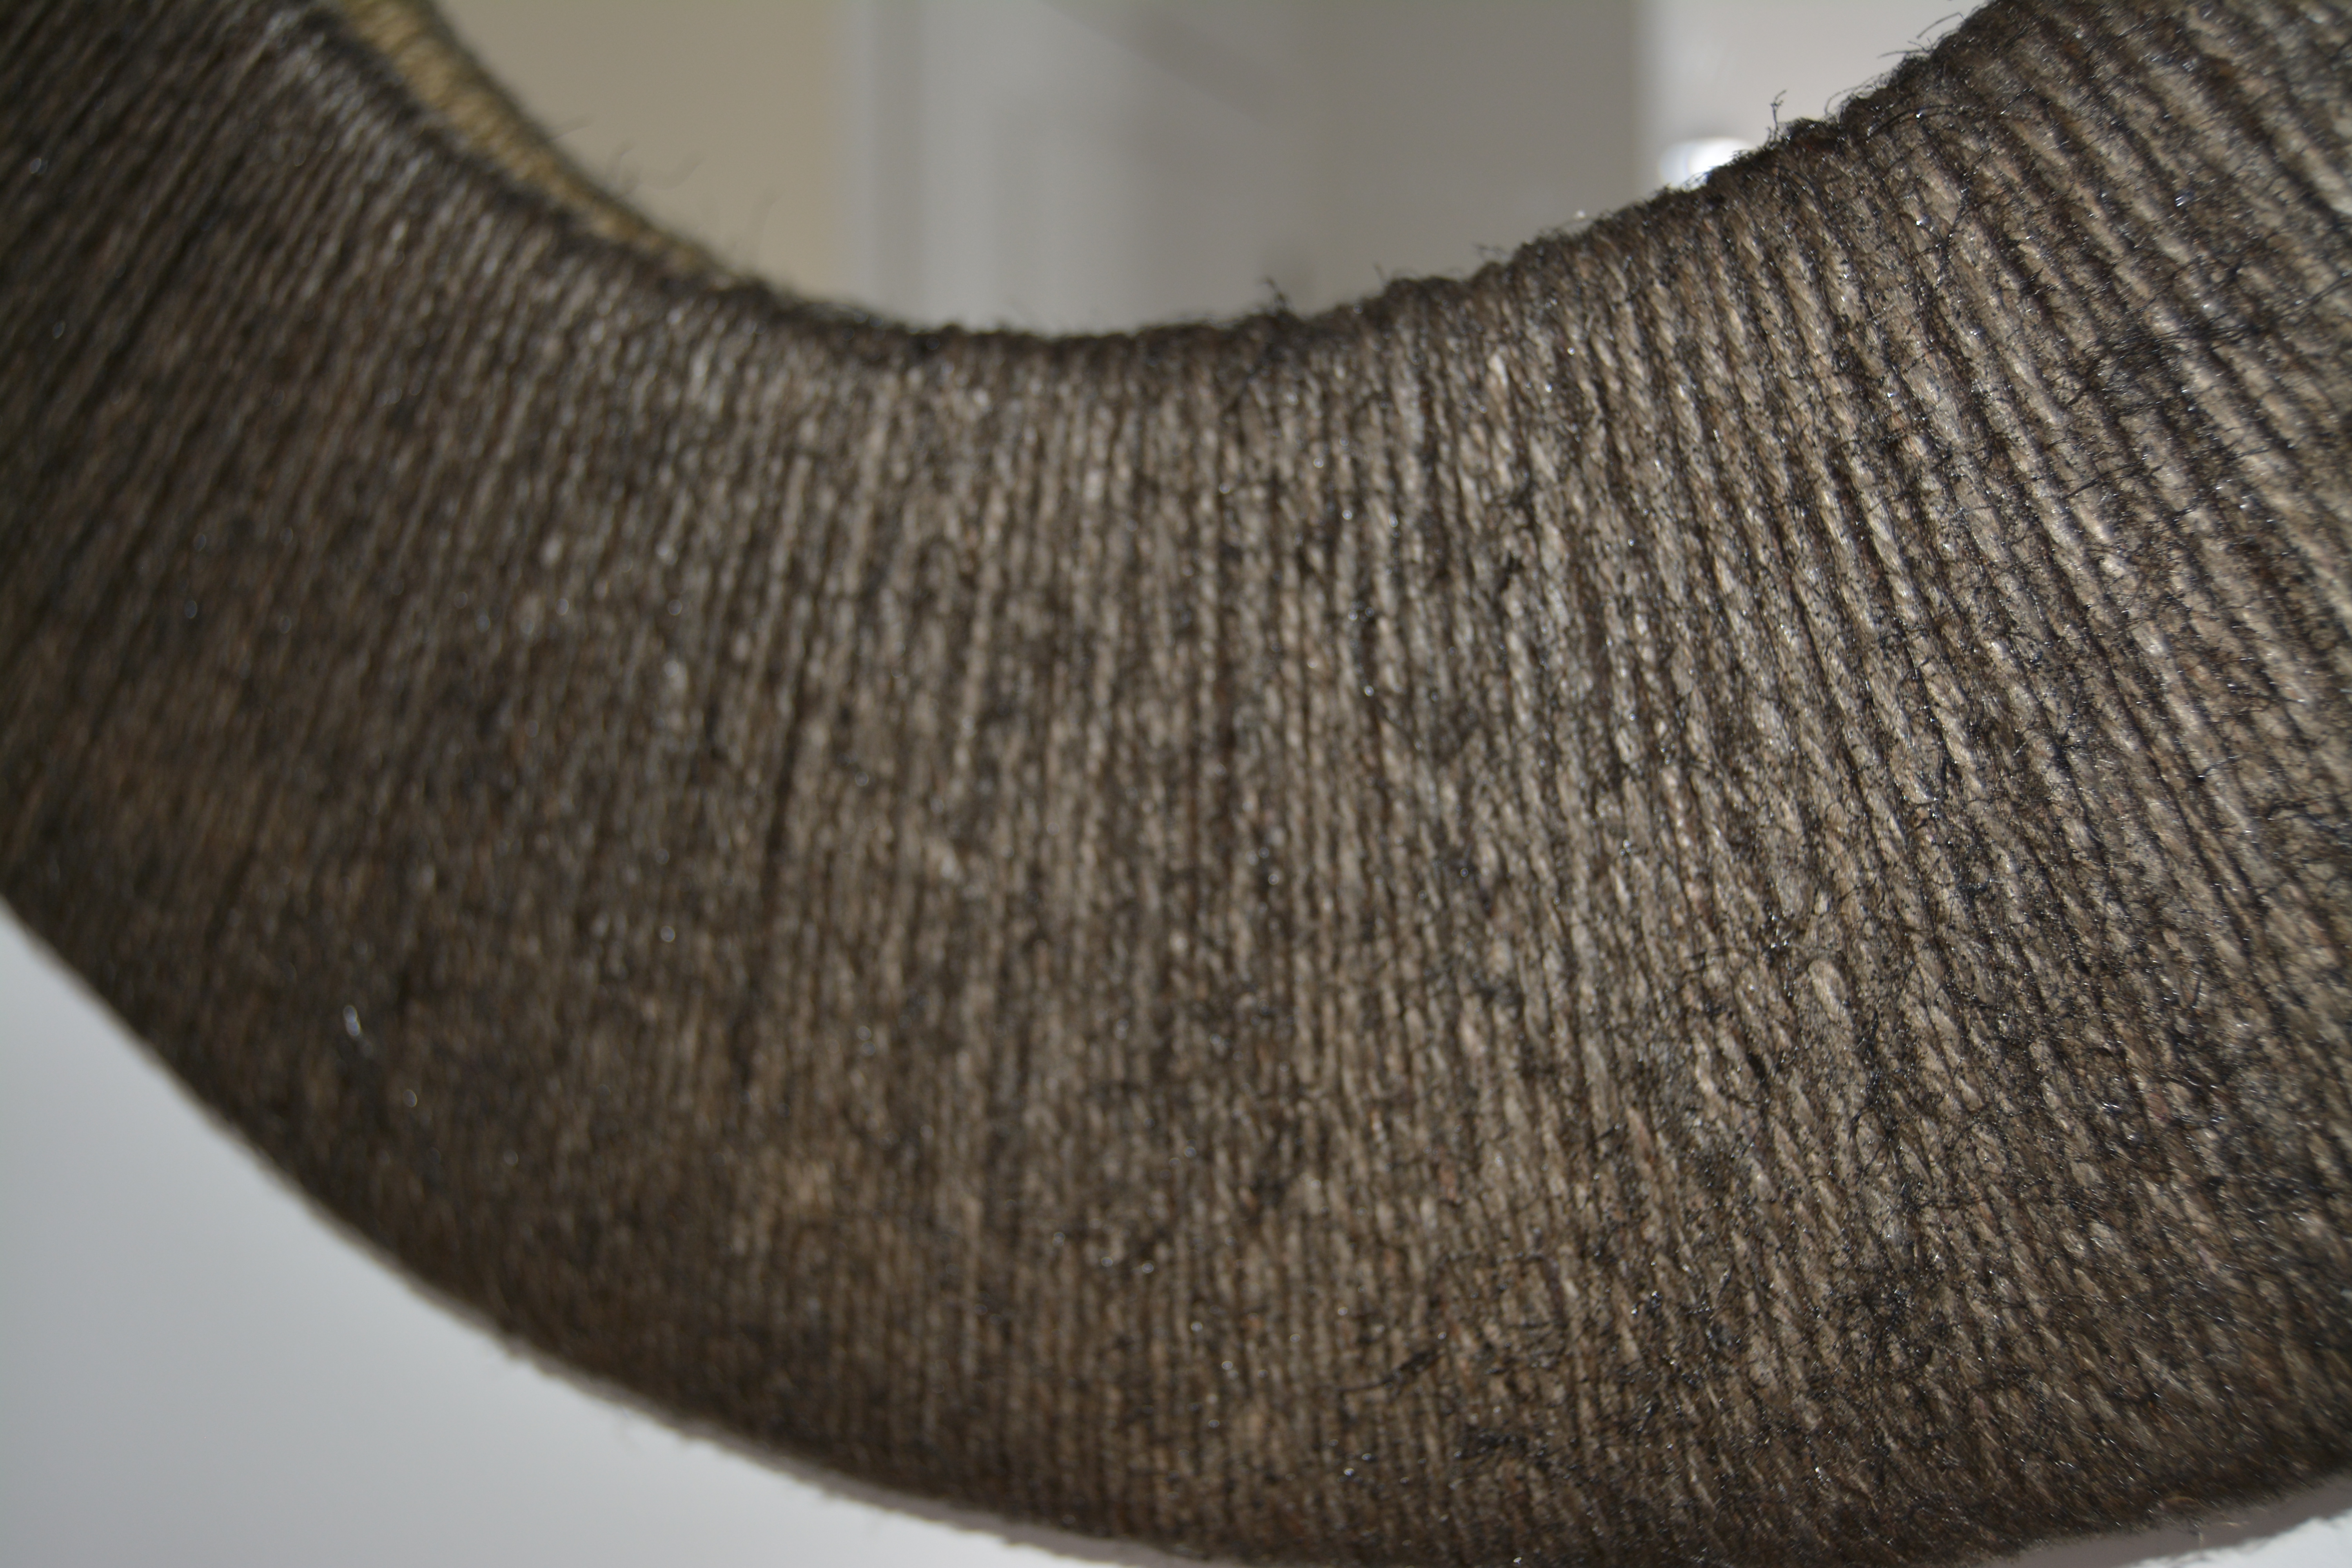
2. I glued (with a glue gun) the tip of the twine onto what would be the back of my frame, and then, the wrapping began. Since the inner circumference of the frame was significantly smaller than the outer circumference of the frame, I found that going along the outer circumference, I could make the twine just one layer thick, but I would overlap the twine from time to time at the inner circumference (it’s kind of hard to explain, but once you begin the wrapping, you’ll understand exactly what I was trying to say!)
After a couple of inches of progress along the frame, I would glue the twine onto the back, just to make sure there would be no unraveling.
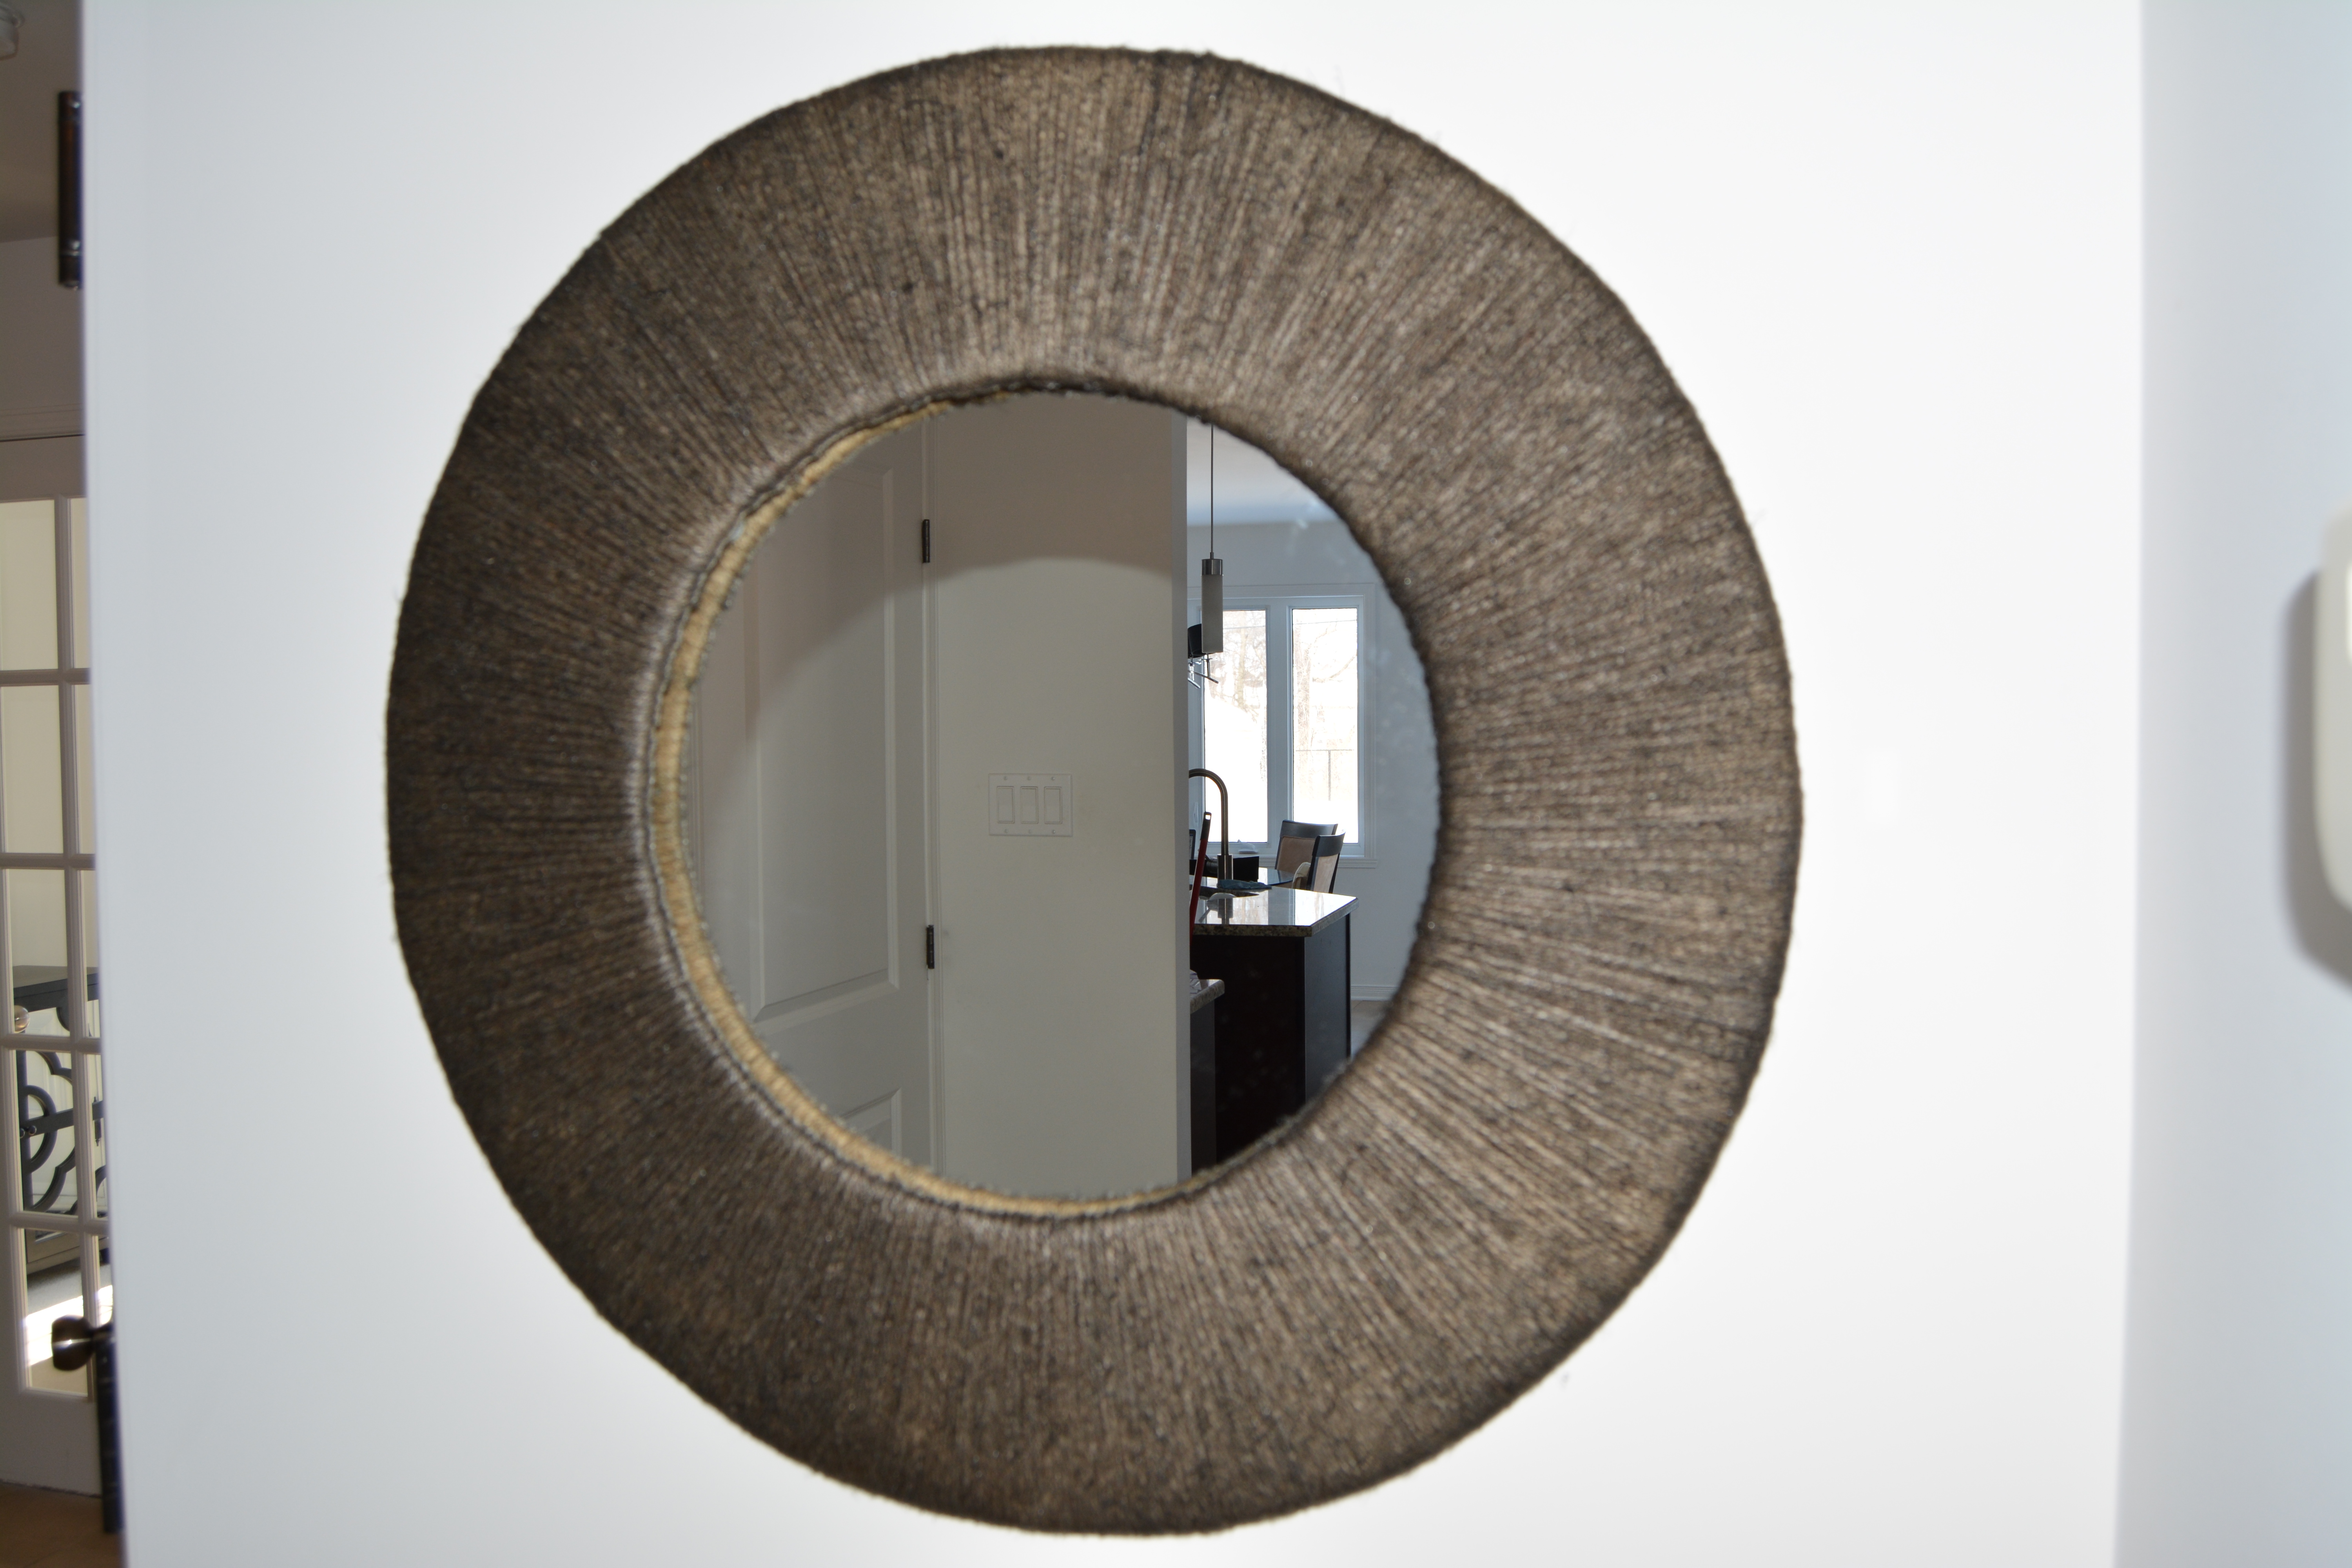
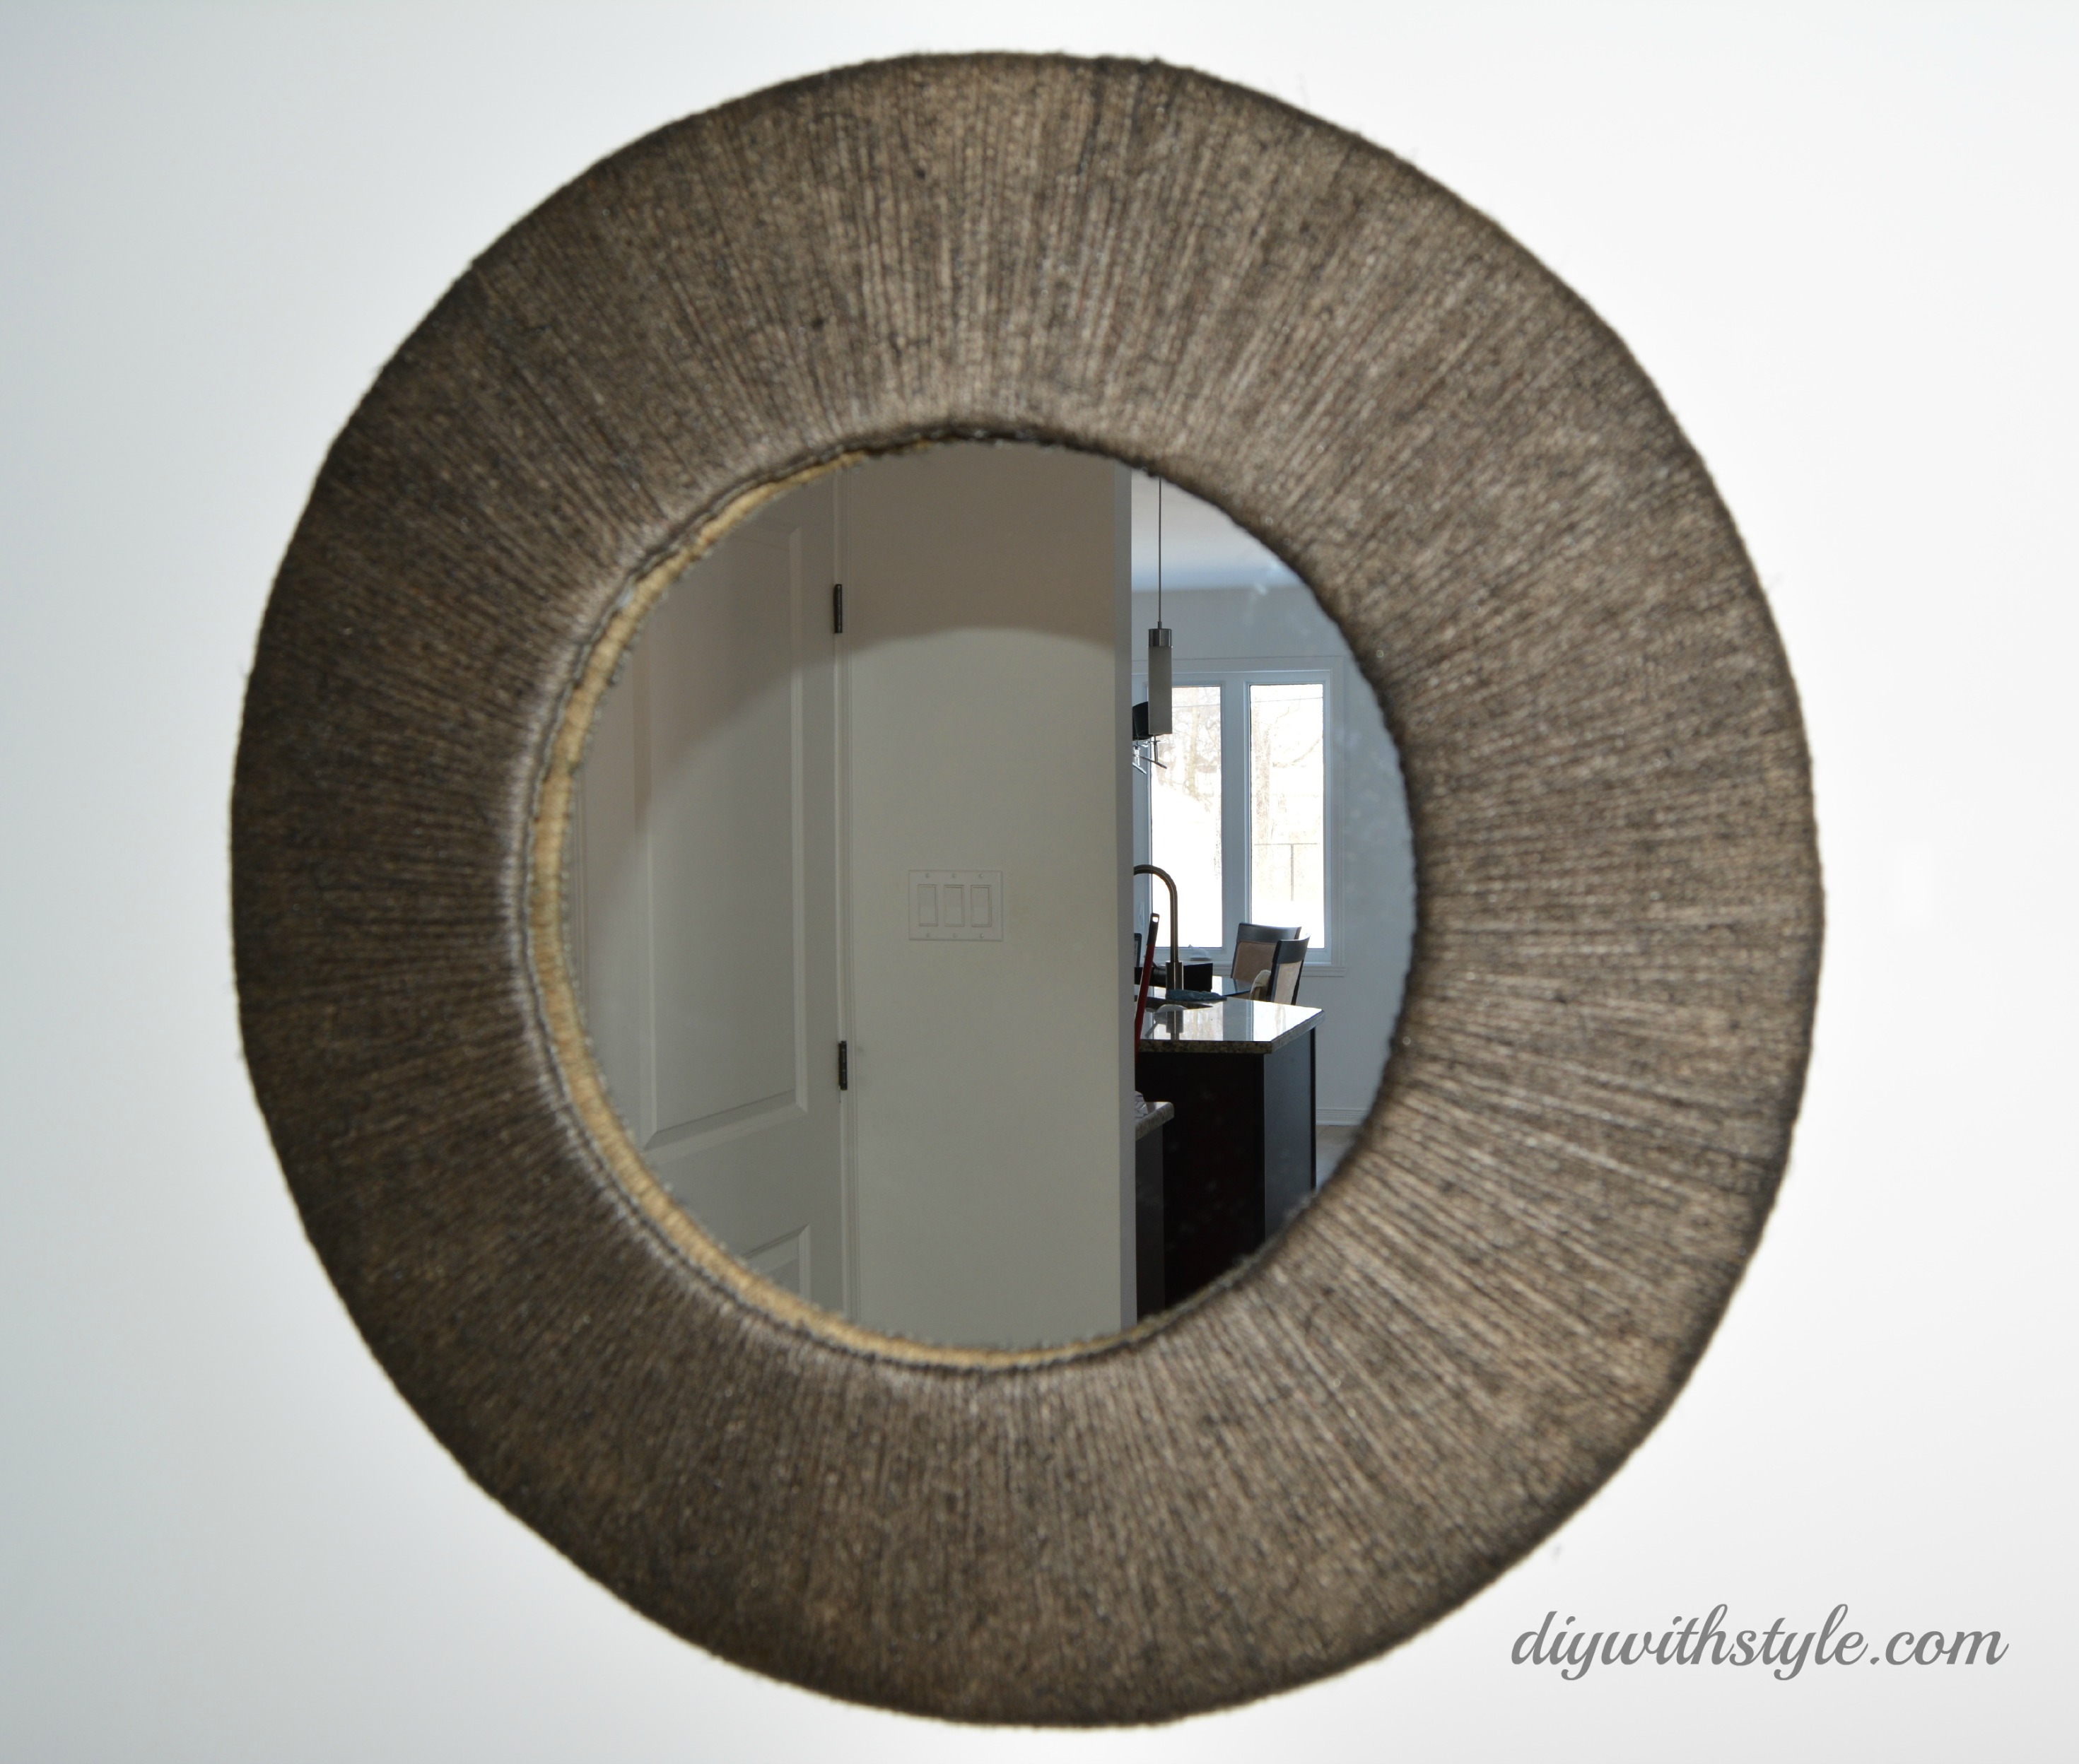
 And voilà! This is what it looked like when the wrapping was completed. And it actually didn’t take that long to do! A few hours here and there, mostly done while watching something on t.v. 😉
3. I headed to the garage, opened all the doors, and I busted out the spray paint. Since twine is a natural fibre, it absorbed some of the paint, but this made it even more beautiful than I had imagined. It looked like I had dyed the rope instead of coating it. Even better, the sides of the twine kept a brownish hue, so depending on the angle with which you look at the frame, the effect was different.
4. I used 3M Command strips to stick the frame onto the mirror (so I could remove the frame if ever I want to change things up, and also, I love Command Strips! What was life like before them???)
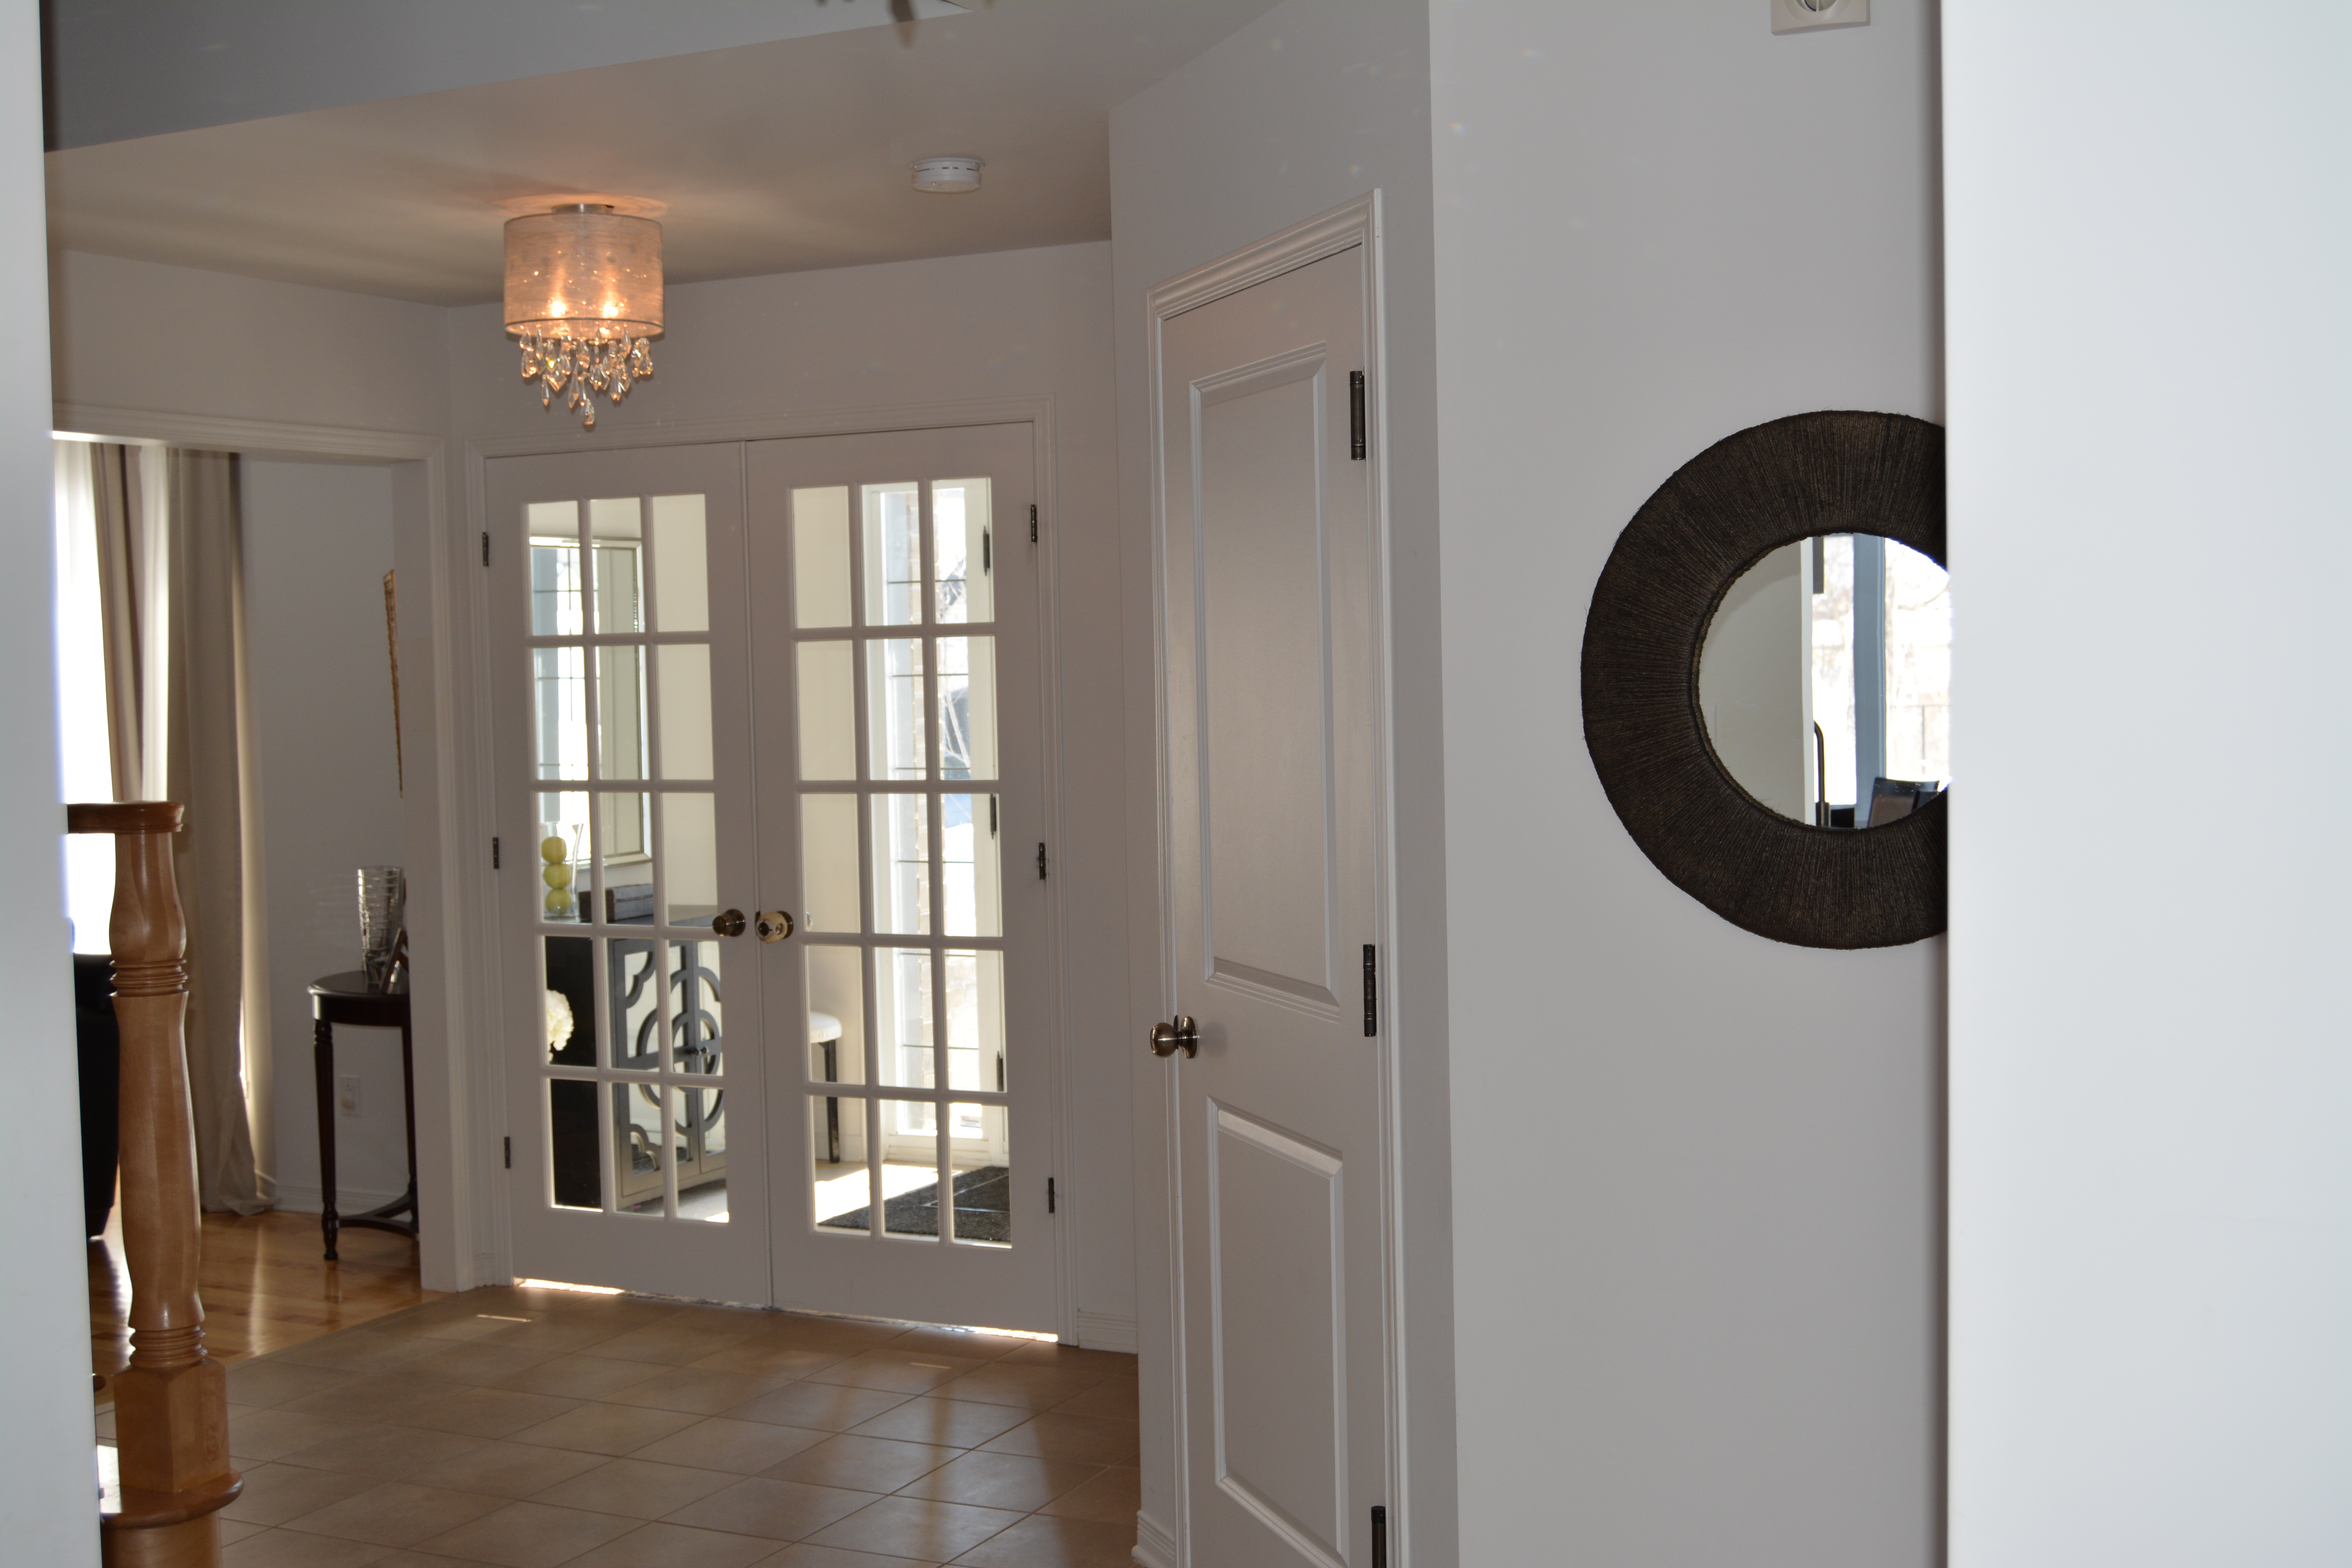
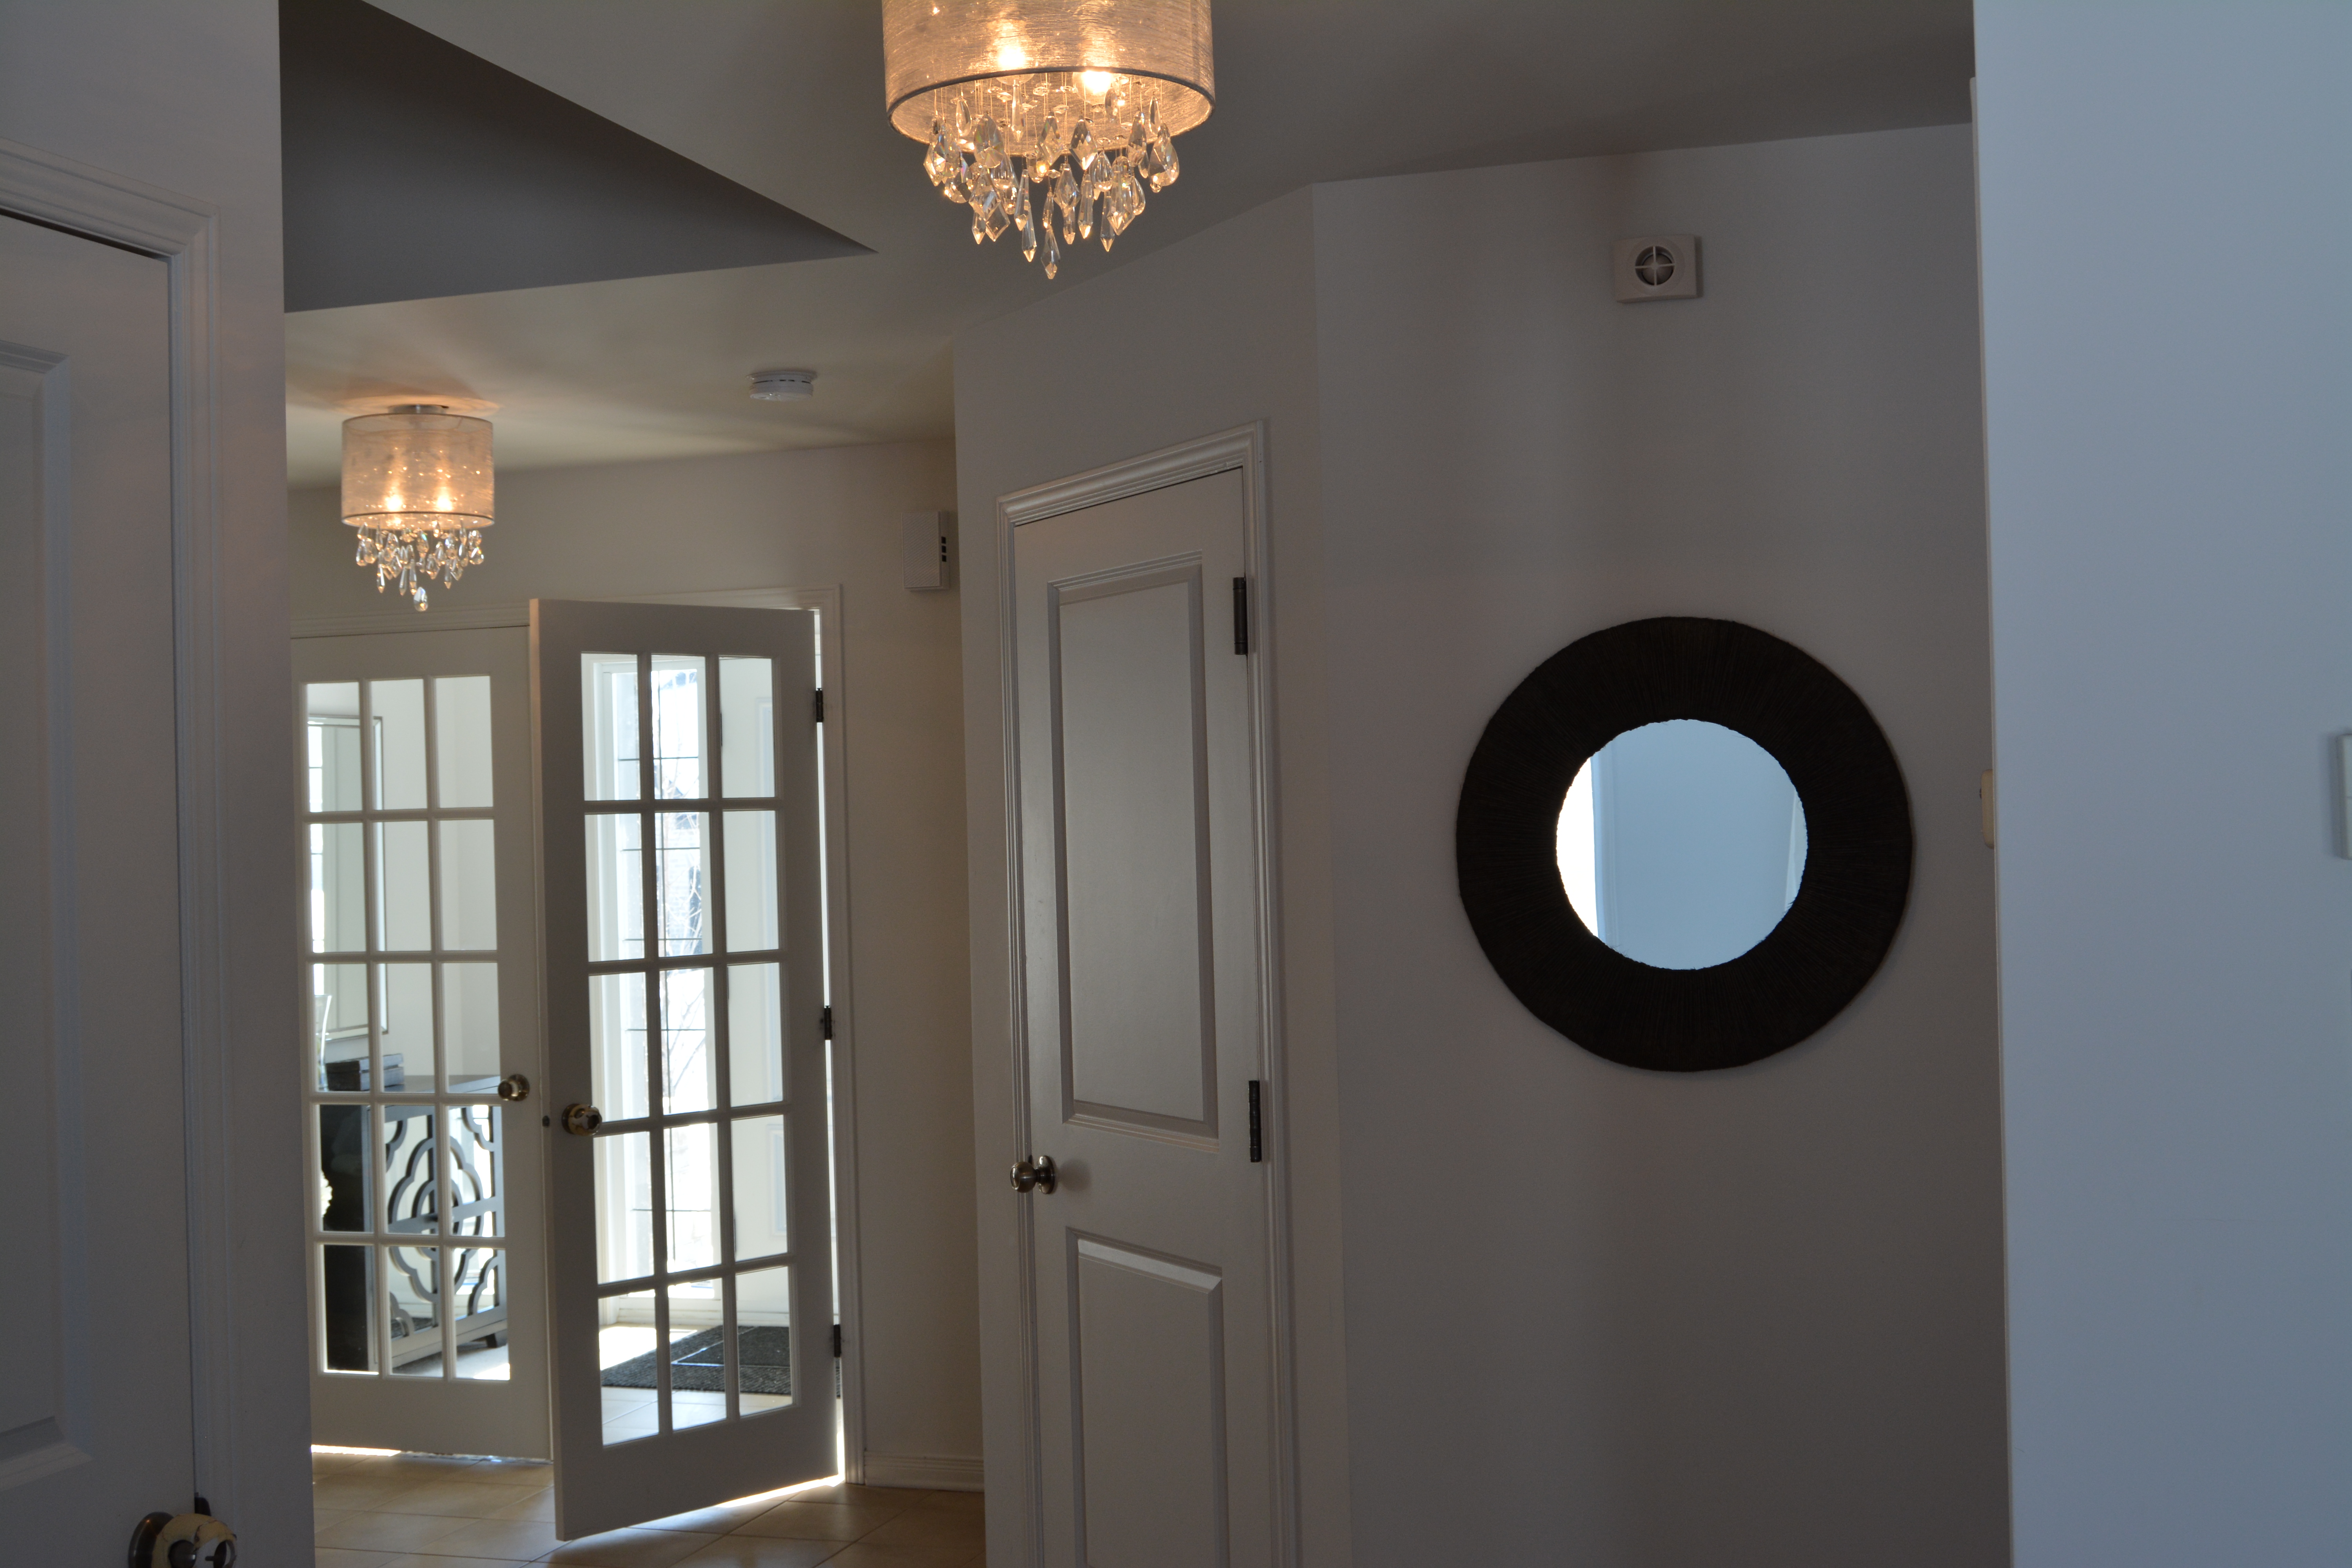
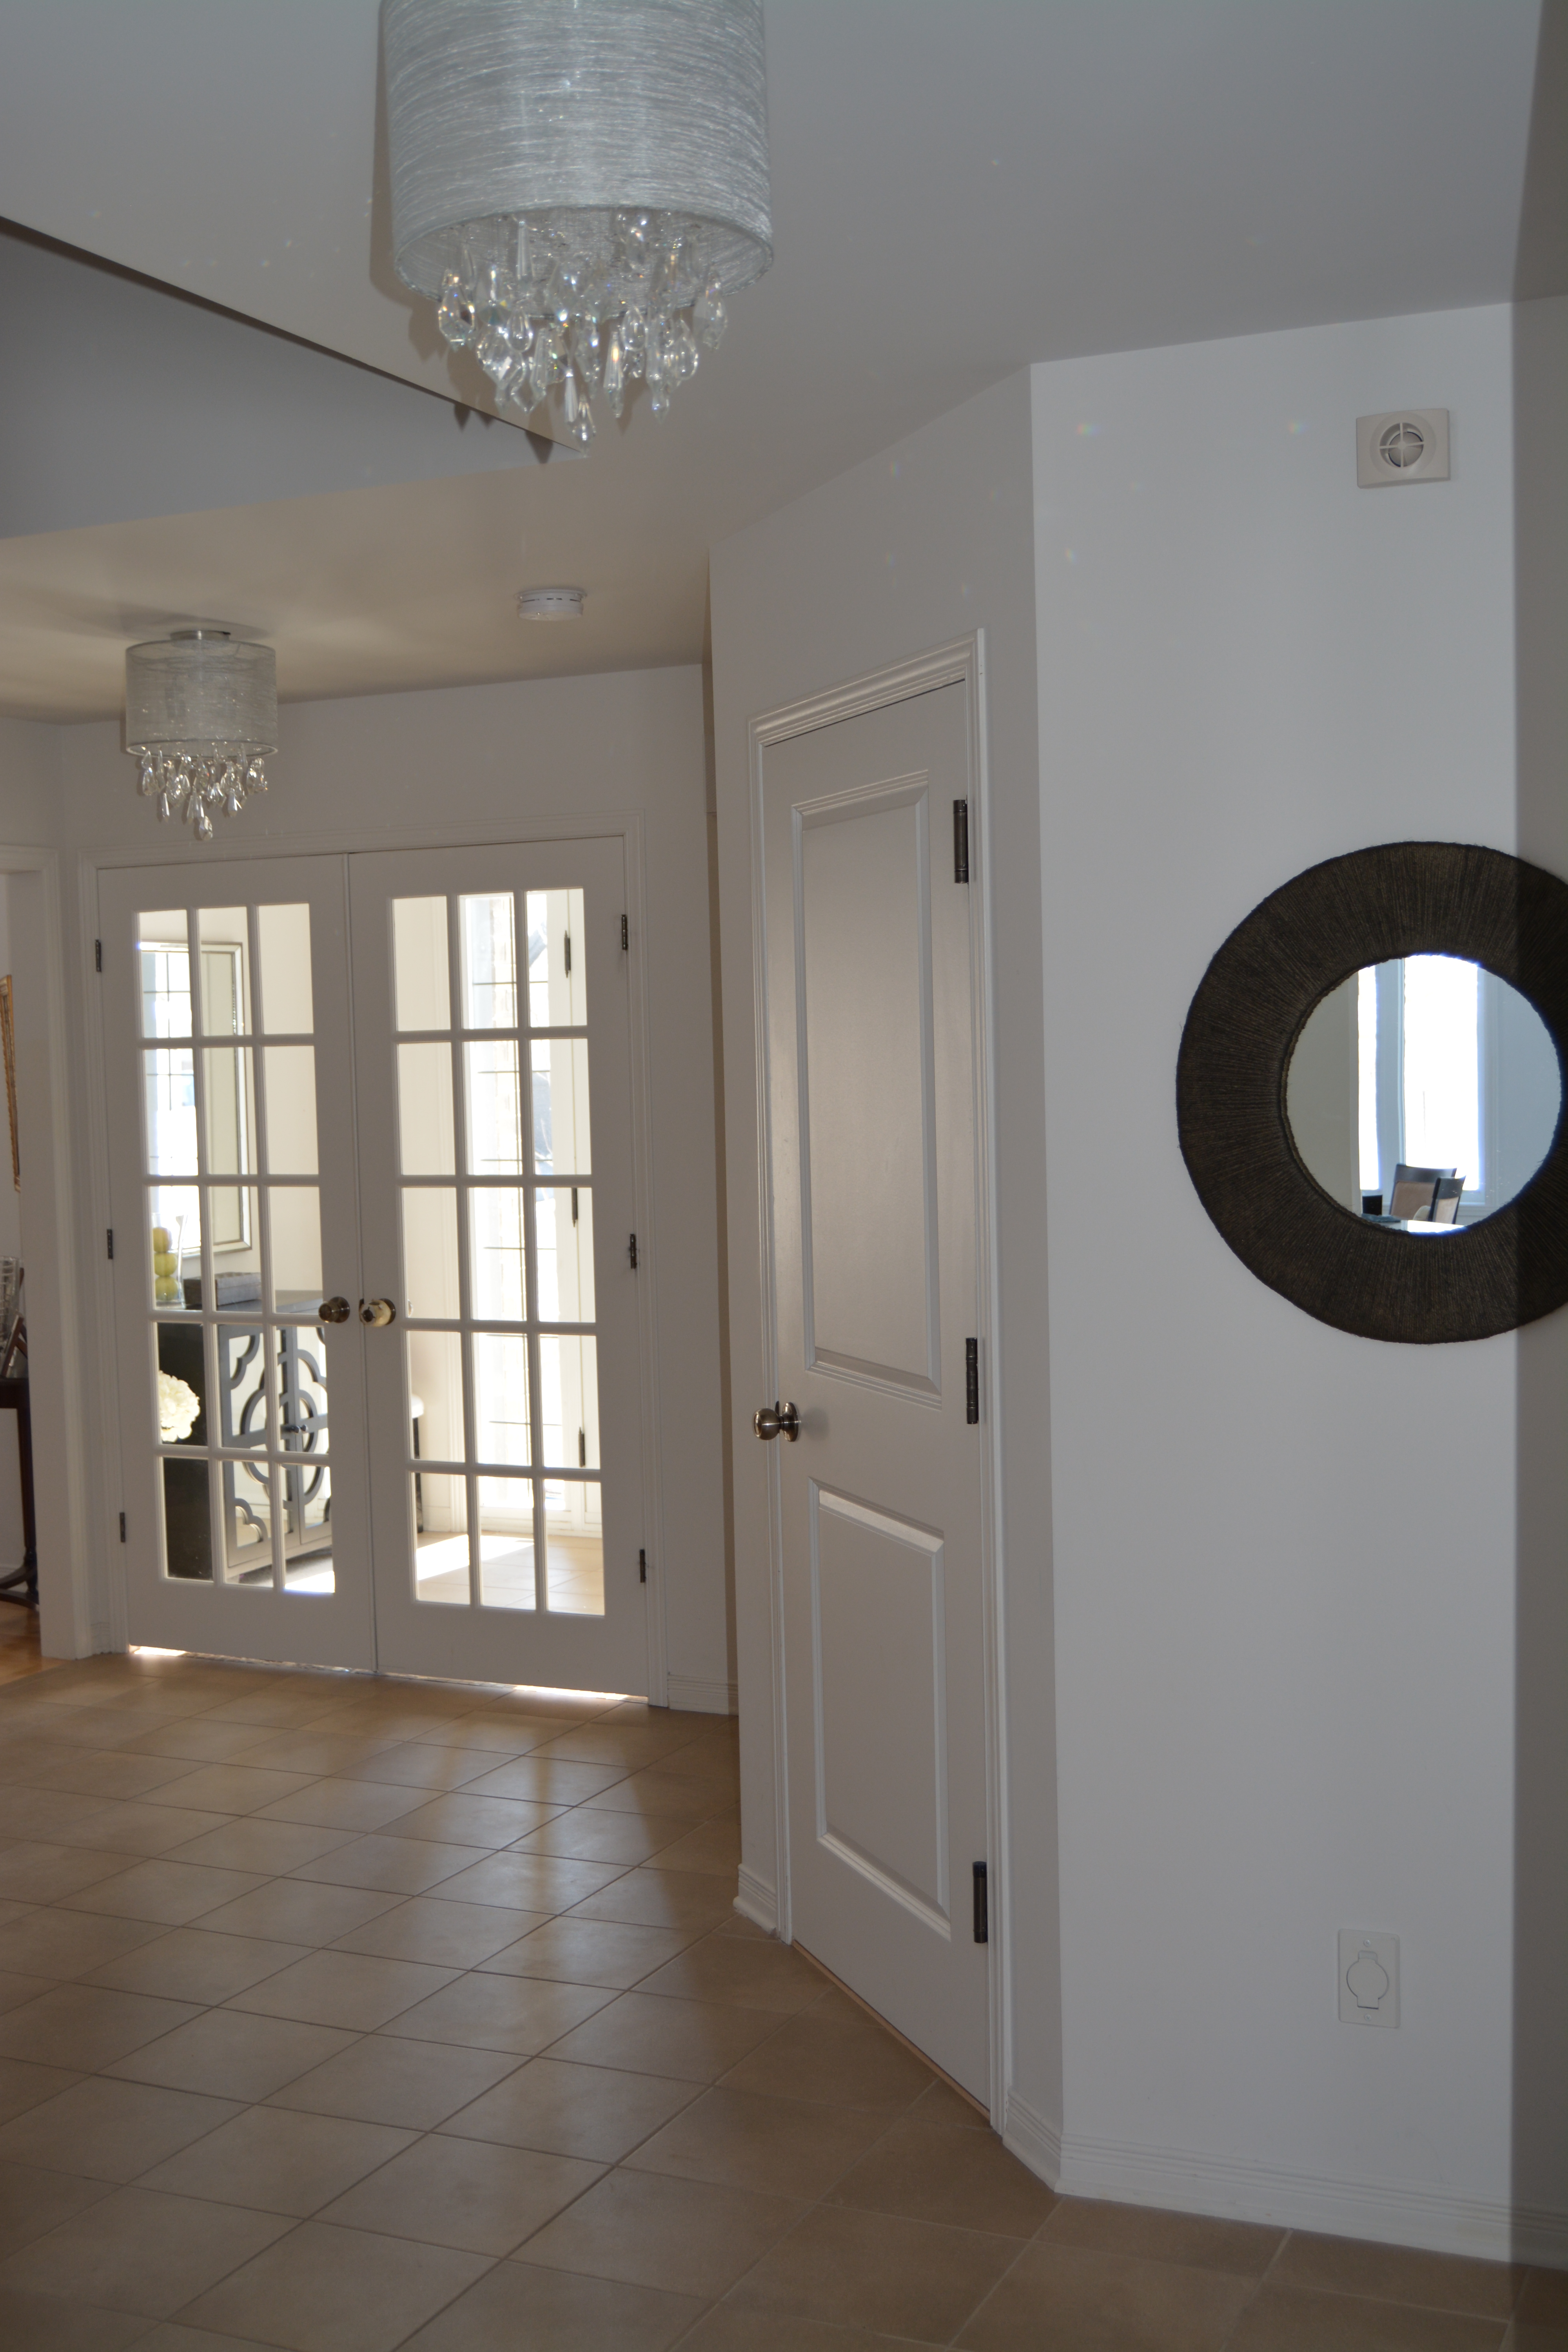
Here’s the final product in it’s new home. Now all I need to do is dress that area up